Using Sketch Modeling
- To open the Sketch Modeling Window, select Tools > Create > Sketch Modeling.
The model you generate will be saved as a standard part in the Browser.
| Sketch Modeling - Part |
|---|

|

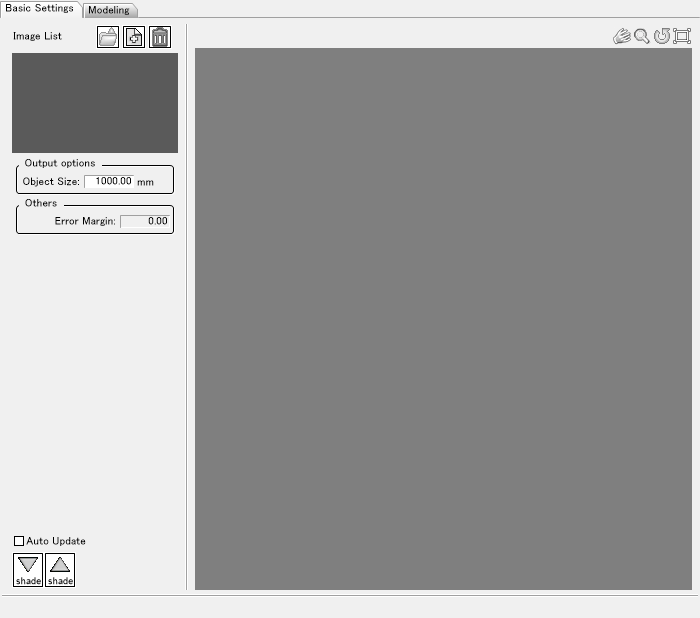
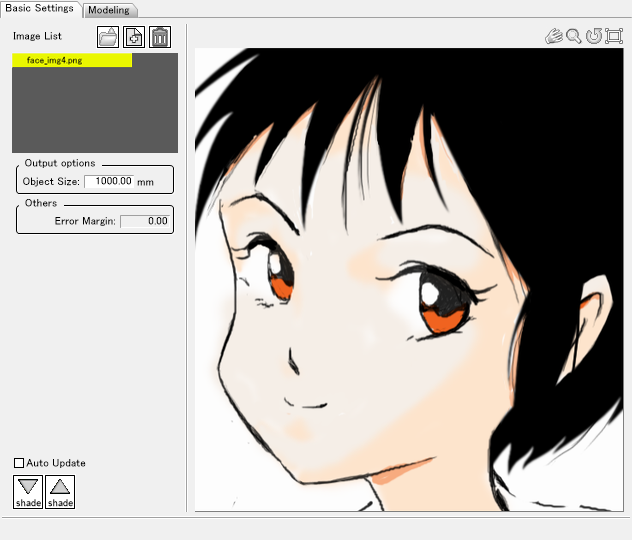
- On the Basic Settings tab, click the Open button above the Image List. Select an image. The image is displayed in the Preview area.
Illustrations which display objects at a maximum of 45 degrees are best in Sketch Modeling.
| Sketch Modeling - Part |
|---|

|
- To get the best results, adjust a loaded image to display the subject in the center of the viewing area. You can pan, zoom, rotate and reset the image. To adjust the loaded image, select the tool and drag on the icon.

(pan, zoom, rotate, reset)
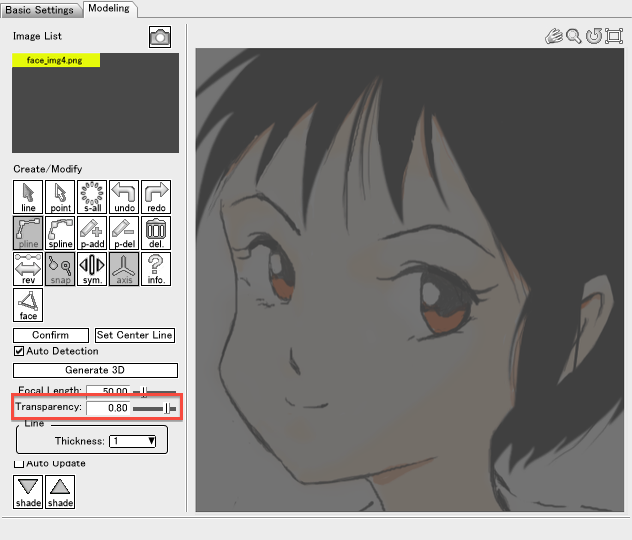
- You can interactively adjust transparency of your template image. This is useful as for working with very dark colors. To adjust transparency, go to the Modeling tab and move the Transparency slider.
| Sketch Modeling - Part |
|---|

|
- After any final adjustments to the image, switch over to the Modeling tab to place lines.
The P-Line tool is selected by default.
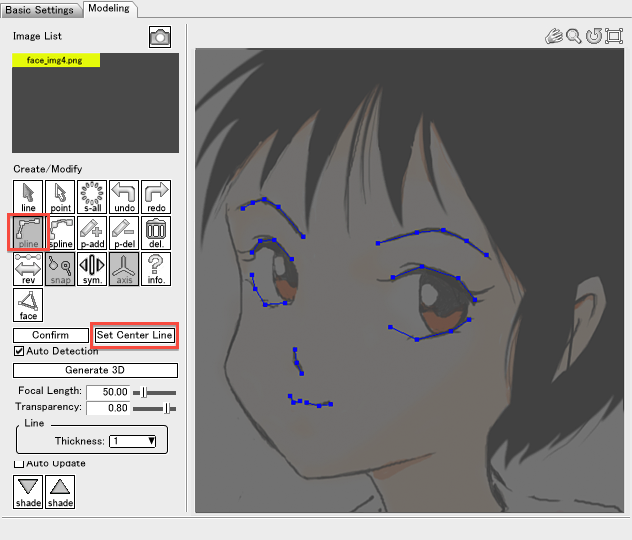
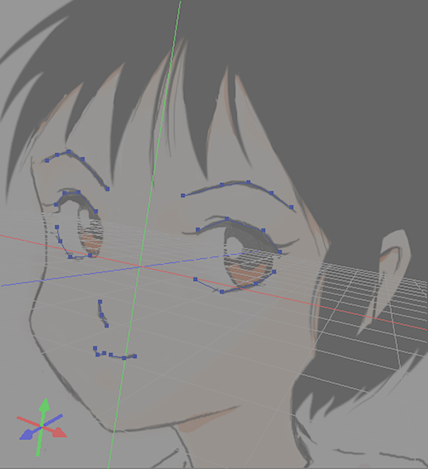
Using the P-Line tool, each time you click in the preview area a vertex is added. When you finish placing a complete line, click the Confirm button. You can also confirm by double-clicking or pressing the Enter key.
| Sketch Modeling - Part |
|---|

|
- Creating Symmetrical Lines
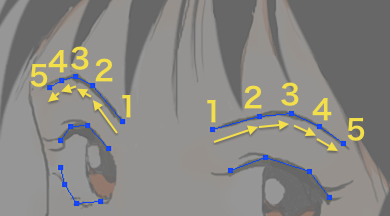
- Create lines that are always symmetrical. The two lines you want to create need to have the same number of vertices and be mirrors of each other. The direction of a line is determined by the order the vertices are added.

- How to Draw a Center Line
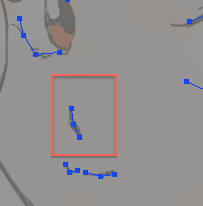
- Lines that are not symmetrical become center lines. A center line is used to create an object that occurs singularly and establishes a center, such as the nose on a face. If another nearby line has a similar number of vertices, or if there are many lines, a center line may not be recognized correctly. In that case, assign it to be a center line manually by clicking the Confirm Center button.

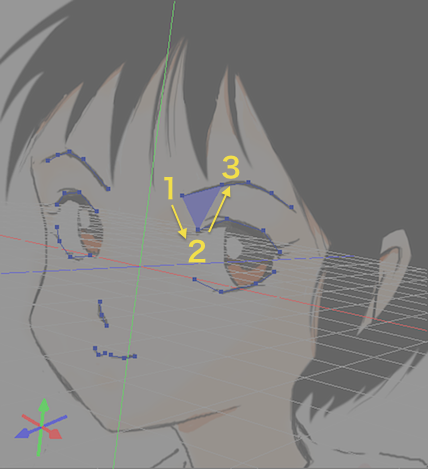
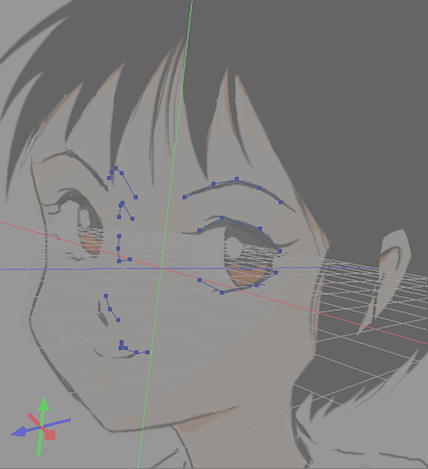
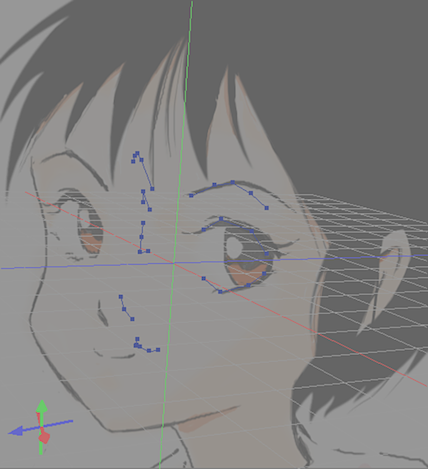
- After you finish placing 2D lines, you can generate 3D geometry from them by clicking the Generate 3D button. If successful, 2D lines change color and are displayed as 3D lines. The XYZ axes and grid appear in the preview area.

- Use pan, zoom, rotate and/or reset tools at upper right corner in preview area to confirm that your points and lines are all correct.


- Adjust Perspective
The Perspective tool is very useful in previewing your generated 3D model, but it is only available after you generate your 3D geometry. Use the Undo button to go back before you generated 3D geometry. Then modify the Focal length (for example, from 50 to 100), and then hit the Redo button.

- Save to Shade3D
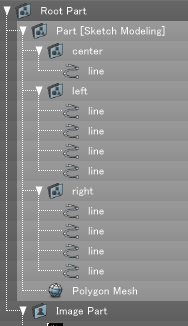
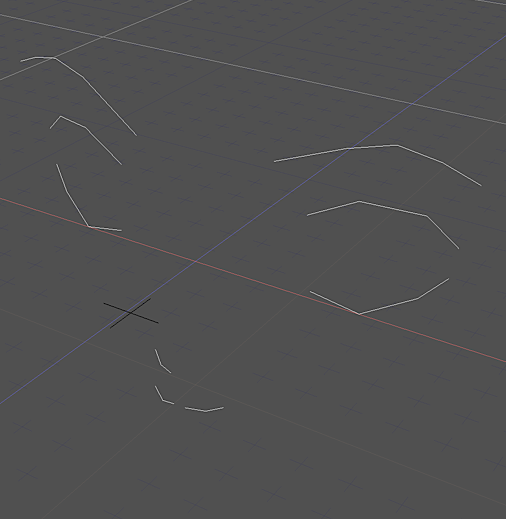
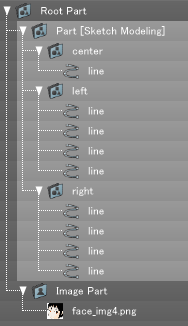
When you click the Save to Shade3D button, settings are stored as attributes of the selected part. 3D lines are stored in parts named [right], [left], and [center] depending on their positions. In the example below, the settings are stored as normal open lines.


When you save information with Save to Shade3D, the information is saved even if you close the Sketch Modeling window. To reopen the Sketch Modeling object, select the object in the Browser, and from the Control Bar click the Sketch Modeling button. You can resume your work where you left off.
