Editing Joint Values in the Skin Window
Joints can be renamed and their values reset while editing in the Skin Window. In the case of ball joints and bone joints, joint values can also be modified from within the Skin Window. This is done in Skin Editing Mode.
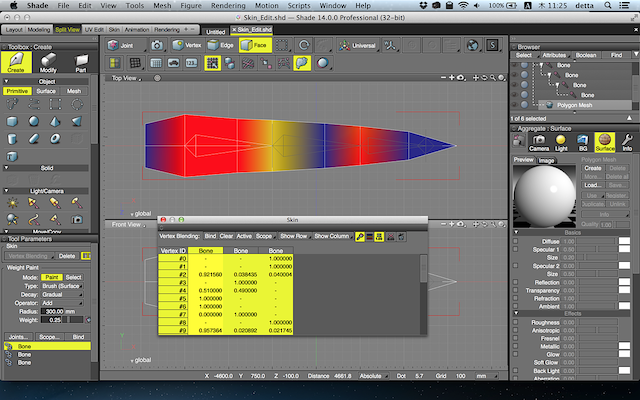
Renaming Joints
- Right-click on an item in the Joint List in Tool Parameters, or on the name of a joint in the Skin Table.
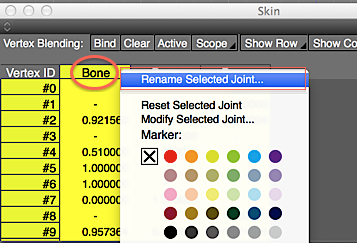
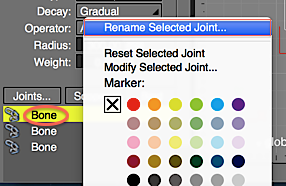
- Choose Rename Selected Joint... from the context menu, and edit the name in the dialog box that opens.
Resetting Joints
- Right-click on an item in the Joint List in Tool Parameters, or on the name of a joint in the Skin Table.
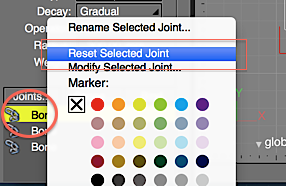
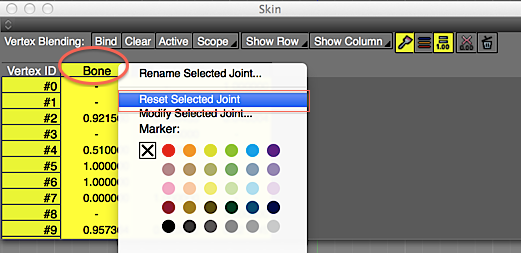
- Choose Reset Selected Joint from the contextual menu.
Modifying Joint Values (Bone and Ball Joints Only)
From the Skin Window
- Double-click on an item in the Joint List in Tool Parameters, or on the name of a joint in the Skin Table.
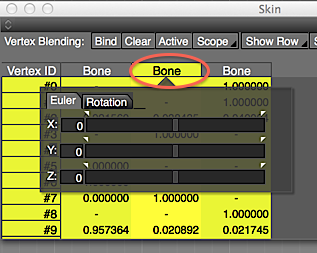

- Edit the joint's value in the window that appears.
Note This same window can be displayed by right-clicking on the joint name and selecting Modify Selected Joint... from the context menu, as is done with Rename Selected Joint... and Reset Select Joint.
From the Figure Window
- Assign the following command to a shortcut key of your choice: Tools > Modify > Weight Paint > Select Joint > Edit Selected Joint.
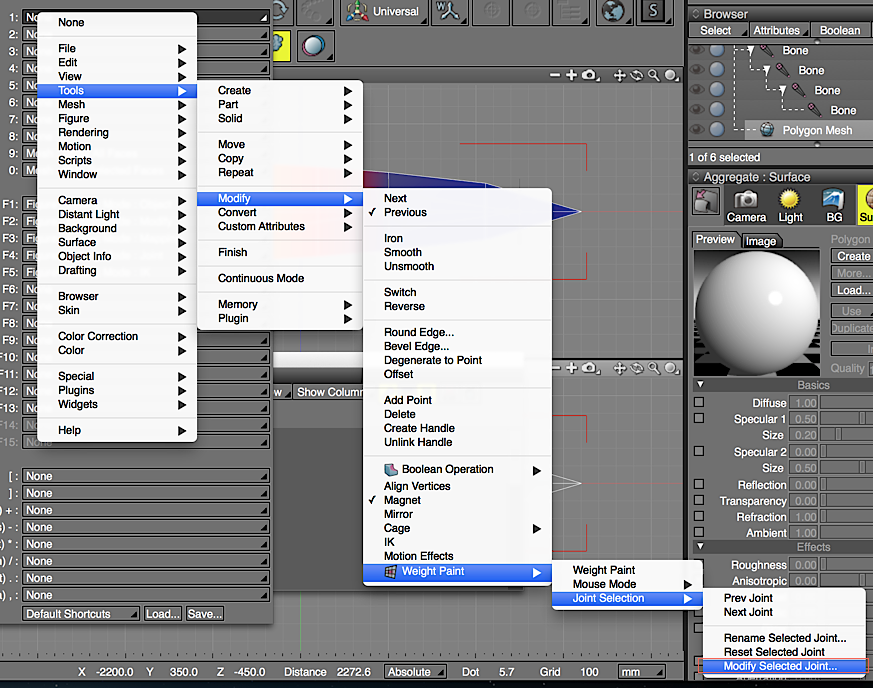
- Now press the shortcut key combination that you assigned.
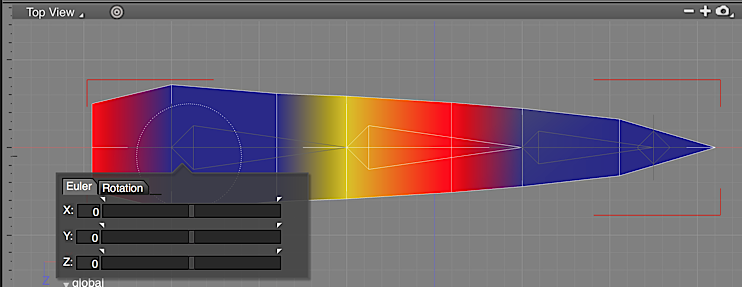
- Edit the value of the currently selected joint in the window that appears.
NoteJoint values can only be changed for ball joints and bone joints.
Selecting Previous and Next Joints
By assigning shortcut keys to 'Tools > Modify > Weight Paint > Select Joint > Next' and 'Tools > Modify > Weight Paint > Select Joint > Previous', joints can be selected without using the mouse. By using the above methods, weight painting can be done in the Figure Window with a minimum of mouse movement and clicking.
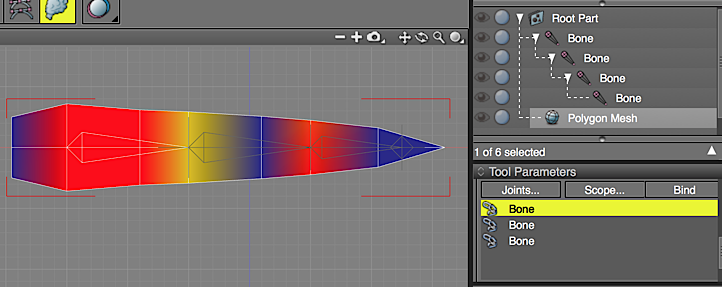
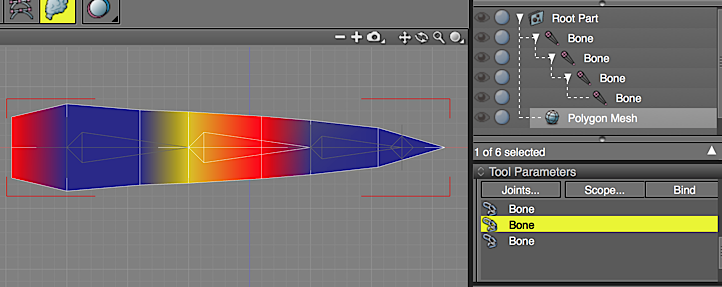
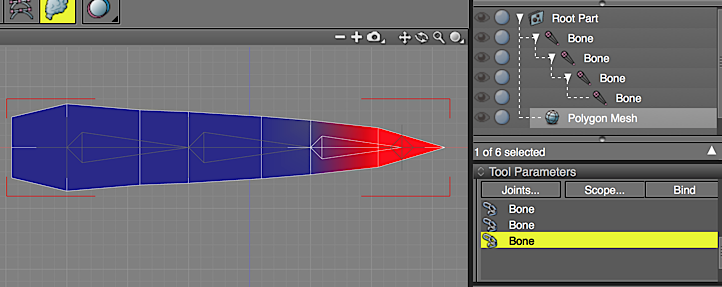
Note Switching between joints can be done simply by selecting the objects in the Figure Window.