Toon Renderer Tutorial
Changing the Rendering Method
- In ShadeExplorer, under Presets and in the Documentation - Radiosity folder, find "PM_ToonRenderer.shd" and open it.
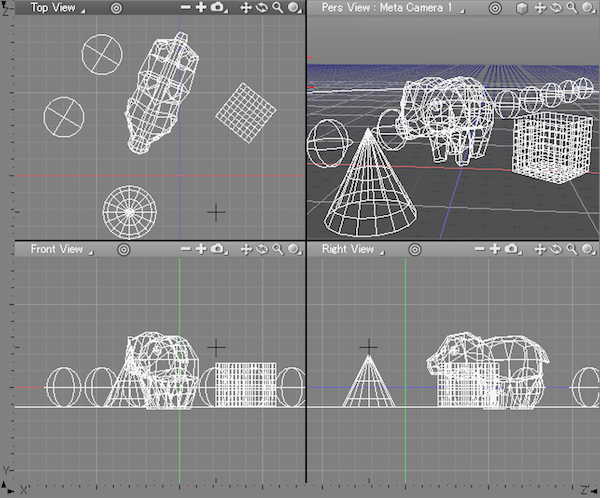
- Select View > Image Window.
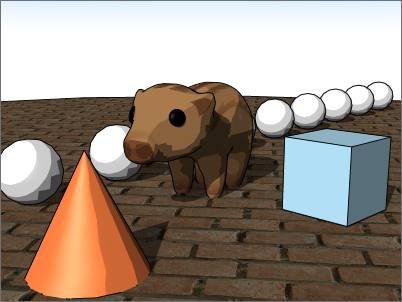
- Select Toon Renderer from the Method pop-up menu in the Image Window. Select all the objects in the scene and start rendering.

- By changing the rendering method to Toon Renderer, the new render has a cel-animated style.
Changing the Toon Renderer Settings
- Click the Set... button to the right of the Method pop-up menu.

- In the Toon Rendering Settings dialog box that appears, click the Toon Settings button.
Toon Rendering Settings 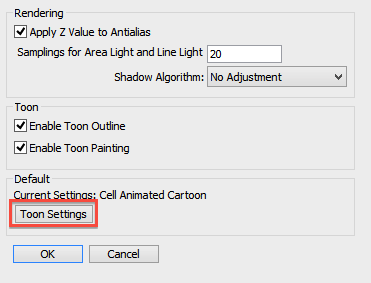
The Toon Settings window opens. The various Toon Renderer settings can adjusted from this window. Select Manga from the Preset pop-up menu and close the window.
Toon Settings 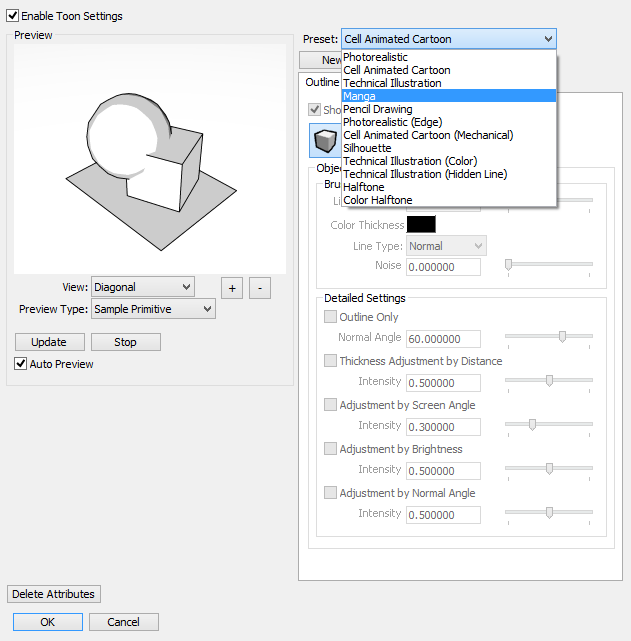
- Select all the objects in the scene and start rendering. You can see that this new render has manga-like tones (dots).
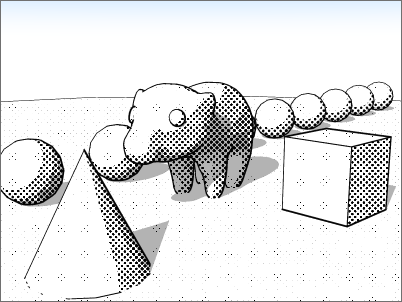
By selecting one of the available presets (such as Manga, Technical Illustration, or Pencil Drawing) you can modify the Toon Renderer settings quickly and easily.
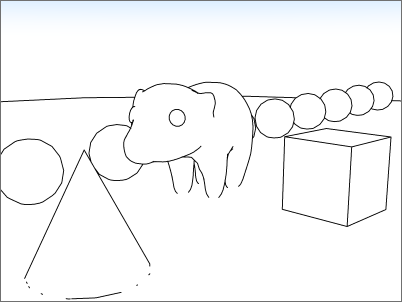
Technical Illustration
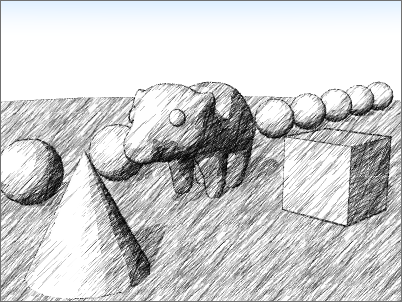
Pencil Drawing
Changing Toon Renderer Settings for Individual Objects
Toon Renderer settings can be modified for individual objects by following the below steps. Toon Renderer settings are applied as surface attributes.
From the Browser
- With the object you wish to modify selected in the Browser, select Toon Settings... from the Attributes pop-up menu. If no surface attributes have been applied, the Toon Renderer settings are applied.
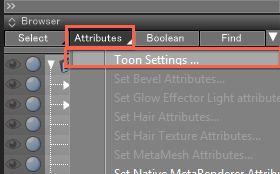
The Toon Settings window opens.
Toon Settings 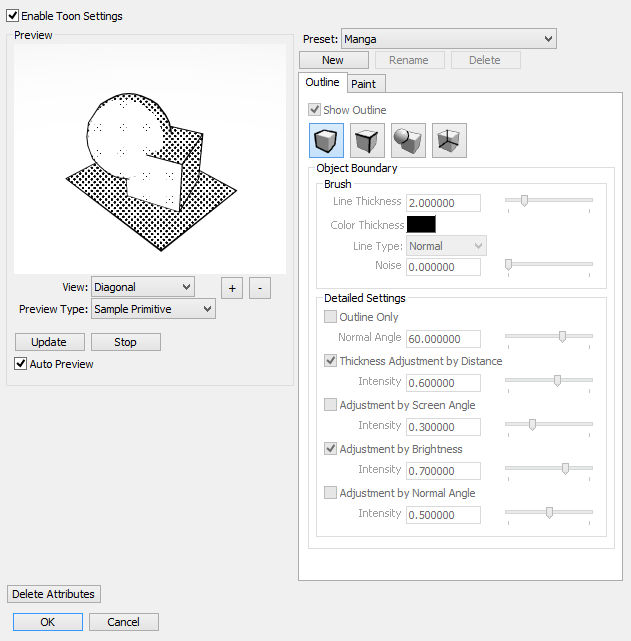
- From the Preset pop-up menu, switch from the Manga preset to Cel Animated Cartoon.
Toon Settings 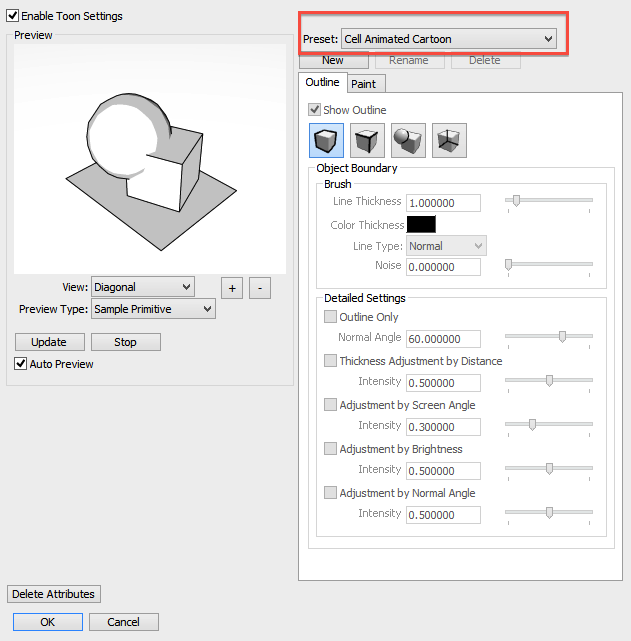
- Select all the objects in the scene and start rendering.
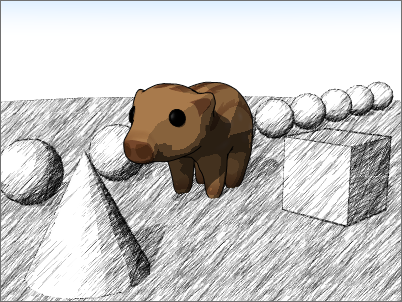
Only the object set to Cel Animated Cartoon is rendered in that style.
From the Surface Window
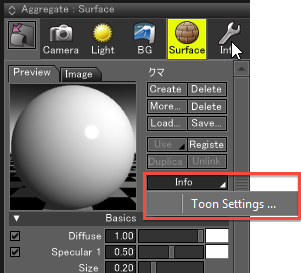
- With the object you wish to modify selected in the Browser, select Toon Settings... from the Info pop-up menu in the Surface Window.
- From the Preset pop-up menu, switch from the Pencil Drawing preset to Manga.
Toon Settings 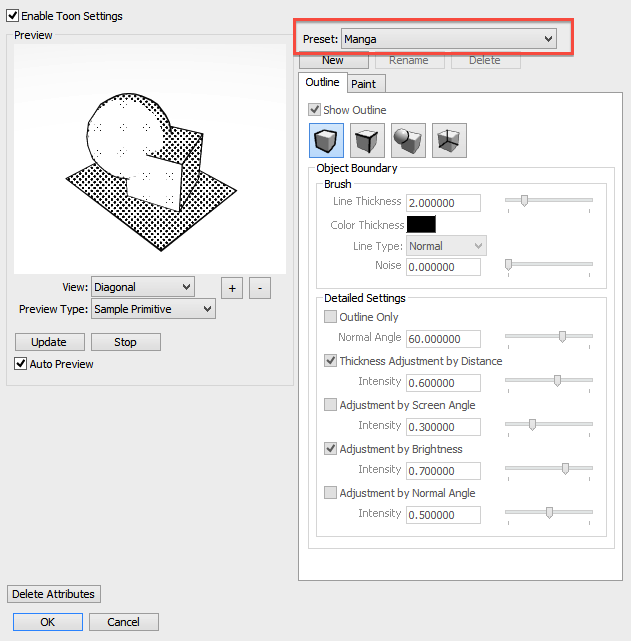
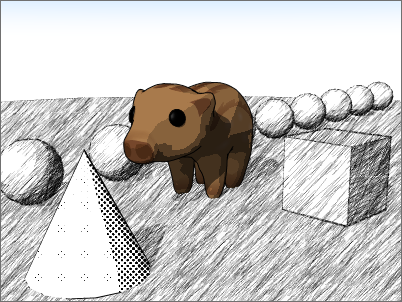
- Only the object set to the Manga preset is rendered in that style.
Customizing Toon Renderer Settings
Next we will customize the settings starting with the Cel Animated Cartoon preset.
- With the object you wish to modify selected in the Browser, select Toon Settings... from the Info pop-up menu in the Surface Window.
- From the Preset pop-up menu, select Cel Animated Cartoon.
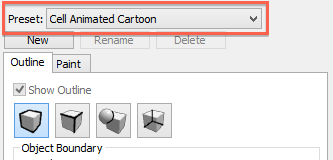
- Click the New button below the Preset pop-up menu. Cel Animated Cartoon - Custom is added to the list of presets.
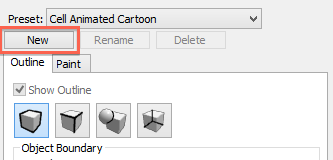
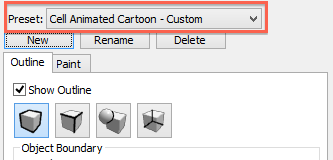
By creating a new custom preset, the Outline and Paint tabs become available. Adjust the settings as desired.
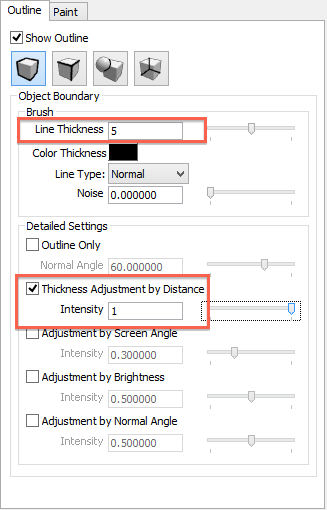
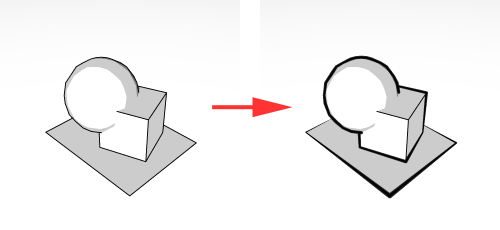
Toon Renderer Light Settings
With a point light, spotlight, area light, linear light or other light source selected, from the Browser's Attributes pop-up menu select Toon Settings to open the Toon Renderer Light Settings dialog box.
| Light Settings |
|---|

|
See also Light Settings Dialog Box
Deleting Toon Renderer Settings
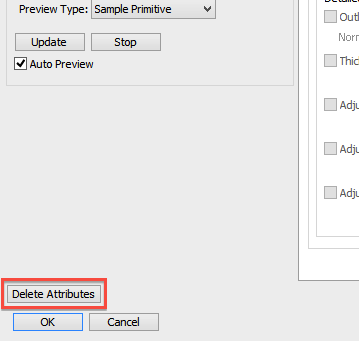
To remove Toon Renderer settings from any object, click the Delete Attributes button in the Toon Settings window.
