MultiPass Rendering
MuliPass rendering makes it possible to separately calculate different elements of a scene, such as diffuse color, shadows, and indirect energy, saving each of those results to a separate image.
Note MultiPass rendering in Shade3D Basic is limited to Transparency and Z Depth.
Each image can be saved as a separate layer in a single file (a MultiLayer file), or as separate files. Post-processing can then be done in an image editing application.
The OpenEXR (.exr), Photoshop (.psd), TIFF (.tif), and Epix (.epx) file formats can be used for MultiLayer files. Any image file formats supported by Shade3D can be used when saving MultiPass rendered images as multiple files.
Important Saving in Photoshop format is available in Shade3D Professional and Standard. Saving in EPix format is available in Shade3D Professional.
MultiPass rendering also supports animation rendering and the Toon Renderer.
Important Toon Renderer is used to create cel animation and cartoon-like (non-photo-realistic) images. Toon Renderer is available in Shade3D Professional and Standard.
How to Set Up MultiPass Rendering
Most MultiPass rendering settings are done from the MultiPass tab of the Rendering Settings.
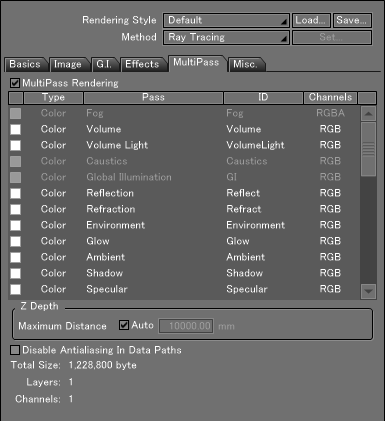
Enabling MultiPass Rendering
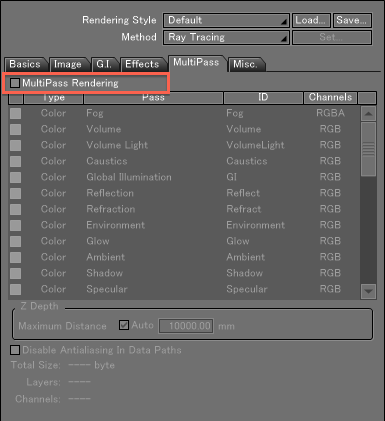
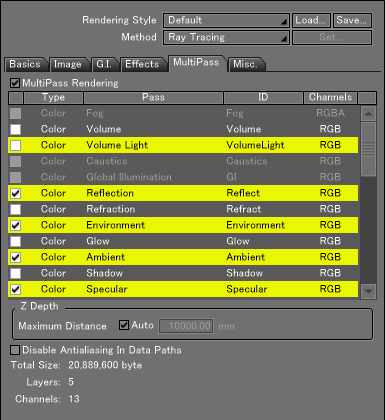
First of all, in order to enable MultiPass rendering, select the MultiPass Rendering checkbox on the MultiPass tab of the Rendering Settings.
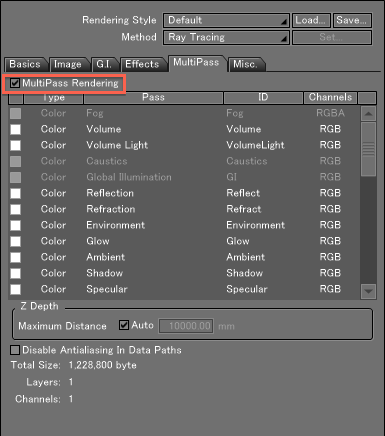
Selecting the MultiPass Rendering checkbox enables all the available passes in the current scene. Selecting a checkbox in the list will save that pass to the rendered image.
Note Passes with no information in the current scene will not be enabled even after selecting the MultiPass Rendering checkbox.
Select the passes you wish to render. MultiPass rendering information for the selected passes is displayed at the bottom of the MultiPass tab. If many passes are selected rendering may consume an extremely large amount of memory; check the Total Size listed at the bottom of the MultiPass tab, and only select passes you need to render.
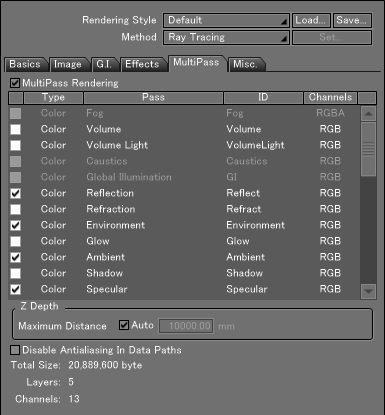
When selecting passes, hold down the Ctrl key (Win) or Command key (Mac) to select multiple passes. Holding Shift while clicking will select all passes in the range.
Rendering
When rendering, the passes selected on the MultiPass tab will be saved in the rendered image.
However, to render an animation, select either Rendering > Create Animation (Single MultiLayer File) or Rendering > Create Animation (Split MultiLayer Files), depending on your needs.
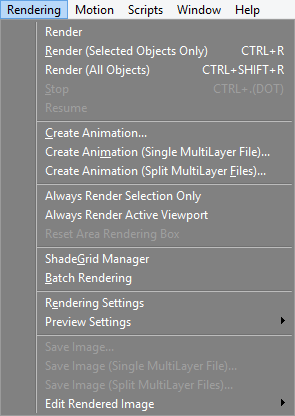
Rendering an animation produces an image sequence.
Viewing Individual Rendered Passes
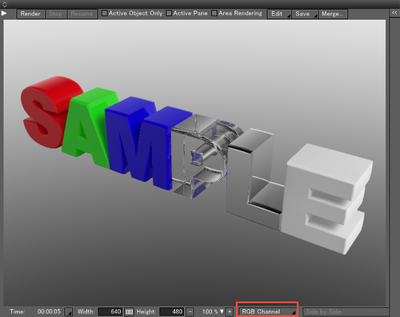
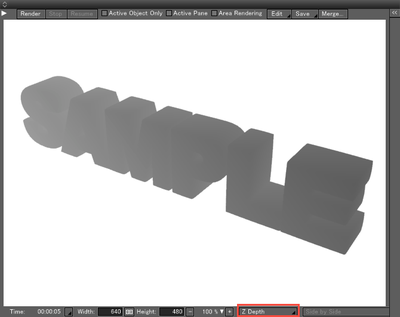
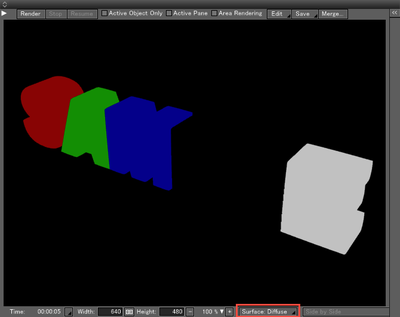
The images generated by each pass during rendering can be viewed from the Channel pop-up menu in the Image Window.
Saving Rendered Images
Images rendered using MultiPass settings can be saved just like regular rendered images. From the Save... pop-up menu in the Image Window, select Save Image to save the current rendered image to the image format of your choice. To view each rendered layer, at the bottom of the Image Window, select the Channel pop-up menu.

Select either MultiLayer or MultiLayer (Split Files) to save all the passes in the image together. Selecting MultiLayer will save each pass to a layer in a single file. The OpenEXR (.exr), Photoshop (.psd), TIFF (.tif), and Epix (.epx) file formats can be used for MultiLayer files. Selecting MultiLayer (Split Files) will save each pass in a separate file.
Note Saving in EPix format is available in Shade3D Professional.
Pass Types
The following pass types can be used for MultiPass rendering. Here an overview of each is described.
Note The color depth of the image of each pass, with some exceptions, can be set to 8 bit, 16 bit, or 32 bit, using the Pixel Depth pop-up menu on the Image tab of the Rendering Settings.
Color Passes
The following are color passes, which generate a complete rendered image by using the listed blend mode.
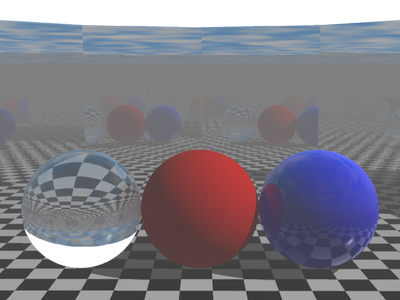
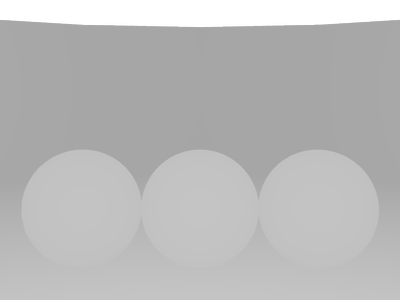
Fog
Generates a pass based on the Fog settings in the Distant Light Window. The fog density is saved to an alpha channel. All color passes besides Fog use alpha blending.
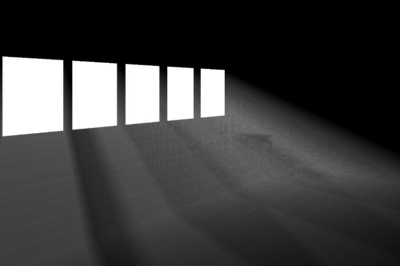
Volume Lights
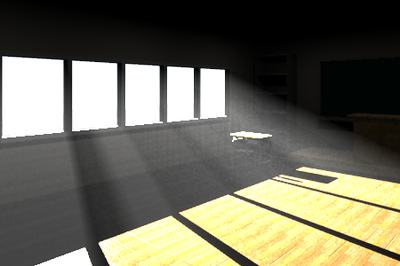
Generates a volume light pass. Is applied using Addition (Linear Dodge) blend mode.
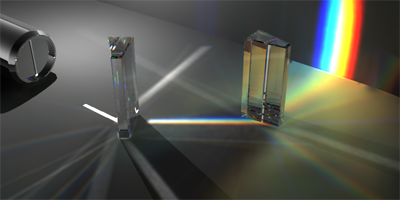
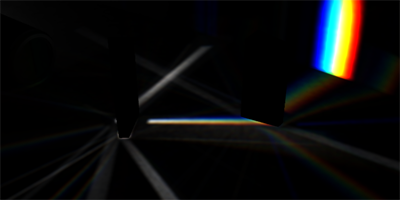
Caustics
Generates a photo map caustics pass. Is applied using Addition (Linear Dodge) blend mode.
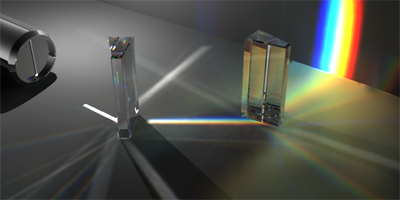
Global Illumination
Generates a pass of global illumination (path tracing / photon map / radiosity). Path Tracing and Photon Mapping include indirect light and IBL components. Radiosity includes the component selected in the Energy pop-up menu. Is applied using Addition (Linear Dodge) blend mode.
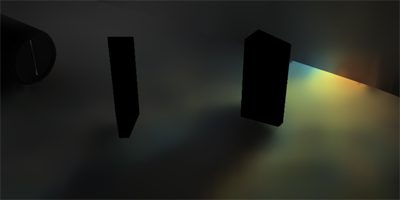
Reflection
Generates a pass of the Reflection surface attribute. Only reflection of one-dimensional rays is included. Is applied using Addition (Linear Dodge) blend mode.
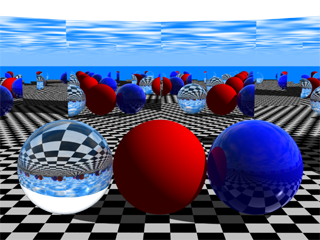
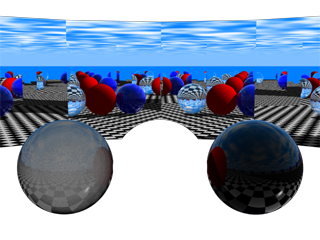
Transparency
Generates a pass of the Transparency surface attribute. Only transparency of one-dimensional rays is included. Is applied using Addition (Linear Dodge) blend mode.
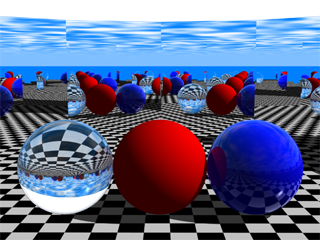
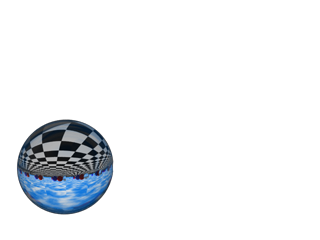
Environment Map
Generates a pass of combined of Metallic and Environment map surface attributes. Is applied using Addition (Linear Dodge) blend mode.
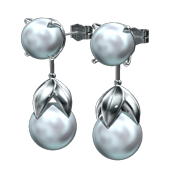
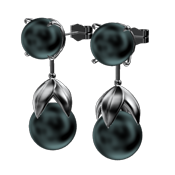
Glow
Generates a pass of the Glow surface attribute. Is applied using Addition (Linear Dodge) blend mode.
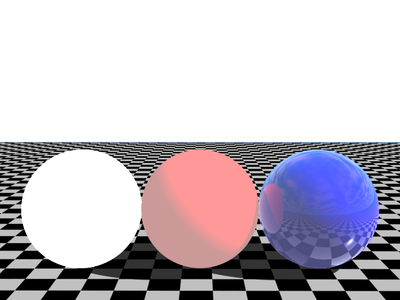
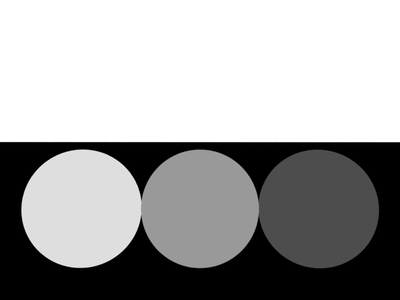
Ambient
Generates a pass of the Ambient value of the Distant Light. Is applied using Addition (Linear Dodge) blend mode.
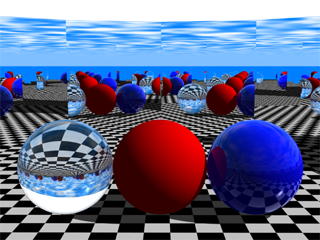
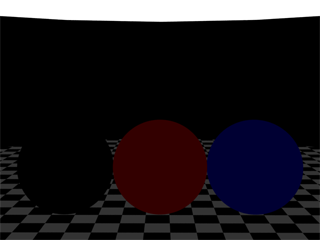
Shadow
Generates a pass of shadows only. Is applied using Multiply blend mode for Specular, Diffuse, and Background.
Caution Shadows created by Global Illumination are not used.
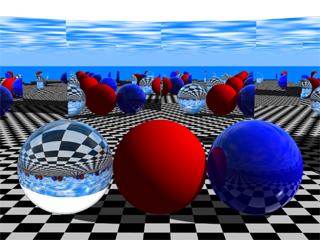
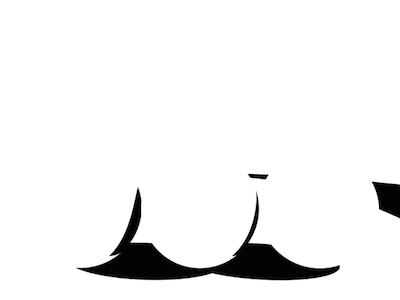
Specular
Generates a pass of Specular 1 and Specular 2 surface attributes. The pass is generated without receiving shadows. Is applied using Addition (Linear Dodge) blend mode.
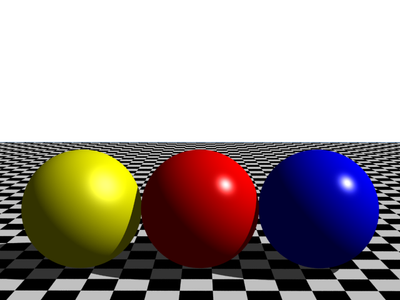
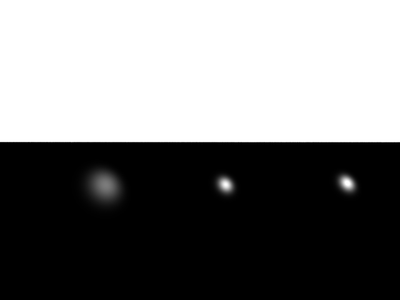
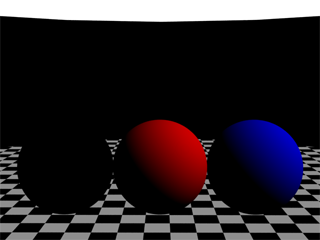
Diffuse
Generates a pass of the Diffuse surface attribute. The pass is generated without receiving shadows. Only direct light from the Distant Light and object lights is used. Is applied using Addition (Linear Dodge) blend mode.
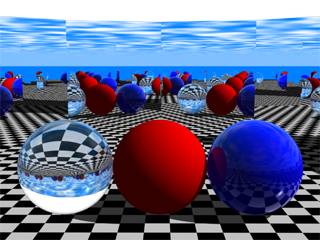
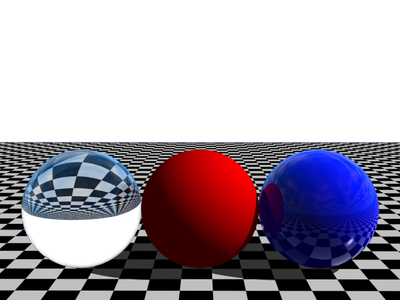
Background
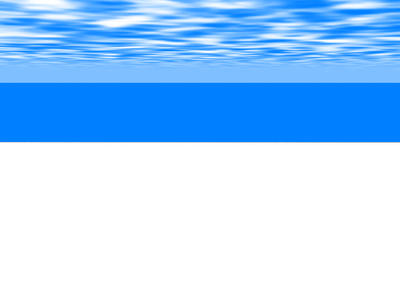
Generates a pass of the background set in the scene. Is applied using Addition (Linear Dodge) blend mode.
Data Passes
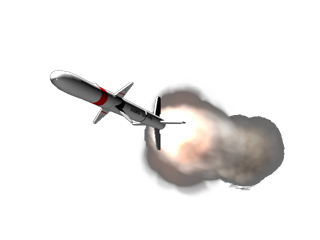
Pre Effect
Keeps an image of the scene before effector and Correction Window settings are applied.
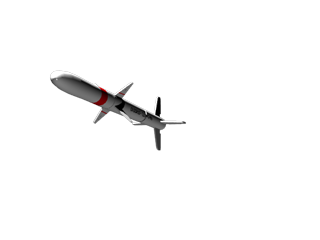
Position
Generates the target scene's global coordinate information as an image. The length of the long side of the scene's bounding box is set to 1.0, and the coordinates along each X, Y, and Z axis are normalized to the range of 0.0 - 1.0 according to their R, G, B values, respectively. When using scripts, the position is not normalized, and the world coordinates are returned directly.
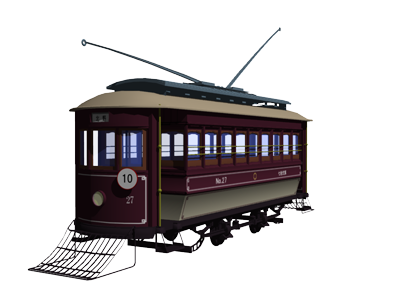
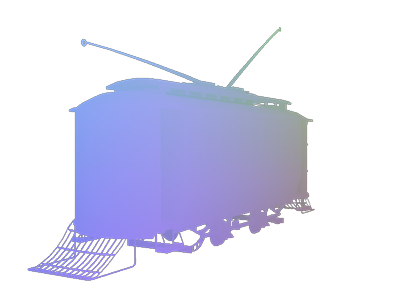
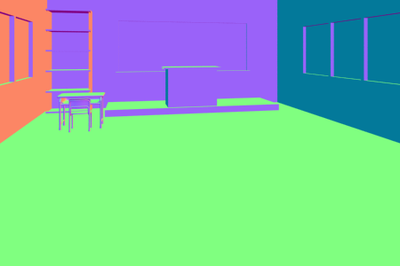
XY Normals
Generates normal information as an image, based on the camera orientation. 0.5 is used as the origin, and each X, Y, Z value is normalized in the range of 0.0 - 1.0 for each element R, G, B. When using scripts, the normal vectors are returned directly.
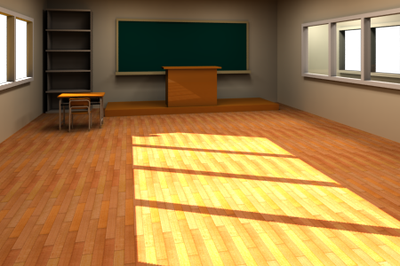
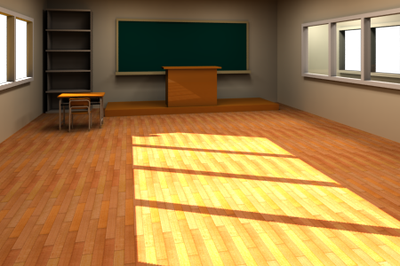
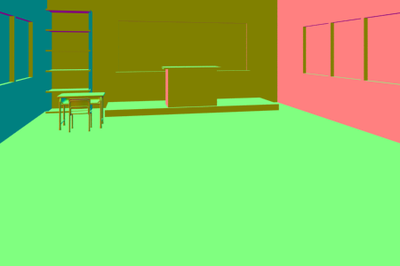
Normals
Generates normal information as an image, based on the global coordinates. 0.5 is used as the origin, and each X, Y, Z value is normalized in the range of 0.0 - 1.0 for each element R, G, B. When using scripts, the normal vectors are returned directly.
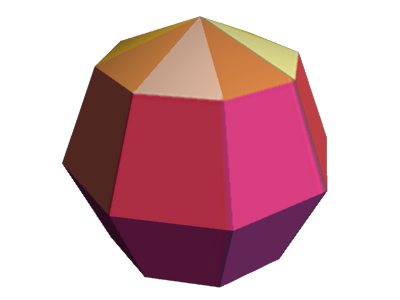
UV1 (Distance)
Generates UV coordinates (distance) information as an image for the objects in the target scene. Only objects with image mapped using wrap projection.
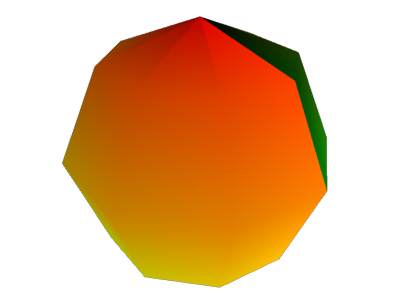
UV2 (Parameter)
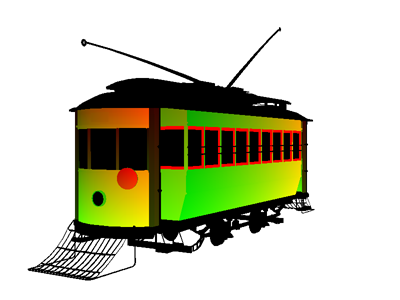
Generates UV coordinates (parameter) information as an image for the objects in the target scene. Only objects with image mapped using wrap projection.
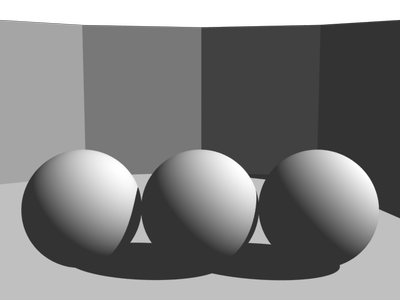
Light: Diffuse
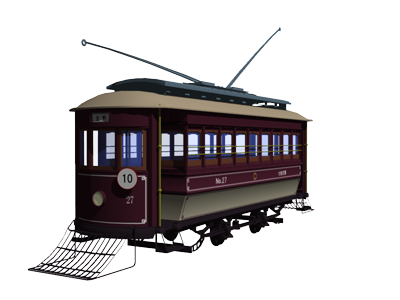
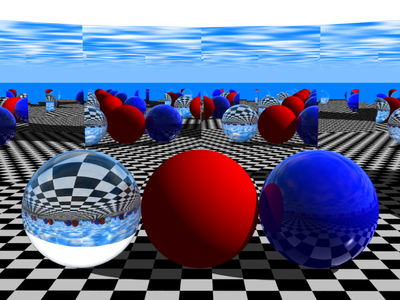
Generates an image of the diffuse light elements (Distant Light, object lights) in the target scene. This image is the same as removing global illumination components from a rendered image after surface attributes have been removed from all objects and Specular set to 0.
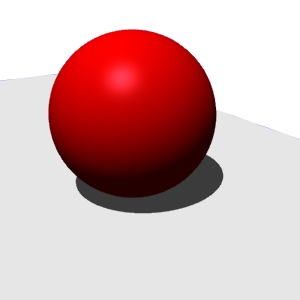
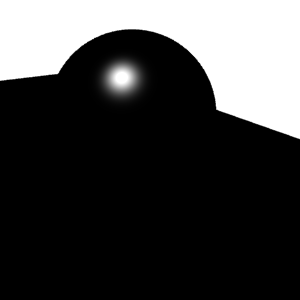
Light: Specular
Generates an image of the specular light elements (Distant Light, object lights) in the target scene. This image is the same as removing global illumination components from a rendered image after surface attributes have been removed from all objects and Diffuse set to 0.
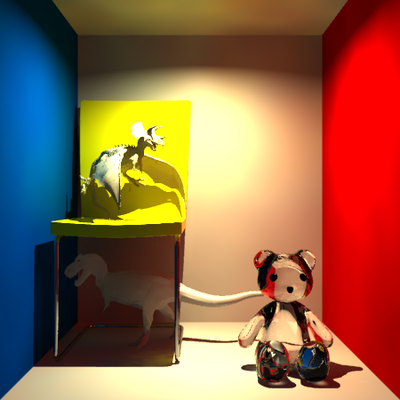
Light: GI
Generates a pass of global illumination (path tracing / photon map / radiosity). Path Tracing and Photon Mapping include indirect light, IBL, and caustics components. Radiosity includes the component selected in the Energy pop-up menu. This image is the same as removing direct light components (from the Distant Light and object lights) from a rendered image after surface attributes have been removed from all objects.
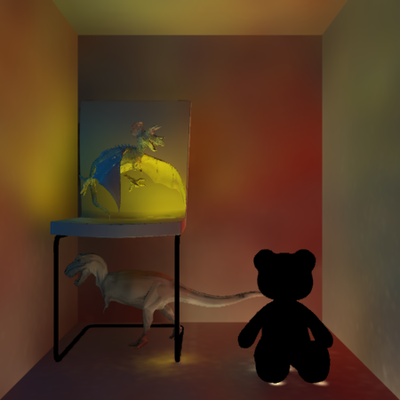
Surface: Diffuse
Generates an image of the diffuse color elements of the surface attributes of the objects. The elements are the Diffuse Color without calculating shading.
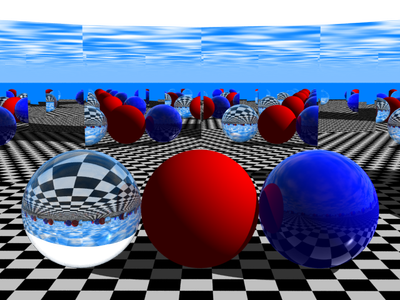
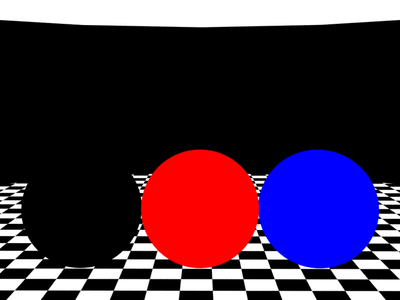
GI: Sampling Points
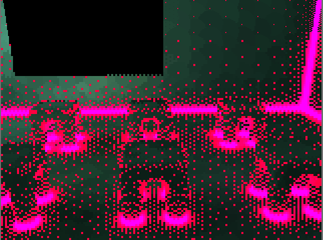
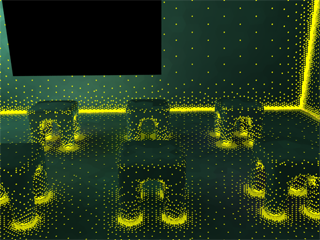
Generates a pass showing the arrangment of irradiance cache sampling points. This pass can make it easier to check the effect of various settings.
The display changes as the render progresses. Immediately after the render begins, in the "irradiance caching phase," red dots show the location of the generated cache. After the irradiance cache is generated, during the "progressive phase," yellow dots show where the cache is found, and red dots show the location of newly-generated cache. At places where detail is emphasized, the dots are a purple color.
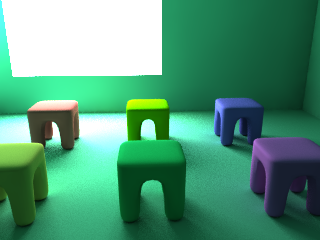
Transparency
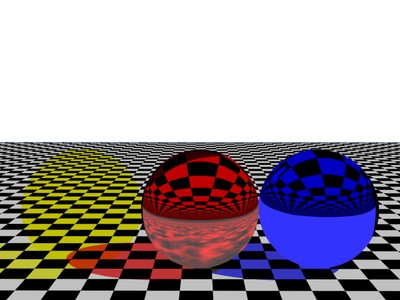
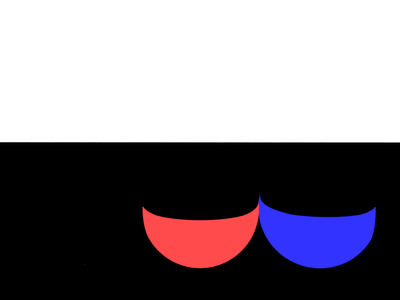
Generates transparency information as an image for the objects in the target scene. The generated image is the same as a rendered image with the Transparency Affects Alpha checkbox on the Misc. tab of the Rendering Settings.
Z Depth
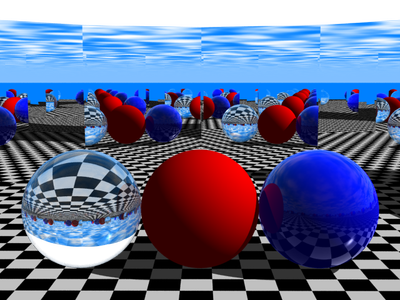
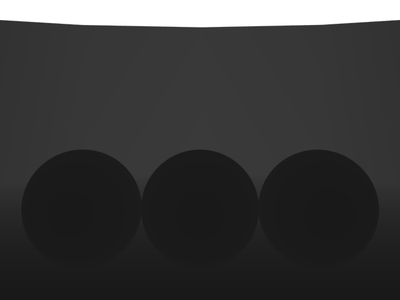
Generates as an image the distance from the camera for one-dimensional rays in the target scene. This distance is used as-is, and is different from the image information using the Z Depth settings on the MultiPass tab of the Rendering Settings. When using scripts, the actual distance value is returned.
Z Depth (Nth Ray)
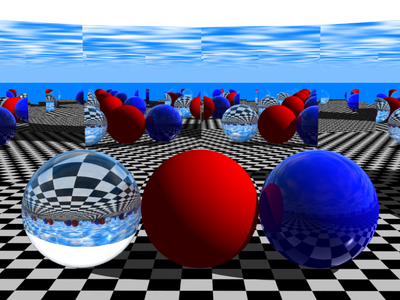
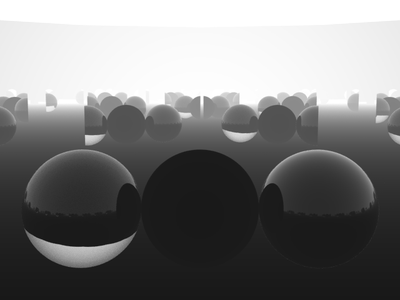
Generates as an image the distance from the camera for reflections and transparent objects in the target scene. This distance is used as-is, and is different from the image information using the Z Depth settings on the MultiPass tab of the Rendering Settings. When using scripts, the actual distance value is returned.
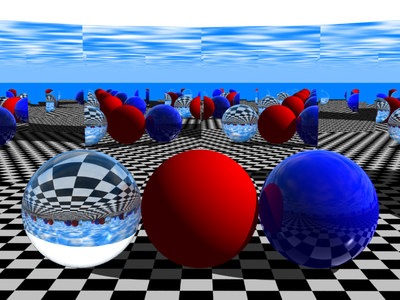
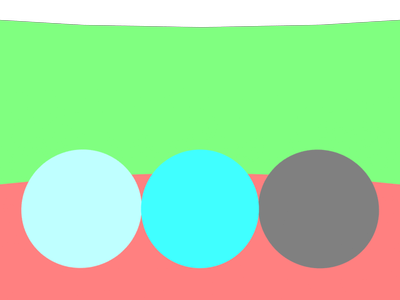
Object ID
Generates an image of the objects in the target scene, using a different color for each object.
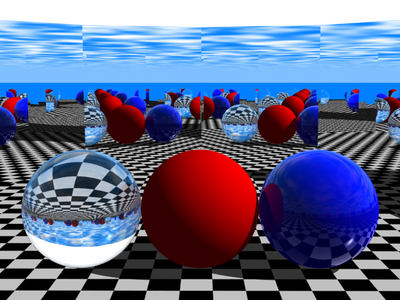
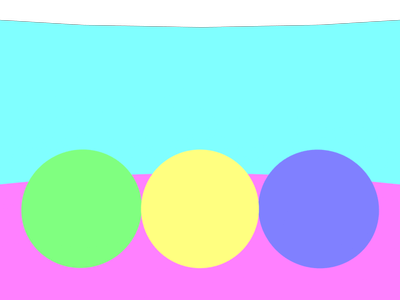
Surface ID
Generates an image of the surface attributes for each object in the target scene, using a different color for each object.
Marker Color
When marker colors are used in the Browser, generates an image of the marker color set for each object in the target scene, using a different color for each object.
Mask
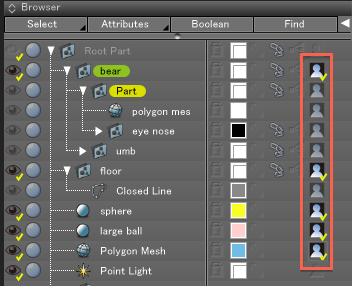
By selecting the MultiPass Rendering: Mask checkbox in the Browser, you can create a mask to an object or its surface attributes.
Object mask
Generates a mask to cut out objects of your choice from the rendered image. Objects whose MultiPass Rendering: Mask checkbox is selected in the Browser will show in this list.
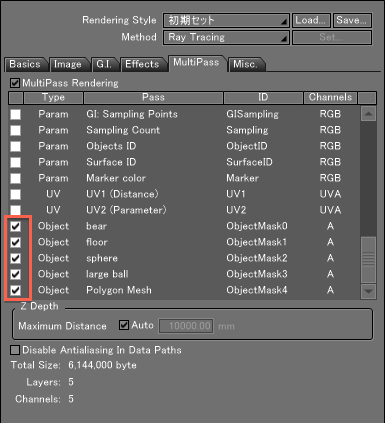
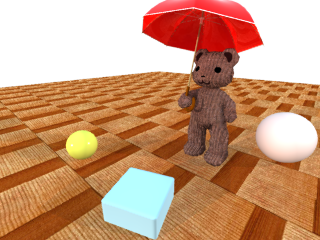
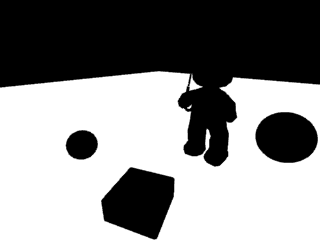
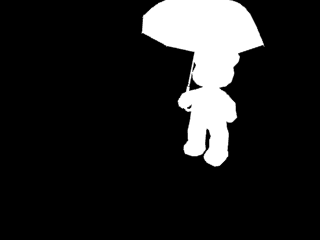
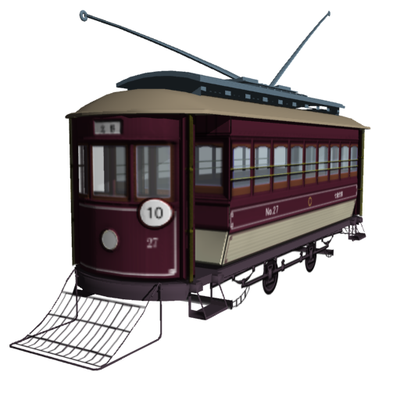
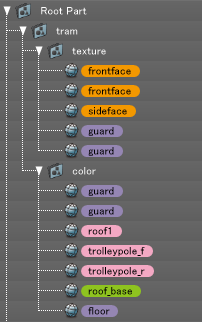
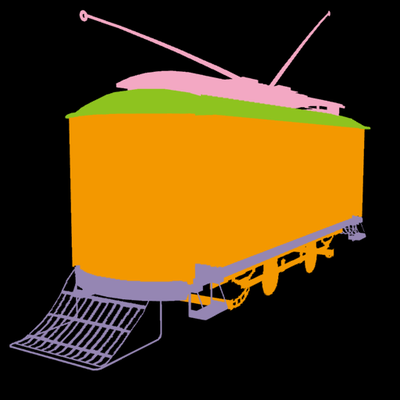
The above three images are an example of using object masks. A mask can be created for individual objects without affecting other elements in the scene.
Surface mask
Generates a mask to cut out objects with master surfaces from the rendered image. Master surfaces whose MultiPass Rendering: Mask checkbox is selected in the Browser will show in this list.
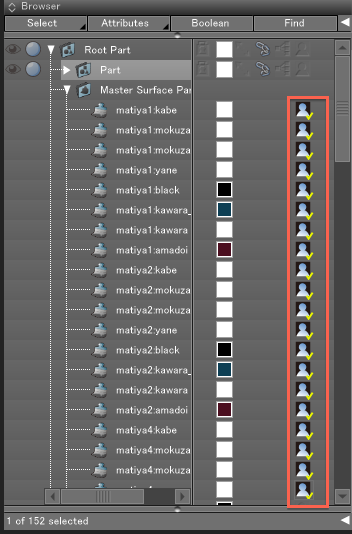
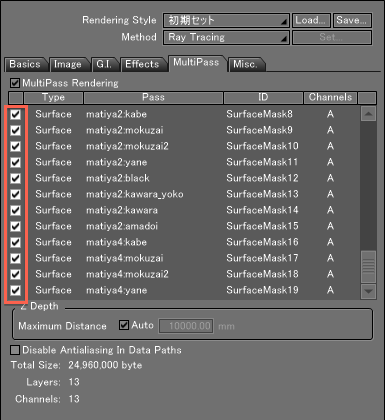
Note Selecting the MultiPass Rendering: Mask checkbox for a master surface will create a master surface mask; selecting it for other objects will create an object mask.
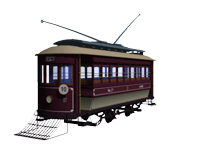
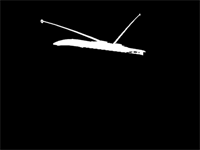
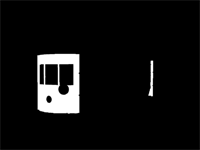
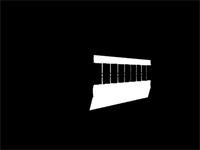
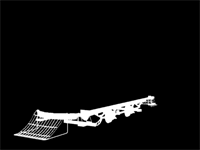
(Surface mask example)
Custom Pass
Supported passes for plugin renderers with independent elements are displayed in this list. Currently Toon Renderer supports MultiPass Rendering, and a custom pass is shown here when Toon Renderer is selected for the rendering method.
See also Support for MultiPass Rendering