Using Radiosity
First, let's take a brief look at how to use radiosity.
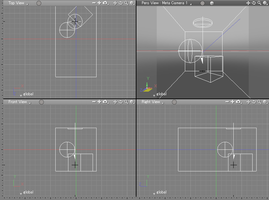
- Select View > Radiosity to open the Radiosity Window.
Radiosity 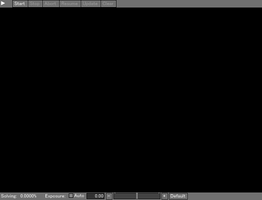
- Click the Show/Hide button at the top left of the Radiosity Window to display the Radiosity Settings.
Click the Display tab to specify the display parameters for the Radiosity Window. Adjust the settings as needed.
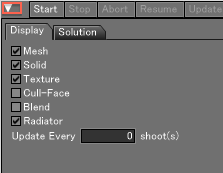
See also Radiosity Settings
- Click the Solution tab to specify the parameters of the radiosity calculation. Again, adjust these settings as needed.
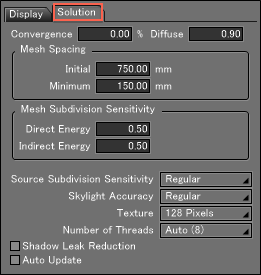
See also Radiosity Settings
- Click the Start button in the Radiosity Window to begin calculating the radiosity solution.
The resulting images, consisting of subdivided surfaces, are displayed sequentially in the Radiosity Window. While the calculation is in progress, the calculation indicator (in the upper-left corner) spins, and the progress indicator (in the bottom left corner) starts from 100% and counts down toward 0.
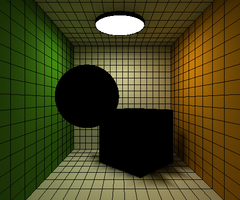
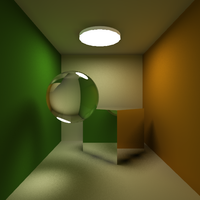
The result of the radiosity calculation is displayed as an image in the Radiosity Window.Note Transparent shapes are displayed in black.
- When the radiosity calculation has proceeded far enough, the percentage shown by the progress indicator begins to decrease much more slowly. When the calculation indicator has stopped spinning, the radiosity calculation is complete.
When the calculation completes, the Stop and Abort buttons are disabled, and the Start button is enabled.Note The radiosity calculation stops when the percentage of remaining data to be calculated, shown by the progress indicator, falls below the value specified in the Convergence text box on the Solution tab. A visual check of the radiosity calculation's progress may let you decide when the calculation has run far enough. In that case, you can stop the calculation before it has completed.
- Check the image in the Radiosity Window.
- If necessary, adjust the camera position to change the composition of the rendered image.
Because the radiosity solution only depends on the positional relationships between the light sources and object surfaces, the camera can be moved afterward without affecting the radiosity solution. - When you have decided the final composition of the scene for rendering (i.e., the camera position), the next step is to adjust the rendering settings.
In the Image Window's Rendering Settings, select a rendering method.
On the G.I. tab, select Radiosity from the Global Illumination pop-up menu. Now the radiosity solution can be used for rendering.
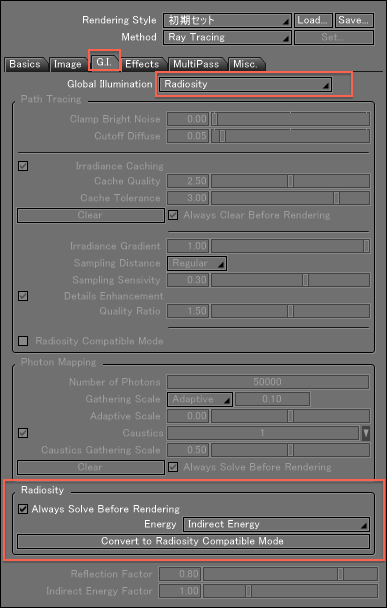
- Also on the G.I. tab, in the Radiosity group, is the Energy pop-up menu. This determines how the radiosity solution will be used.
When Indirect Energy is selected, only the data related to indirect light is extracted from the radiosity solution and used for rendering. The data for direct light, that is, rays of light incident on surfaces from light sources, is retrieved from the shadows of the Ray Tracing or Shadow Map instead of the radiosity solution. This method renders sharper shadow edges with light sources such as Distant Lights, Point Lights, and Spotlights. However, the drawback is that the reflections of Area Light sources are processed as those of Point Light sources for Ray Tracing or Scan Line rendering.
When Total Energy is selected, the data related to both indirect light and direct light in the result of the Radiosity calculation is used for rendering. This method accurately reproduces the diffuse reflections of area lights, and reduces rendering time because shadows are not calculated. However, the disadvantage is that some of the surfaces may not be displayed. - Once you have adjusted the rendering settings, click the Render button in the Image Window to start rendering.
Note that you cannot perform rendering while the radiosity calculation is in progress.
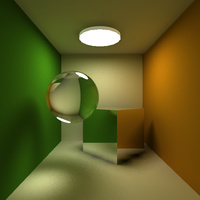
- Check the rendered image, and if necessary open the Color Correction Window to correct the color.
Select View > Color Correction to open the Color Correction Window.
This window allows you to adjust the gray balance (highlights, neutral gray, and shadows) and the color balance by modifying the Gamma value. Color Correction Window settings are applied the next time the scene is rendered.
Color Correction Window settings are applied based on real color (32-bit RGB), resulting in no deterioration of quality. We recommend you make the most of this feature.
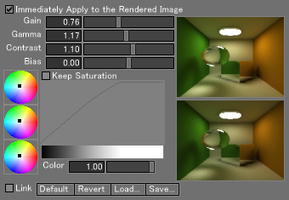
See also Color Correction Window
- Once you have adjusted the color correction settings, render the scene again.
Note Color Correction in Shade3D Professional is applied to the rendered image in realtime.