RoomPlanner Reference
| RoomPlanner |
|---|
|
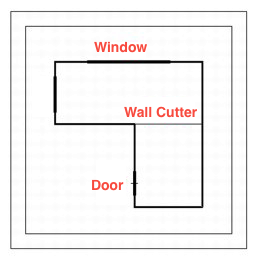
Below is the 2D (two-dimensional plane) image that contains the door, windows and the deleted wall.
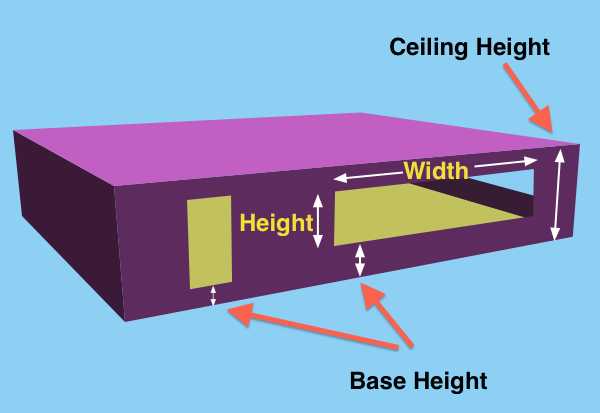
The figure below shows the height of floors, the height of a ceiling, the width and the height of a window, all of which can be specified with RoomPlanner.
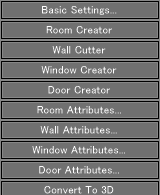
Basic Settings button
Clicking this button will open the RoomPlanner Basic Settings dialog box that allows you to configure basic settings such as the sizes of the construction and building sites.
See alse RoomPlanner Basic Settings Dialog Box
Room Creator button
Click the Room Creator button to create a room inside the HomeBase (building site) in the top view. Position the three-dimensional cursor at a location where you want to create a room and drag diagonally to draw a rectangular room.
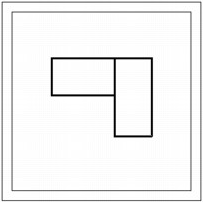
Tip When you finish dragging, the Room Creator dialog box appears. Refer to the later section titled "Room Attribute button" for more information.
Wall Cutter button
This button allows you to delete a portion of, or an entire external wall, or a common wall that separates rooms . To remove a wall, click the Wall Cutter button and position the cursor at a point on the wall and drag along it.
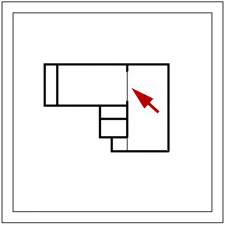
Tip After the removal of a wall, click the room that contains the deleted wall and click the Wall Attribute button. The Wall Cutter dialog box appears where you can configure detailed settings for each wall. Refer to the section below entitled "Wall Attribute button" for more information on the Wall Cutter dialog box.
Window Creator button
This button allows you to add a window to your floor plan. Position the cursor at a point where you want to create a window in the top view and drag the cursor.
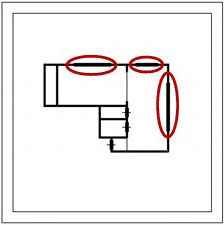
TipAfter creating a window, click the room that con- tains it to select it, and click the Window Attribute button. The Window dialog box appears where you can configure detailed settings for each window. Refer to the section below entitled "Window Attribute button" for more information on the Window dialog box.
Door Creator button
This button allows you to add a door to your floor plan. Position the cursor at a point where you want to create a door in the top view and drag the cursor.
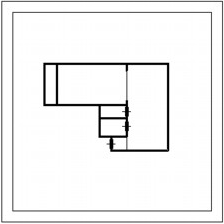
Tip After creating a door, click the room that contains it to select it, and click the Door Attribute button. The Door dialog box appears where you can configure detailed settings for each door. Refer to the section below entitled "Door Attribute button" for more information on the Door dialog box.
Room Creator button
Clicking this button will open the Room Creator dialog box which allows you to specify various settings for the room you created.
See alse Room Creator Dialog Box
Wall Attributes... button
Clicking this button will open the Wall Cutter dialog, but only if a wall of the selected room has been cut.
See alse Wall Cutter Dialog Box
Window Attributes... button
Clicking this button will open the Window dialog box, which lets you specify various options for a created window.
See alse Window Dialog Box
Door Attributes... button
When you click this button after the creation of a door, the Door dialog box will appear.
See also Door Dialog Box
Convert To 3D button
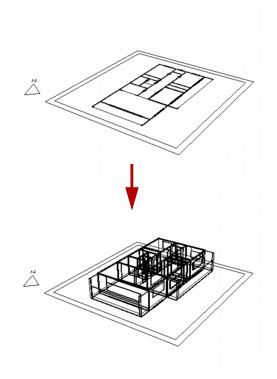
Clicking this button will cause your 2D floor plan in the top view to be converted into a 3D image.
