Using Auto Smooth
- Select a line object or curved surface you wish to apply Auto Smooth to and select the Auto Smooth option from the Modify tool in the Toolbox (under Plugins).
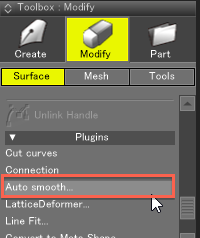
- The Auto Smooth (NURBS) dialog box opens.
Auto Smooth (NURBS) 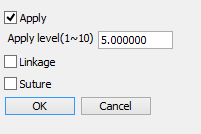
Select the Apply checkbox and adjust the settings as desired.
See also Auto Smooth Reference
- Click the OK button after adjusting the settings. Automatic smoothing is applied and the mode is automatically switched to Modify.
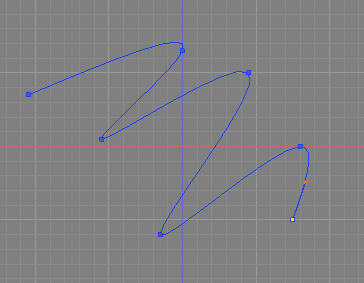
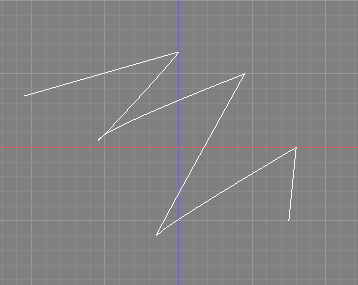
The affected control points (small rectangles) are displayed in the same size as large points and in the same color as other control points of the wireframe being edited. Even in Object Mode, control points are shown with boxes.
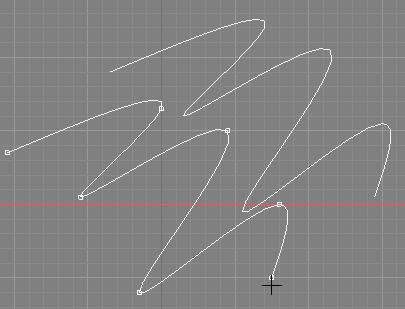
Top: control points in a normal Bezier curve. Bottom: control points after automatic smoothing is applied.
Auto Smooth can also be applied to part of the line. Click the Editing Mode button on the Control Bar and switch to Modify Mode, then select the control points you wish to apply Auto Smooth to. At least three consecutive control points must be selected.
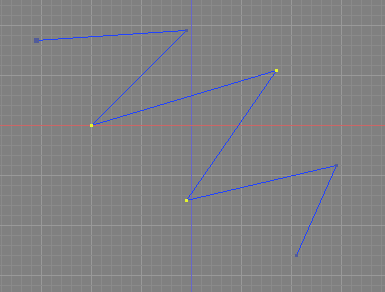
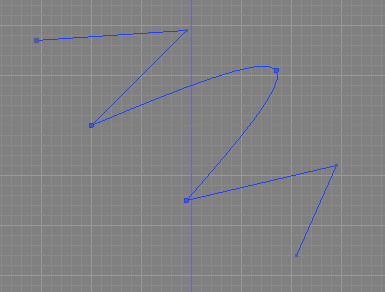
Note Auto Smooth is only available when three or more consecutive control points are selected.
- Next we will move the control points that have Auto Smooth applied. As you move one control point, the tangent handles of surrounding control points are automatically adjusted, resulting in smooth curves along the area with Auto Smooth applied.
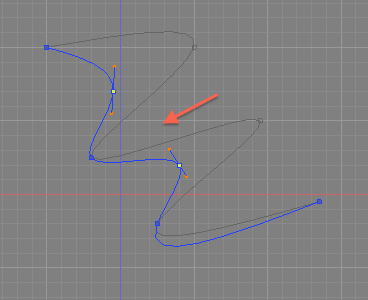
(The original line is shown in gray)
When you have applied Auto Smooth to a curved surface, select it and enter Modify Mode to move the controls points. If you select a line object inside the curved surface, Auto Smooth will not work for its control points. Instead, the selected line object is treated as a normal Bezier curve.
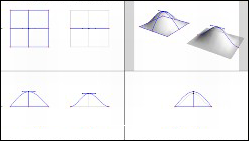
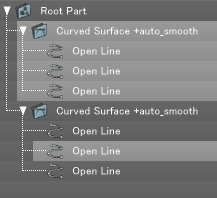
In the front view (on the left), the curved surface part is selected and its control points are moved. On the right, a line object inside the curved surface is selected and its control points are moved.
Note Even after selecting a line object inside a curved surface part and moving the control points, by selecting the curved surface and switching to Modify Mode, Auto Smooth is applied at that time.
- To cancel Auto Smooth, select Object Mode from the Editing Mode button on the Control Bar or press Enter (Win) or Return (Mac) to exit Modify Mode. Then select Auto Smooth from the Toolbox again and deselect the Apply checkbox in the Auto Smooth (NURBS) dialog box.
To cancel Auto Smooth applied to a segment, in Modify Mode select the control points associated with the segment and then deselect the Apply checkbox in the Auto Smooth (NURBS) dialog box.