Setting Objects to a Specific Path
Creating a Bicycle Chain
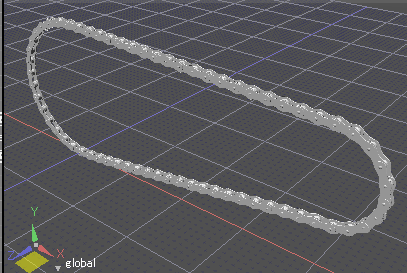
- In ShadeExplorer, under Presets and in Documentation - Reference Manual, find "PathConst03_chain.shd" and open it.
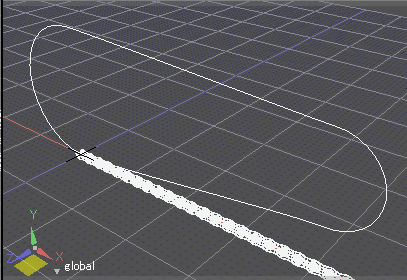
In this file there are link objects with two components each, which form the chain, and a closed line object which forms the path for the chain. Rotator joints are set for each piece of the chain. These rotator joints are all flat joints.
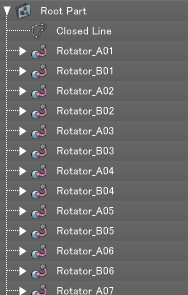
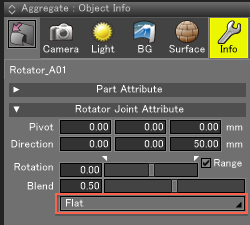
Tip Objects with many links, such as a bicycle chain, are easier to work with in the Browser if they are set to be flat joints. Select "Flat" from the drop down menu in the lower left corner of the Object Info window to make an object a flat joint. Flat joints share the same hierarchy level in the Browser with each other but are treated as if they were nested.
- In the Browser select the closed line, and in the Toolbox choose Part > Path.
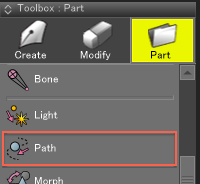
- A path joint is created just below the closed line.
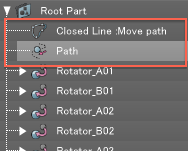
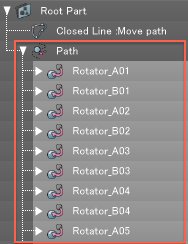
- Move all the rotator joints (forming the bicycle chain) inside the path joint in the Browser.
- With the path joint selected in the Browser, in the Toolbox choose Part > PathConstraints End.
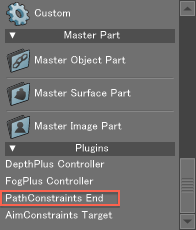
- The PathConstraints dialog appears.
PathConstraints 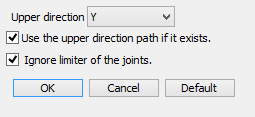
- The default settings are suitable for the purpose of illustrating PathConstraints here, so click OK to accept the settings.
See also The PathConstraints Dialog
- Select the last object in the bicycle chain ("Rotator_B32").
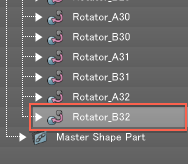
- In the Figure window click the Fit button to center the object in the viewport, and then click or drag at the point of the last link in the bicycle chain. An End object is created below the Rotator_B32 part selected in the Browser.
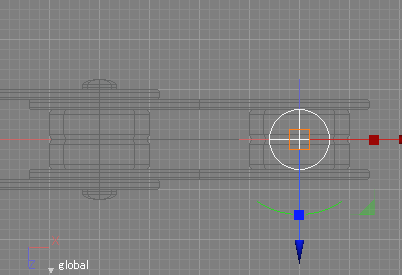
Note When creating End objects, dragging the cursor in the Figure Window will change the size of the End object, but this size has no effect on its function.
Note The End object can be moved in the Figure Window or Browser hierarchy after it is created. - Moving the path joint slider in the Object Info Window moves the chain along the path.
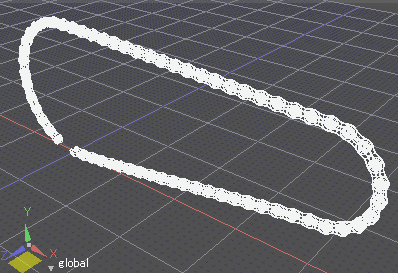
Note If the path is a closed line object it will form a loop even if the joint value is 0.
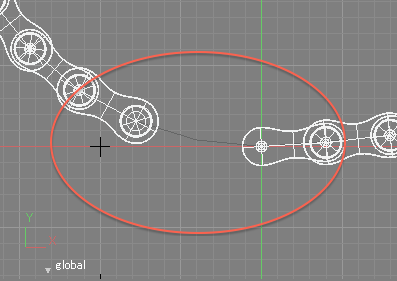
However, by zooming in to the start of the chain in the Figure Window we can see that the chain is not quite long enough. Several links must be added to complete the chain.
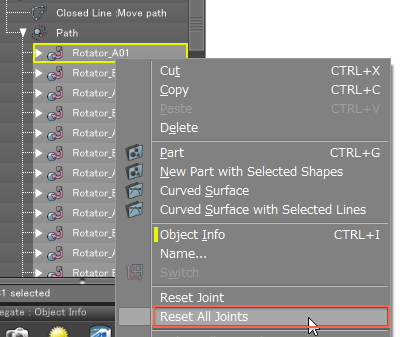
- Select all the rotator joints inside the path joint in the Browser, right-click to open the contextual menu, and select Reset All Joints. The chain returns to its original position.
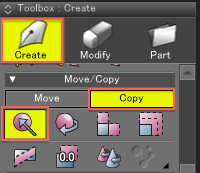
- In the Toolbox, choose Create > Copy > Translation.
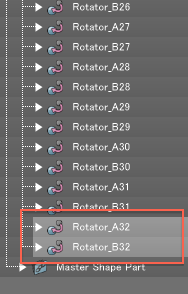
- In the Browser select "Rotator_A32" and "Rotator_B32", and click the Fit button in the Figure Window to center them in the viewport.
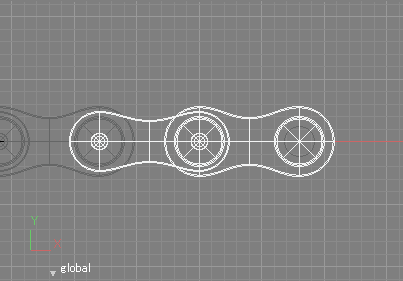
- Click and drag the chain link to the right so that the circles overlap.
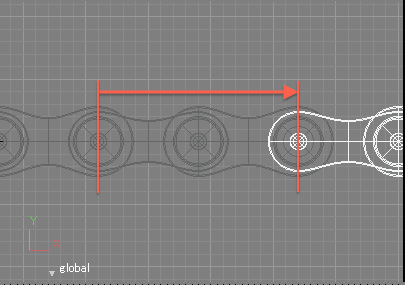
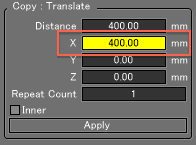
- After dragging, in the Tool Parameters enter 400 for X to position the copied link precisely.
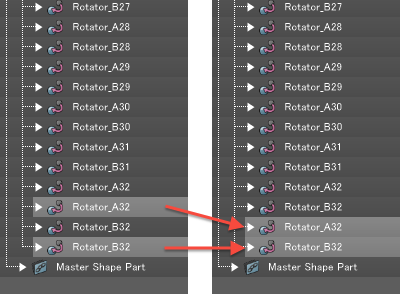
- In the Browser, move the two new rotator joints to the very bottom.
- Double-click both new rotator joints and change their names to Rotator_A33 and Rotator_B33.
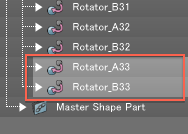
- By expanding the Rotator_B33 part in the Browser you will see an End object. This object is not needed, so it can be deleted.
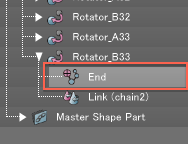
Important If an object containing an End object is copied, a new End object will be created along with the new object; however, this new End object has no effect on PathConstraints. The correct End object is named "End: PathConstraints".
- Move the PathConstraints End object to the Rotator_B33 link in the Figure Window. Drag the Manipulator to the right, and release the mouse button at 400.
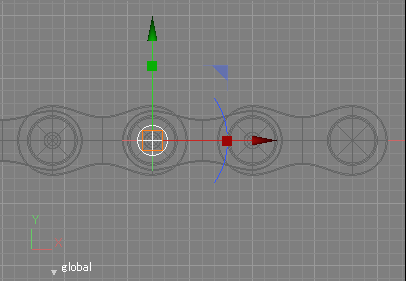
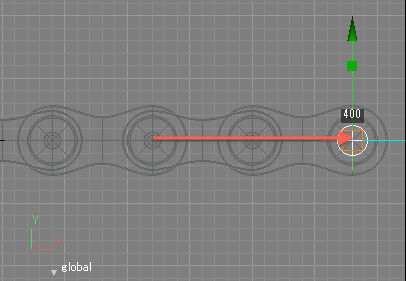
- In the Browser, move the End object from inside "Rotator_B32" to inside "Rotator_B33".
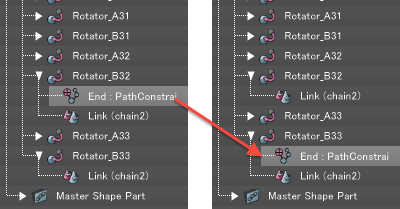
- Open the Object Info Window for the path joint again and watch the chain move along the path as you move the joint slider back and forth.
This time, zooming in to the start of the chain shows that the chain is the perfect length.
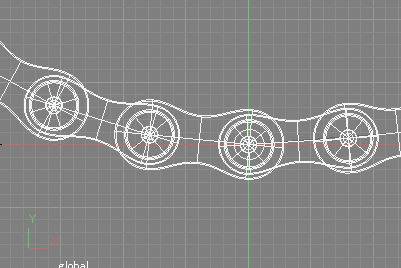
If you add links to the chain and the length is not quite right, adjust the length of either the path or the links themselves.
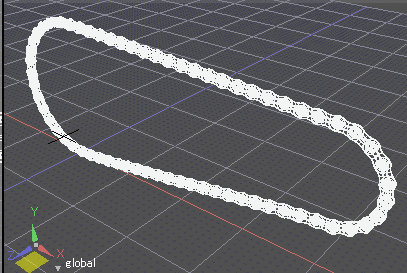
Note When animating bicycles or similar situations when the chain must rotate continually, modifying the range of joint values used by the slider makes it easy to adjust the acceleration or deceleration. Click the joint slider while holding Ctrl (Win) | Control (Mac) to open the Joint Advanced Settings dialog. Set the maximum value to be the number of loops you wish the chain to make and the slider will then show multiple revolutions. This animation can be done without changing the scale of the Motion Window curve.