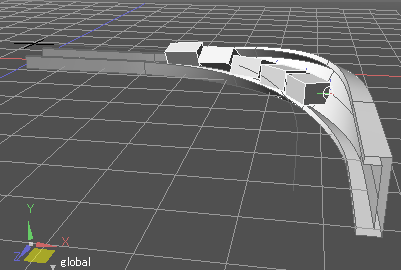
Animating Objects Along a Path
Animating a Train Along a Track
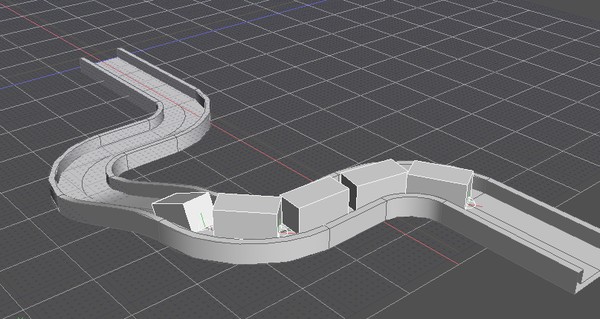
Creating the Train
To model a simple train, extrude a closed line object and then create a hierarchy structure with ball joints.
- In ShadeExplorer, under Presets and in the Documentation - Reference Manual, find "PathConst01_rail.shd" and open it.
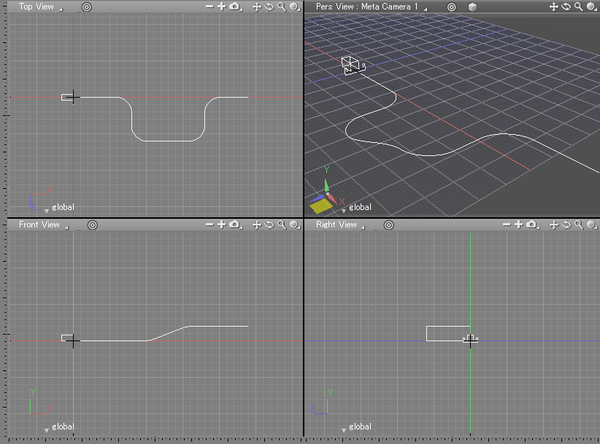
In this scene, the extruded closed line is a train car, the open line is the path of the track, and the closed line is the cross section of the track. The open line will be the path used for PathConstraints.

- Select the extruded closed line and click the Fit button in the Figure Window to zoom in closer. In the Toolbox, choose Part > Ball Joint and click at the front end of the train to create a ball joint there.
In this sample file, the ball joint should be located precisely at the origin of the scene.
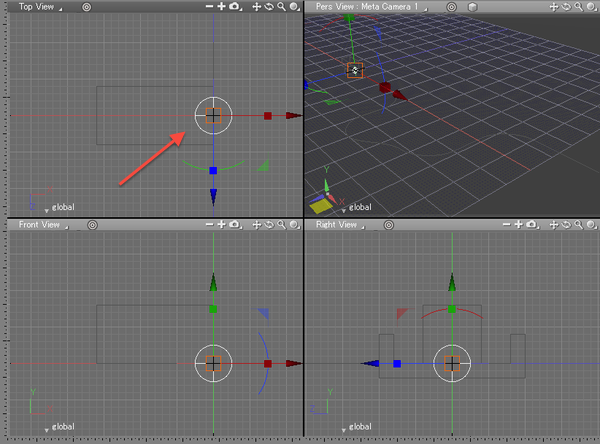
- In the Browser, move the extruded closed line inside the ball joint.
This train car will be the first car.
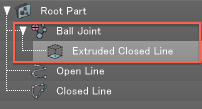
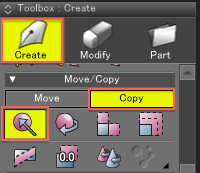
- With the Ball Joint part selected in the Browser, choose Create > Copy > Translation in the Toolbox to create a copy of the train car behind the original.
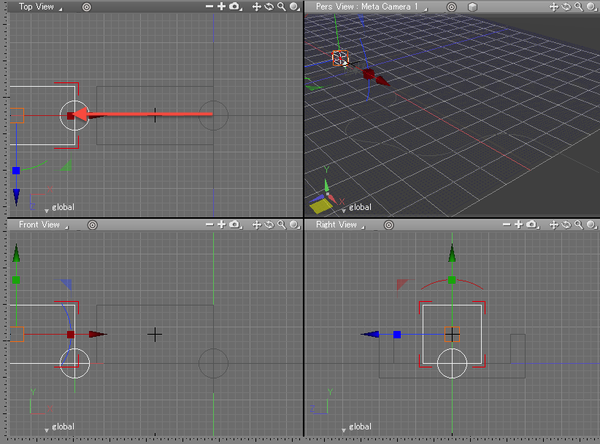
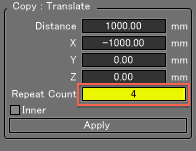
In the Tool Parameters, enter 4 for Repeat to repeat the copy operation 4 times.
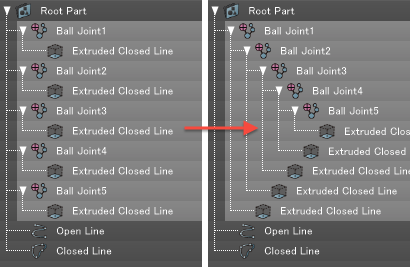
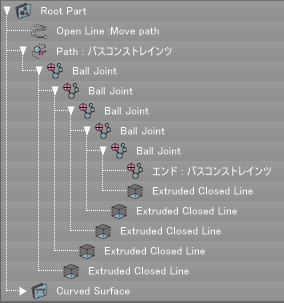
- Now arrange the objects in the Browser so that the ball joints (and train cars) are nested within each other, as shown below. The last train car should be nested inside the fourth ball joint, which in turn should be nested within the third ball joint, and so on creating a hierarchy of ball joints. It helps to first number the ball joints in order starting with the first train car.
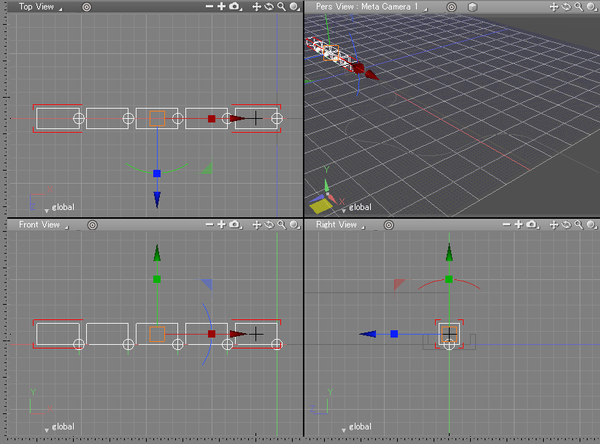
The train is now finished.
Creating the Track
To create the train track we will extrude the closed line object along the path of the open line. Since this is the same open line that will be used for PathConstraints, it will be easiest to set the starting point at exactly the same point as the ball joint of the first car. The starting point of the open line in this sample file is at the origin.
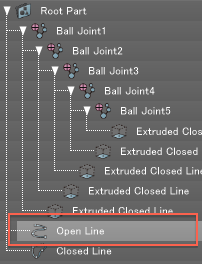
- Select the open line and click the Memorize button in the Toolbox to memorize the object.
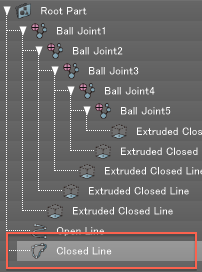
- Select the closed line, and choose Sweep in the Tool Parameters.
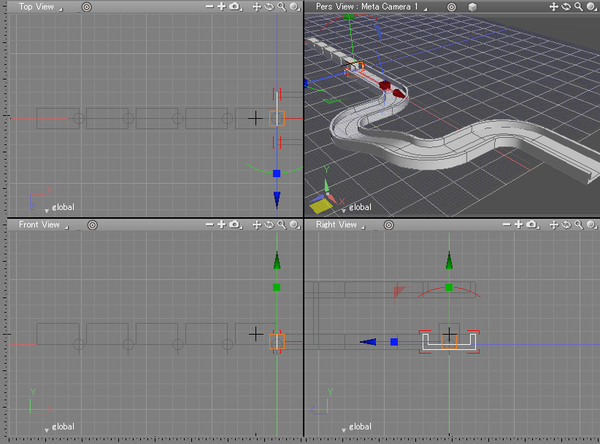
- The track is extruded along the open line.
Using PathConstraints
Next we'll use the open line together with PathConstraints to control the path of the train.
- In the Toolbox, choose Part > Path.
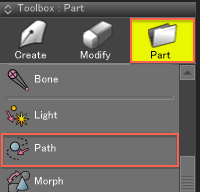
A path joint is created.
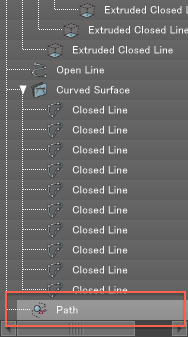
- Move the newly created path joint directly below the open line in the Browser. After moving the path joint, "Open Line" automatically changes to "Open Line :Move path" in the Browser.
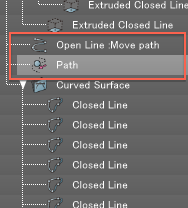
- Now move the ball joints for the train inside the path joint.
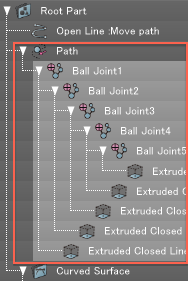
- With the path joint selected in the Browser, click the Info button in the Aggregate Window to open the Object Info Window for the path joint.
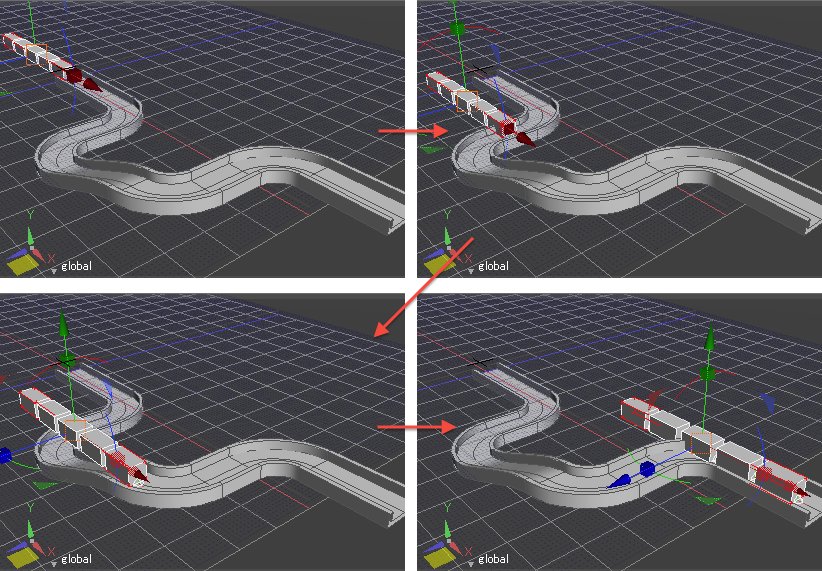
Moving the Path slider in the Object Info Window moves the front of the train along the path, but the rear cars follow rigidly behind it.
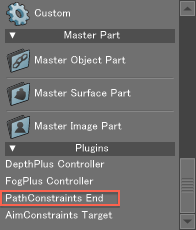
- With the path joint still selected in the Browser, in the Toolbox choose Part > PathConstraints End.
The PathConstraints dialog appears.
PathConstraints 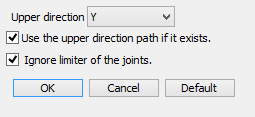
The default settings are suitable for the purpose of illustrating PathConstraints here, so click OK to accept the settings.See also The PathConstraints Dialog
- In the Figure Window, click or drag the cursor at the rearmost edge of the last car. PathConstraints attributes are applied to the path joint, and in the Browser the name changes to "Path :PathConstraints". An End object ("End :PathConstraints") is also created.
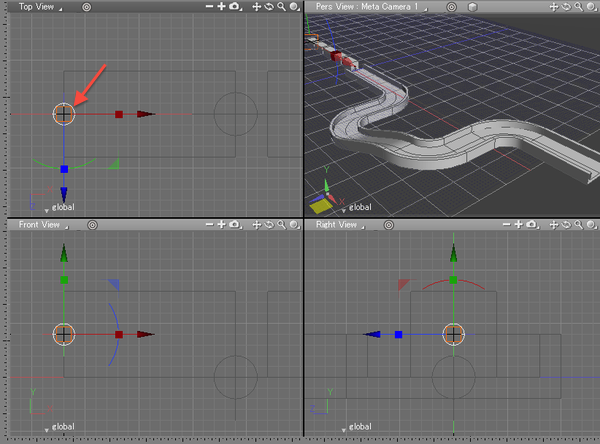
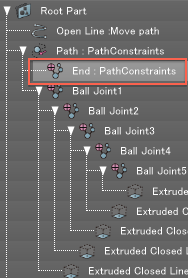
Note End objects must be created behind the last ball joint. When creating End objects, dragging the cursor in the Figure Window will change the size of the End object, but this size has no effect on its function.
- Place the End object that was created ("End :PathConstraints") inside the fifth ball joint (the last one in the train).
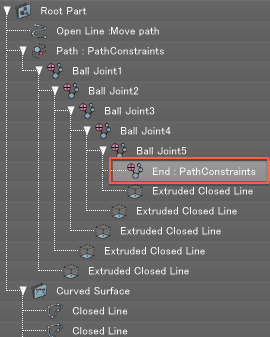
Note The End object can be moved in the Figure Window or Browser hierarchy after it is created.
- By moving the joint slider in the Object Info Window, we can see that the train cars now turn left and right as they follow the path.
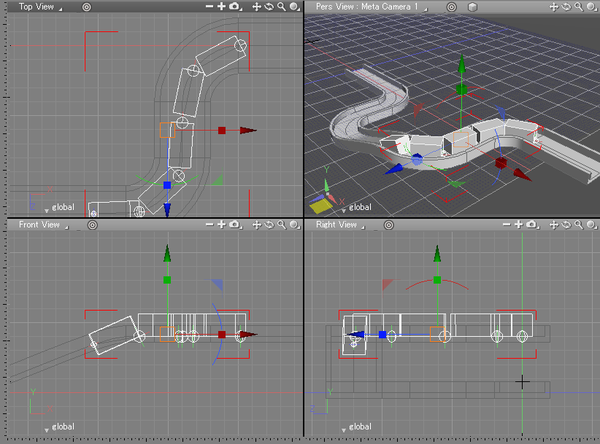
The center of each of the ball joints and the End object are constrained to the path. If the position of a joint or End object is off-center, the orientation of the train cars will be incorrect. In that case, enter Modify Mode and adjust the center of the appropriate joint or End object.
Moving a Train Along a Banked Track
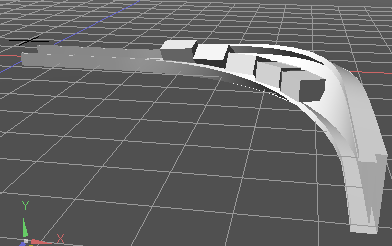
- In ShadeExplorer, under Presets and in Documentation - Reference Manual, find "PathConst02_bank.shd" and open it.
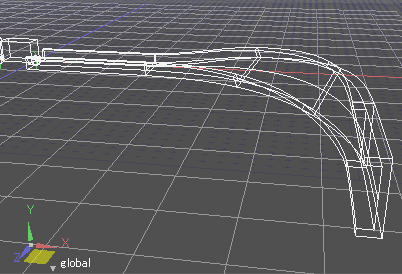
This file contains a train with PathConstraints and a banked track.
- Moving the Path slider of the Path:PathConstraints part in the Object Info Window will move the train along the track but the train keeps its vertical orientation, ignoring the bank.
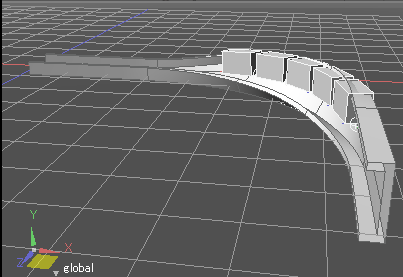
In order to move the train properly along the banked path, the Upper Direction must be set in the PathConstraints dialog.
Here we will create a copy of the original path and then create the upper direction. - With either the path joint ("Path : PathConstraints") or End object ("End : PathConstraints") selected in the Browser, click the Browser's Attributes pop-up menu and select Set PathConstraints Attributes...
The PathConstraints dialog appears.
PathConstraints 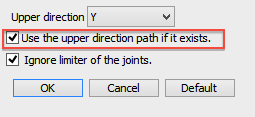
- Verify that the "Use the upper direction path if it exists" checkbox is checked. If it is not checked, check it now, then click OK.
- Make a copy of the open line ("Open Line: Move path") that is directly above the path joint in the Browser.
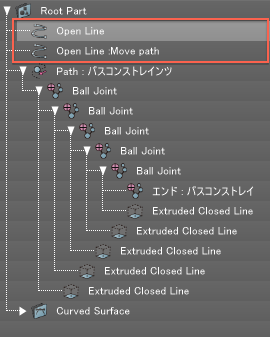
- Edit the copied open line in the Figure Window. The angle between the position of this line and the position of the original line will be the bank of the track.
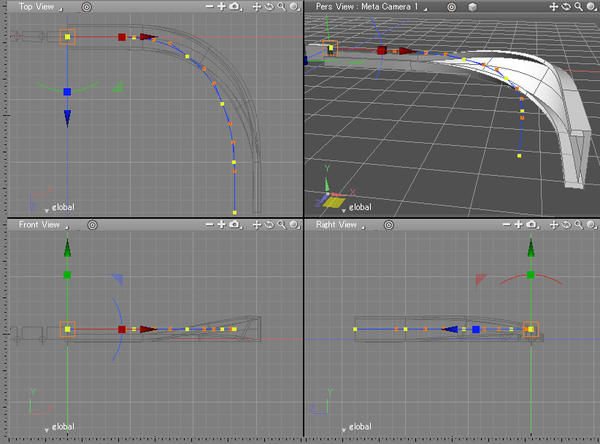
- Moving the slider in the Object Info Window of the path joint causes the train to move along the track following the bank. If the angle of the train does not match the angle of the track, adjust the path while checking the angle.
