Mapping UVs to an Image
UV maps can be unwrapped over an image specified in the Surface Window.
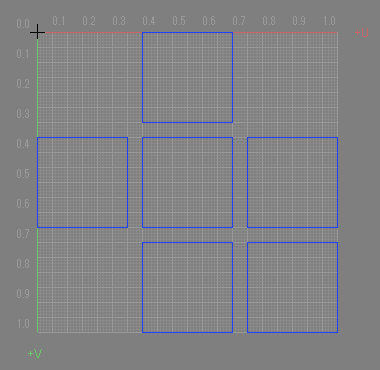
- In ShadeExplorer, under Presets and in the Documentation - Shade3D Manual folder, find UVMapDice.shd and open it.
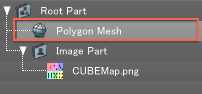
- Select the polygon mesh.
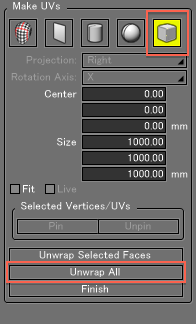
- Select Make UVs from the UV View's UV menu, and choose the box unwrapping method. Click Unwrap All to unwrap a new UV map.
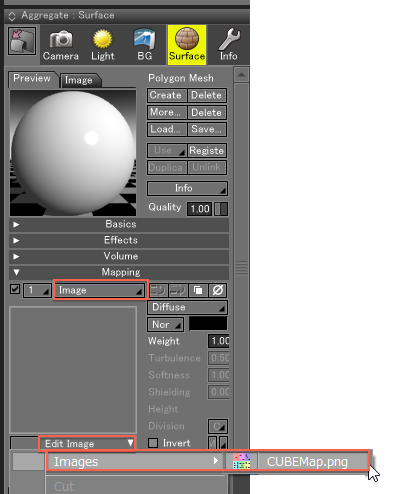
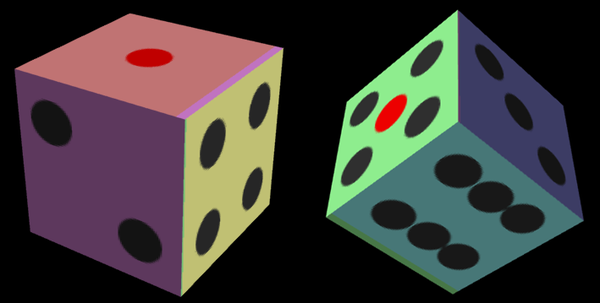
- In the Surface Window under the Mapping option group, select Image for the mapping type. From the Edit Image pop-up menu select Image > CUBEMap.png.
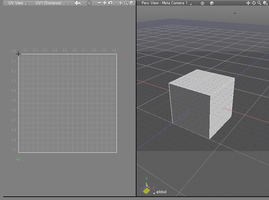
- From the View Display pop-up menu in the UV View, select Show Mapped Image and Darker.
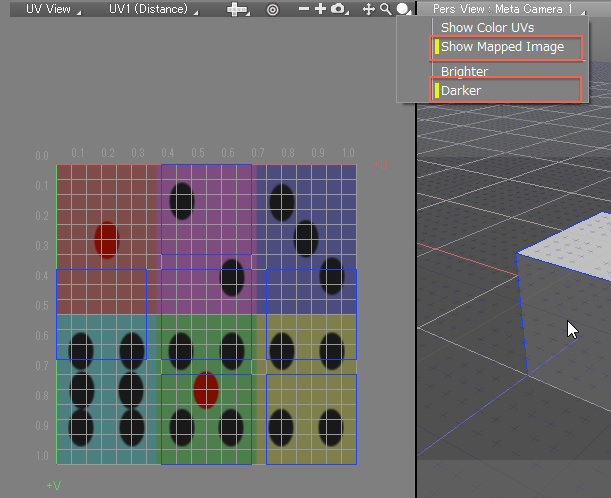
- Use the 3D manipulator or editing tools to map the UVs to the image (matching each polygon face to a die face of the image).
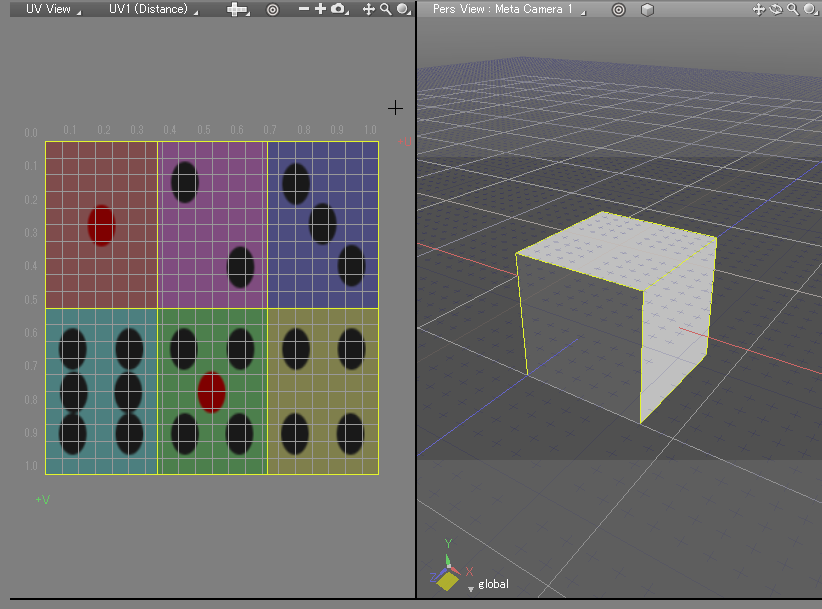
- View the cube in texture or preview rendering mode, or render the image, to check the mapping.
Exporting a UV Map as an Image for Editing, then Remapping
A UV map can be exported as a raster image, modified in an image-editing program, and then reloaded into Shade3D.
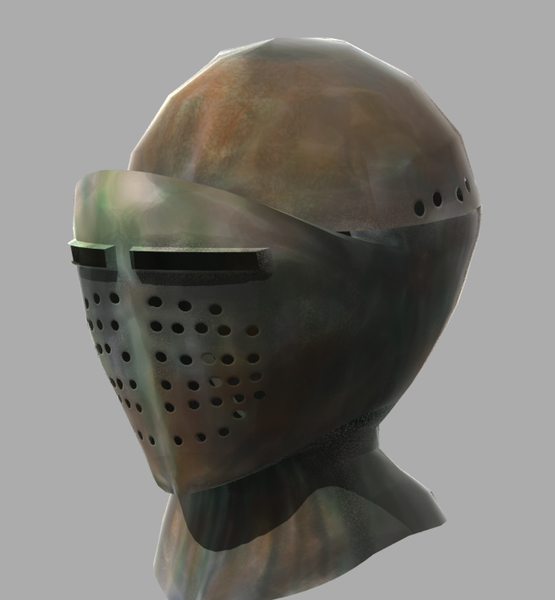
- In ShadeExplorer, under Presets and in the Documentation - Shade3D Manual folder, find UVMappedHelm02.shd and open it.
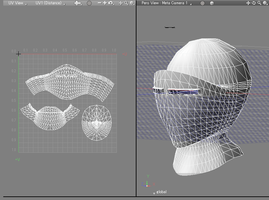
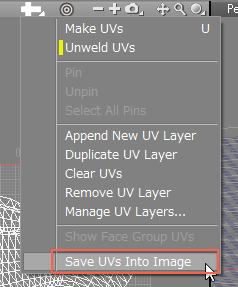
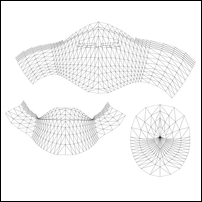
- Select Save UVs Into Image from the UV menu.
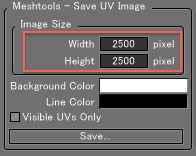
- Specify the size in the Tool Parameters, and click Save...
- Enter a name for the image in the file dialog box and save the image.
- Color the image in the image editor of your choice.
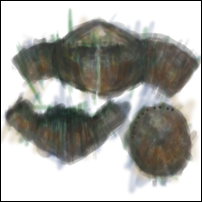
- Under the Mapping option group in the Surface Window, load your modified image in the image box and select UV1 (Distance) from the layer pop-up menu on the Image tab.

- Render the polygon to see the results of the UV mapping. The sample file also uses a mask image and bump image in the same way.