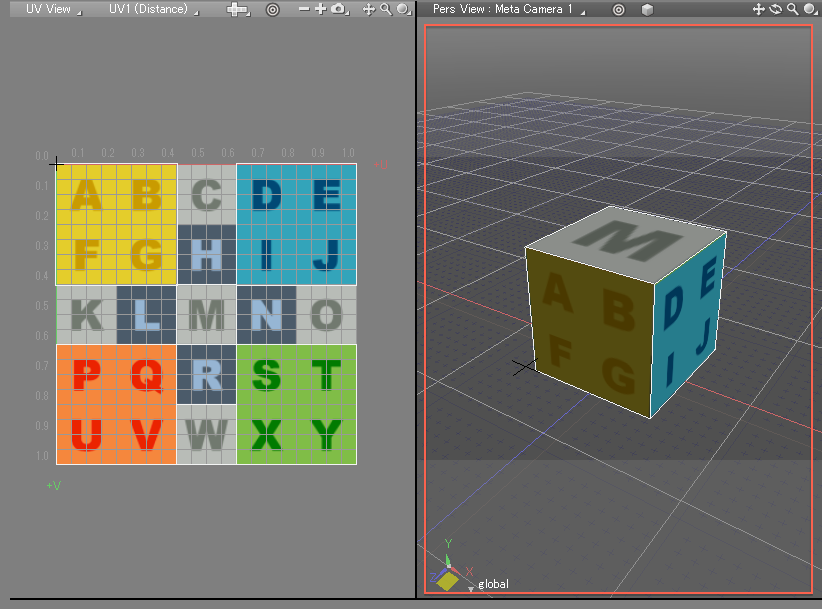
UV Map Display
UV mapping settings are accessed from pop-up menus in the UV view or from the Tool Parameters. Here the UV map display is described.
UV Map Display
- Let's display a UV map for a shape that has already been UV mapped. In ShadeExplorer, under Presets and in the Documentation - Shade3D Manual folder, find UVMappedCube01.shd and open it.
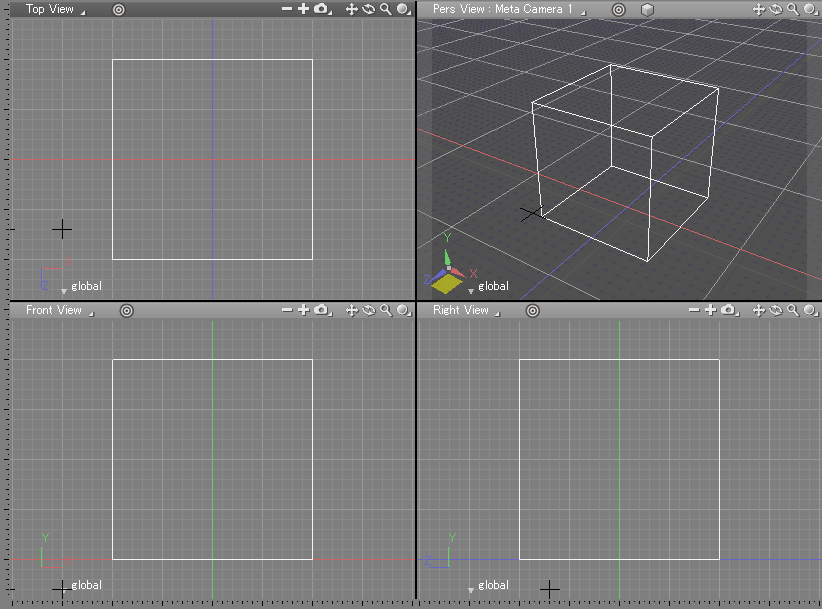
- In the Browser, select the polygon mesh.

- Switch the workspace to UV Edit.

- The UV map is displayed in the left side of the Figure Window. UV mapping is done in this UV Edit view.
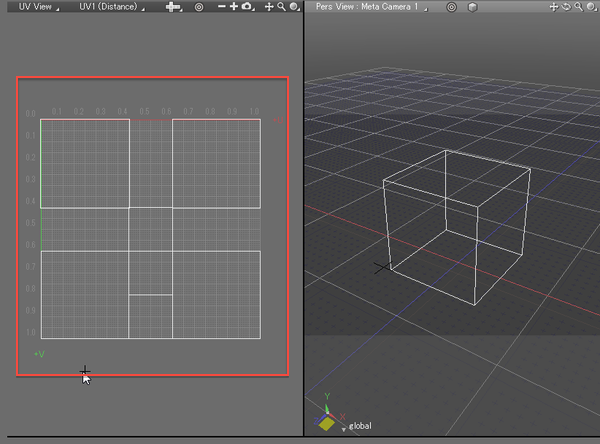
Note The UV Edit view can also be selected from the View Display pop-up menu.
Displaying the Mapped Image
- From the View Display pop-up menu at the top right of the UV View, select Show Mapped Image.
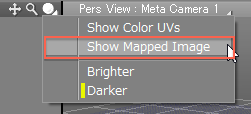
- The image mapped to the polygon mesh (specified in the Surface Window) is displayed.

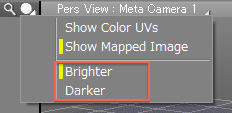
- To change the brightness of image, select either Brighter or Darker from the same View Display pop-up menu.
- From the View Display pop-up menu in the right-hand viewport, select Texture and Wireframe.
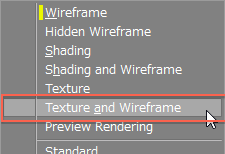
- You can see that the image is mapped to the shape as is shown in the UV View.
