Exposure Correction in Radiosity Pro
Exposure correction in Radiosity Pro is done in the Exposure Correction dialog, opened from the Exposure tab of the Radiosity Window.
When the Auto checkbox is selected, exposure is automatically adjusted. When it is unselected, the brightness can be adjusted using the slider in the Exposure Correction dialog.
To accurately see the effects different lighting settings have on a scene, deselect the Auto checkbox.
Using Exposure Correction
In ShadeExplorer, under Presets and in the Documentation - Radiosity folder, find "sample_room.shd" and open it.
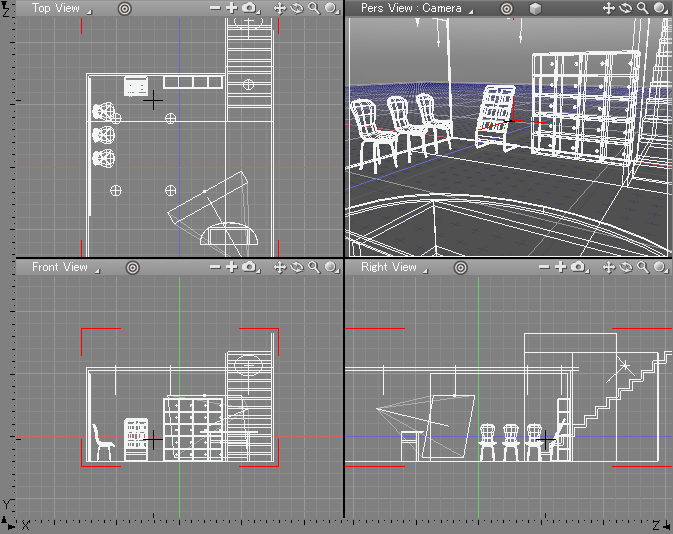
In this scene the radiosity solution uses the default setting of 0.10 for the exposure correction.
| Radiosity |
|---|
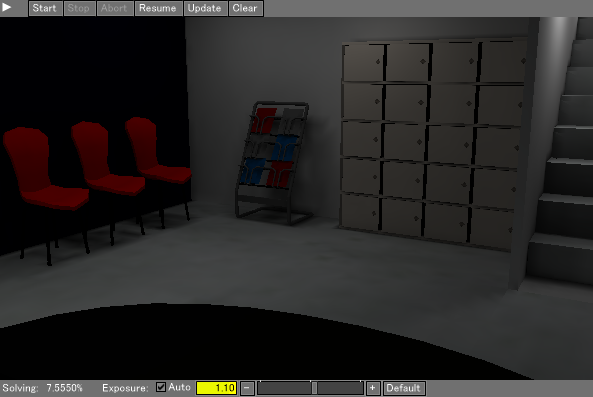
|
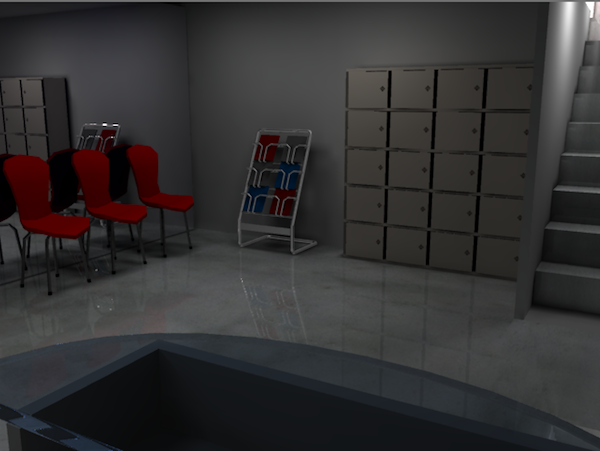
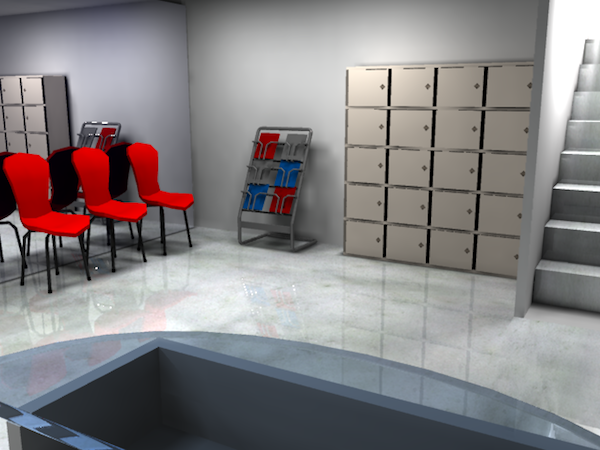
Rendering using this radiosity solution gives the following results.
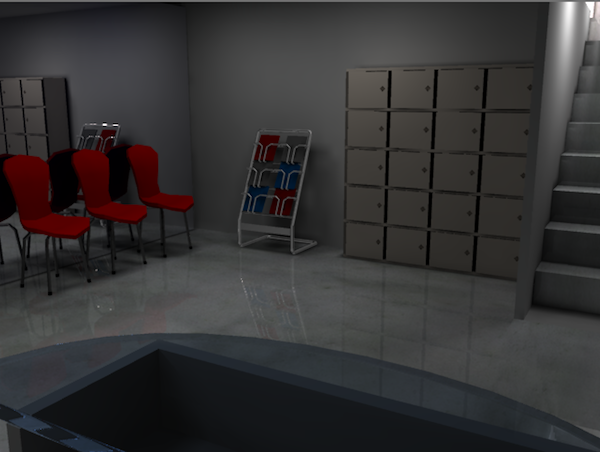
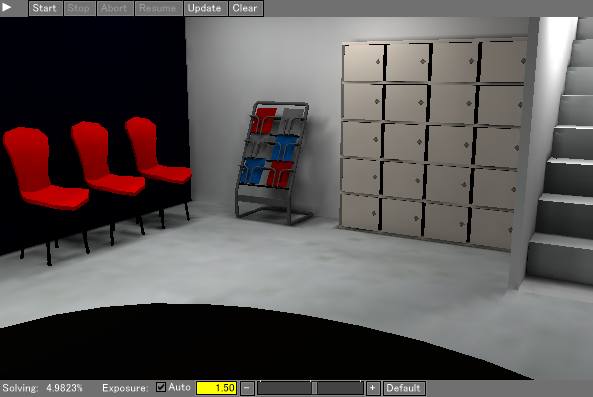
It is fairly dark, so we will increase the brightness using the Exposure Correction dialog. Here the value has been set to 1.50.
Changing the value in the dialog box applies the new settings immediately.
| Radiosity |
|---|
|
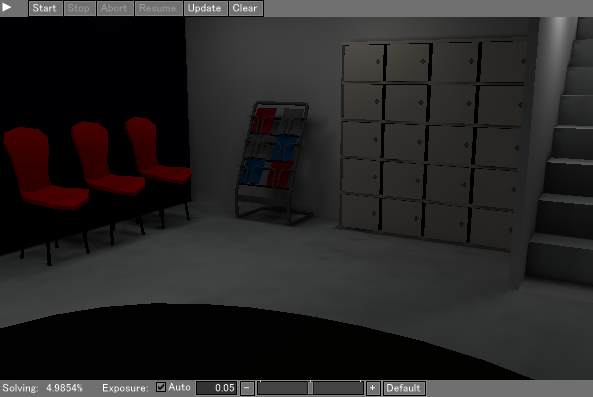
Of course it is possible to make the scene darker as well. The following image uses a value of 0.05.
| Radiosity |
|---|
|
