HighlightFlare Tab
Highlight flare settings are applied here.
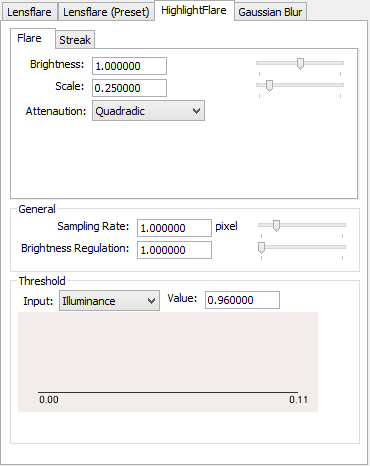
- Flare Tab
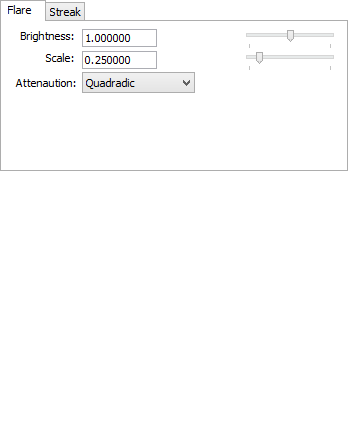
-
- Brightness Textbox and Slider
- Specifies the highlight flare brightness.
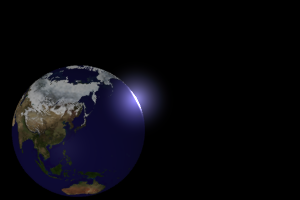
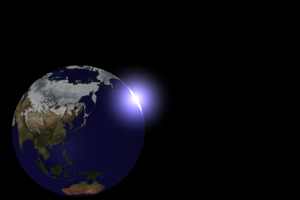
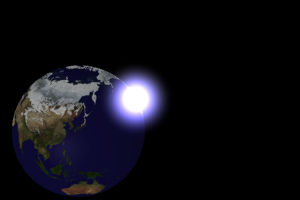
(From left: 0.5, 1.0, 2.0; Attenuation set to Quadratic) - Scale Textbox and Slider
- Specifies the highlight flare scale.
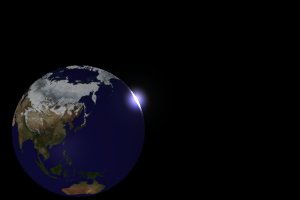


(From left: 0.1, 0.5, 1.0; Quadratic attenuation) - Attenuation Pop-up Menu
- Select Linear, Quadratic, or Fourth Power for the highlight flare attenuation.
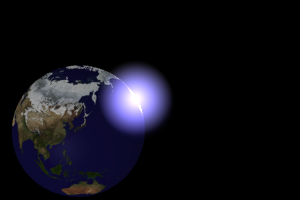
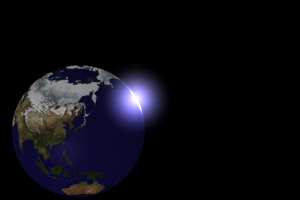

(From left: Linear, Quadratic, Fourth Power)
- Streak Tab
-
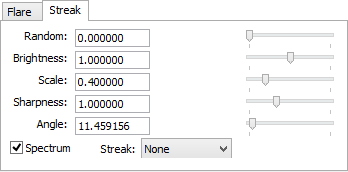
- Streak Pop-up Menu
- Select the type of streak to add. Choose None, Line, Cross, Hexagon, or Octagon.
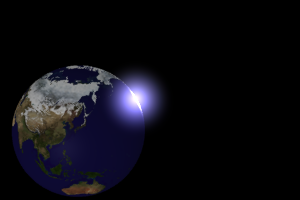
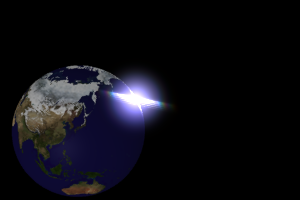
(From left: None, Line)


(From left: Cross, Hexagon, Octagon) - Random Textbox and Slider
- Specifies the randomness of the streak.
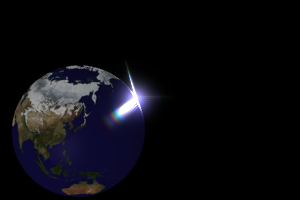
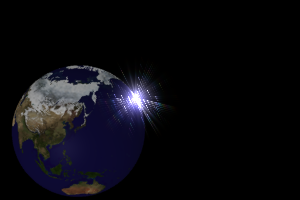
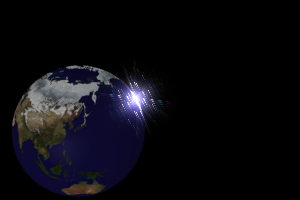
(From left: 0.1, 1.0, 2.0) - Brightness Textbox and Slider
- Specifies the brightness of the streak.


(From left: 0.5, 1.0, 2.0; Random: 0.5)- Scale Textbox and Slider
- Specifies the scale of the streak.


- (From left: 0.5, 1.0, 2.0; Random and Brightness: 1.0)
- Sharpness Textbox and Slider
- Specifies the sharpness of the streak.

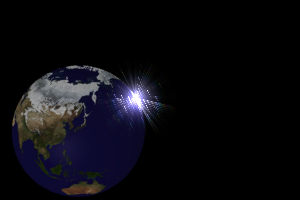
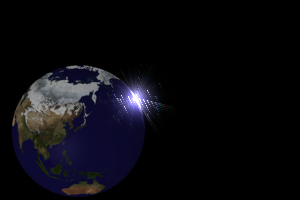
(From left: 0.5, 1.0, 2.0; Random and Brightness: 1.0) - Angle Textbox and Slider
- Specifies the angle of the streak.


- (From left: 30, 90, 180; Random: 0.5; Brightness: 1.0)
- Spectrum Checkbox
- Specifies whether to draw the light spectrum at the ends of the streaks.


(Left: with spectrum; right: without spectrum)
- General Group
-
- Sampling Rate Textbox and Slider
- The default setting is the draw the highlight flare every 1 pixel, but by increasing the space between samples render time can be reduced. Adjust the sampling rate to suit the purpose of the final image. Lowering the sampling rate below 1 help avoid jaggy lines.
- Brightness Regulation Textbox and Slider
- Averages the brightness of the highlight flare for the entire image. Reflective and transparent objects can easily get extremely bright highlights, brighter than other objects in the scene. Here you can see that in the glass. We need to reduce the brightness in areas such as that.
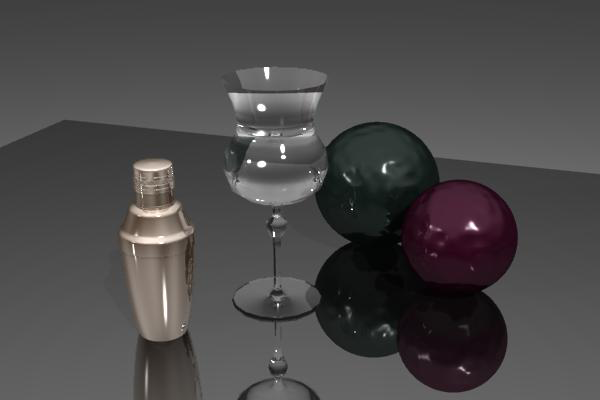
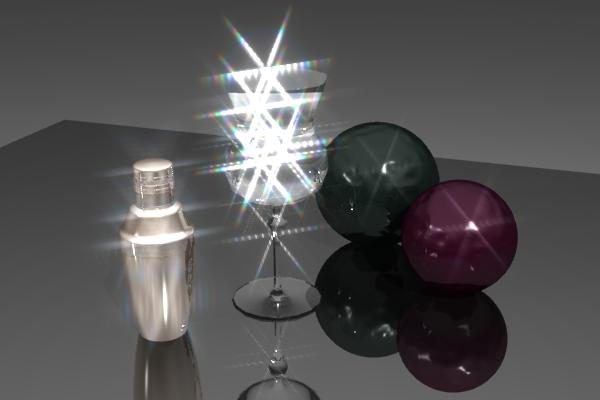
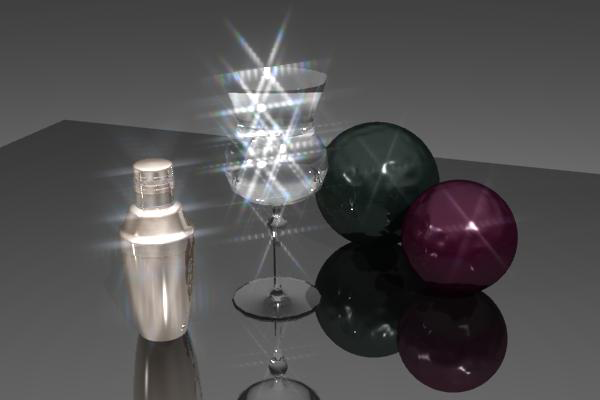
(From top: no streaks, Streak Brightness 0.1 with Brightness Regulation 1, and Streak Brightness 1.0 with Brightness Regulation 10)
- Threshold Group
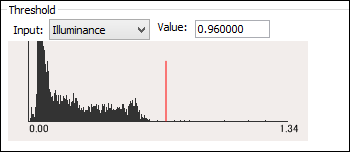
- Input Pop-up Menu
- Select Illuminance, Brightness, R, G, or B for the highlight flare threshold type.
- Value Text Box
- Specifies the threshold value for the flare. Highlight flare is applied to areas with brightness above the threshold value. Smaller values will cause highlight flare at lower brightnesses, whereas at higher values highlight flare will only be applied to the brightest areas.
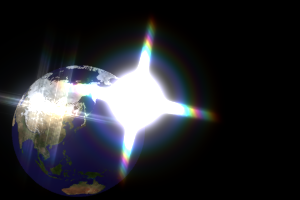


(From left: Illuminance 0.59, 0.96, 1.16) - Histogram
- Shows the histogram of light brightness. The threshold position is shown by the red line. Clicking or dragging in the histogram will change the threshold value. The area to the right of the red line shows the lights that will have highlight flare.