Using GlowEffector
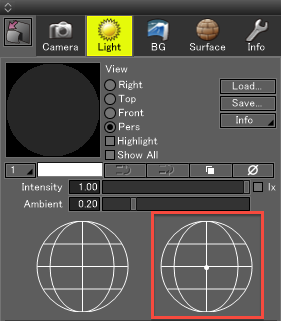
- Position the light in your scene.
The lens flare will change depending on the light's position.

Note Light parameters that affect the lens flare generation are direction and intensity. Lens flare is only drawn when the light's position is within the rendered image field of view (backlighting the scene).
GlowEffector can generate lens flare for the Distant Light, point lights, spotlights, and object highlights (Specular). There is no limit on the number of lights.
Shade3D Professional is required for full functionality.
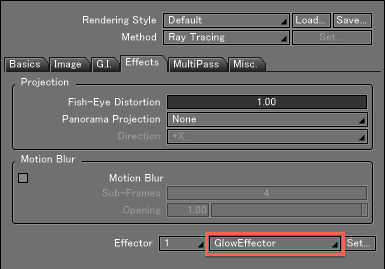
Professional Standard Lens flare (Distant Light) O O Lens flare (point lights, spotlights, distribution lights) O x HighlightFlare O x Gaussian Blur O x - Open the Rendering Settings in the Image Window and select GlowEffector from the Effector pop-up menu (on the Effects tab).

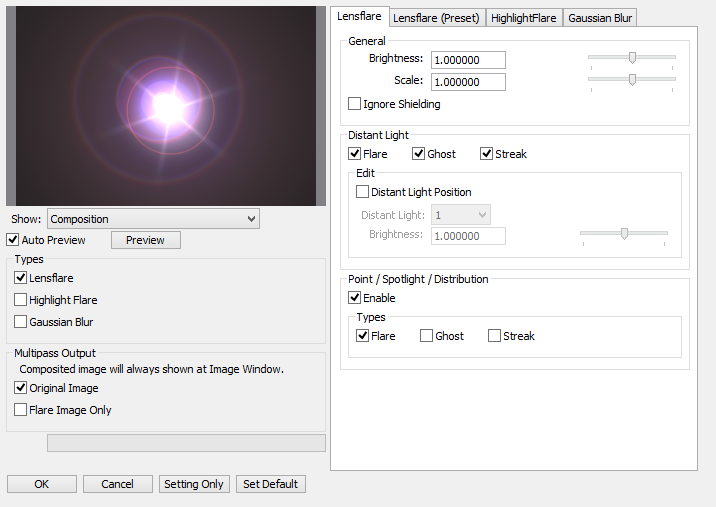
Click the Set... button to the right of the Effector pop-up menu to open the GlowEffector dialog box and set up the lens flare. For details on each parameter, refer to the reference section.
GlowEffector 
- Click the Render button to start rendering.
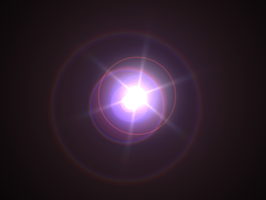
The lens flare is blended with the image after the rendering is complete. A progress bar is displayed in the top left corner of the Image Window during processing.
