Usage
The are several ways to use FogPlus. Mastering them will help you add fog effects to images quickly and effectively.
Using FogPlus as an Effector
FogPlus can be selected in the Effector pop-up menu on the Effects tab in the Rendering Settings.
As with other effectors, the FogPlus effect will be applied to the image after rendering finishes based on the settings applied before rendering.
- First set up the scene to which you wish to add FogPlus as an effector.
- Open the Rendering Settings from the Image Window or choose Rendering Settings from the Rendering menu.
- Select FogPlus from the Effector pop-up menu on the Effects tab.
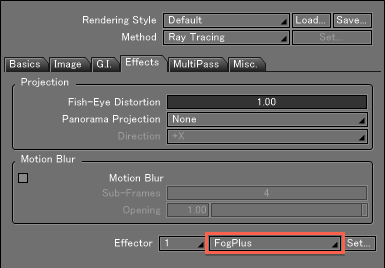
- Click the Set button to the right of the pop-up menu to open the FogPlus Settings dialog.
FogPlus 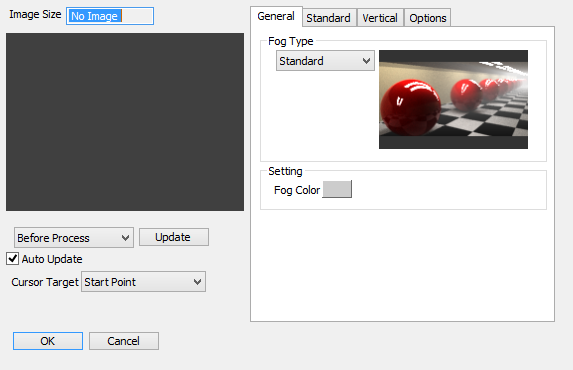
If a rendered image is saved in the scene it will be shown in the preview window on the left side of the dialog and FogPlus settings can be applied. If no rendered image has been saved, first render the scene once without the FogPlus effector (set the Effector pop-up menu to None) and then return to step 4.
FogPlus 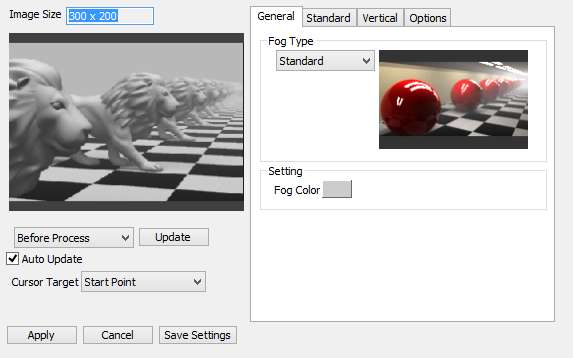
- Click the OK button after adjusting the settings in the FogPlus Settings dialog.
- Click the render button in the Image window to
begin rendering. Once the rendering finishes the FogPlus effector is applied to the image.
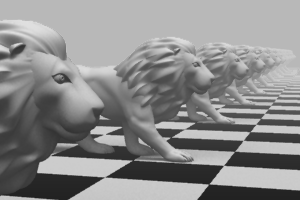
This method automatically adds the FogPlus effect to each frame in an animation after it is rendered, making it especially convenient for animations.
Using FogPlus as a Post Effect
he second method of using FogPlus is as a post effect, applying it to a previously rendered image. To use FogPlus as a post effect, render an image with the Keep Z setting checked and then open the FogPlus Settings dialog from the contextual menu by right-clicking (Win) or Option-clicking (Mac) on the Image window. FogPlus can be previewed and then applied to the orginal image. If the Shade3D scene is saved before adding the FogPlus effect, the FogPlus effect can be viewed with different settings applied by re-opening the original image each time. This avoids re-rendering the scene each time you wish to re-apply FogPlus.
- First set up the scene to which you wish to add FogPlus.
- Open the Rendering Settings from the Rendering menu.
- On the Misc tab, check the Keep Z checkbox.
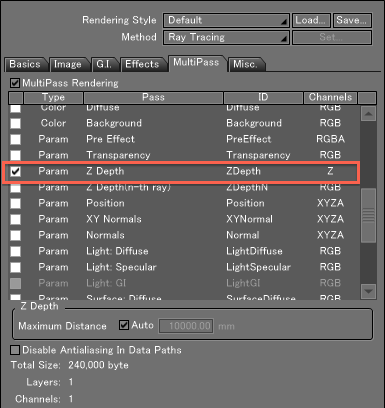
- Render the scene.
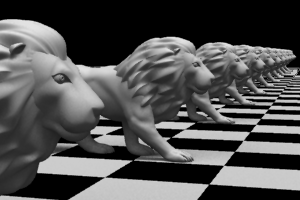
- Right-click (Win) or Option-click (Mac) on
the image in the Image window to display the contextual menu. Select FogPlus.
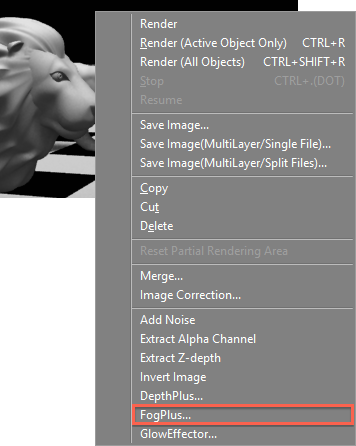
The FogPlus Settings dialog appears.
FogPlus 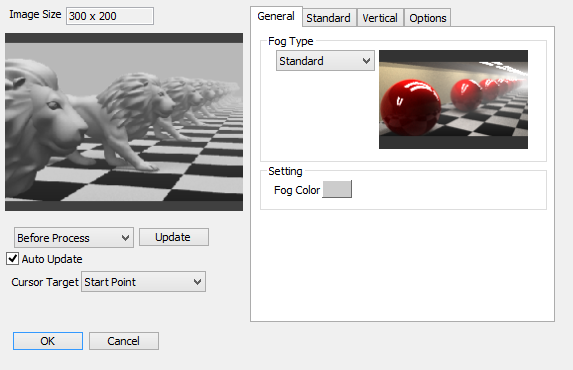
- Click the OK button after adjusting the settings in
the FogPlus Settings dialog.
FogPlus is applied to the image with the specified settings.
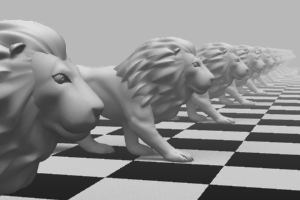
This method is mainly used for still images because it is easy to apply separately after an image is rendered.
Animating FogPlus
Settings with a Use Joint checkbox can be animated using the FogPlus Controller, a joint specially used for FogPlus effects. A FogPlus Controller can be created by selecting it from the Part menu in the Toolbox.
- First set up the scene to which you wish to add FogPlus.
- Open the Browser by choosing it from the View menu if it is not already displayed.
- Select FogPlus Controller from the Part menu in the Toolbox.
A FogPlus Controller is added to the Browser.
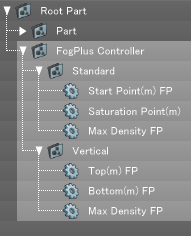
The six FogPlus parameters that can be animated are Start Point(m) FP, Saturation Point(m) FP and Max Density FP of Standard FogPlus and Top(m) FP, Bottom(m) FP and Max Density FP of Vertical FogPlus. - Open the Motion window by choosing it from the View menu. The FogPlus Controller joints are displayed in the lower left corner of the window along with normal joints.
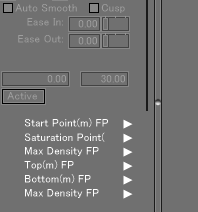
- Apply animation to each of the FogPlus Controller joints as desired.
Note For more information on the Motion window.
- Select Rendering Settings from the Render menu.
- Choose FogPlus from the Effector pop-up menu on the Effects tab.
- Click the Set button to the right of the pop-up menu to display the FogPlus Settings dialog.
Check the Use Joint checkboxes for the animated joints and click OK. - Choose Create Animation from the Rendering menu to start animation rendering.