Using Object Snap
To turn on Object Snap, select the Object Snap button from the Control Bar, or from the main menu select Figure > Snap > Object Snap.
(If the Object Snap button is not visible on the Control Bar, right-click an open space on the Control Bar and select Snap/Measure from the context menu.)

The 3D cursor will snap to any element that has been enabled in the Snap Settings window.
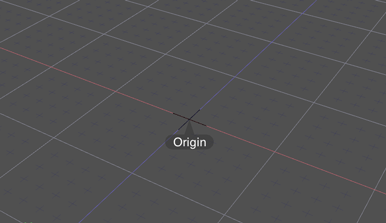
Origin
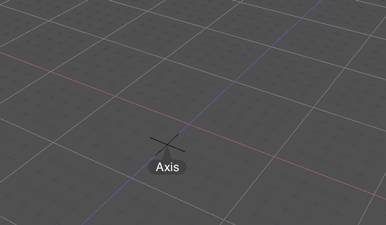
Axis
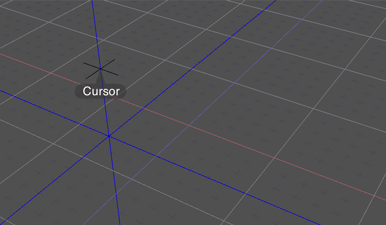
Cursor Position and Axes
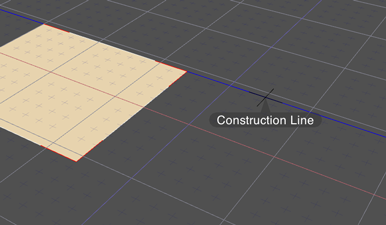
Construction Lines
Intersection
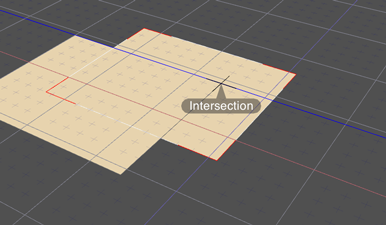
Control Points
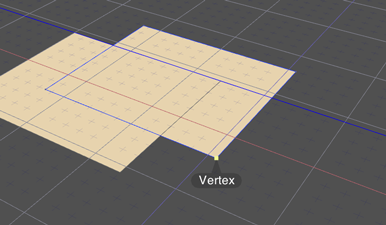
Edges
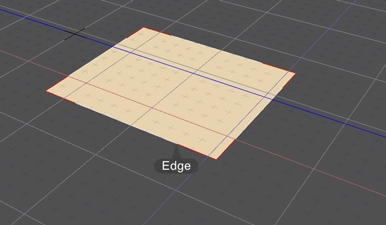
Mid Point
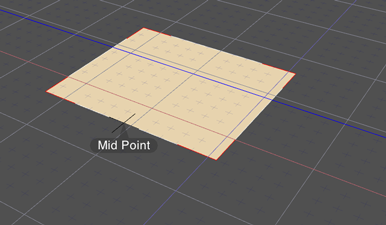
Faces
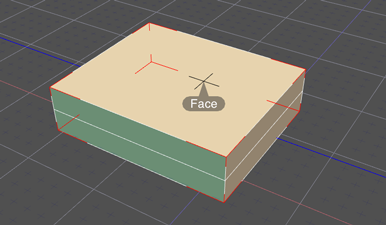
Operations that Support Object Snap
Object snap can be used with the following operations:
Create
Object snap can be used when creating the following objects, found in the Create tab of the Toolbox or the Tools > Create submenu.
- The 3D cursor will snap when creating the first control point of a new line object.
- The 3D cursor will snap when creating control points on a new line object.
Note The 3D cursor will also snap when creating the last control point of a new line object.
- The 3D cursor will snap when dragging tangent handles of line objects.
- The 3D cursor will snap when positioning the start point of any of the above objects.
- The 3D cursor will also snap when dragging from the start point to the end point of any of the above objects.
Move/Copy
Object snap can be used with the following tools in the Move and Copy groups on the Toolbox's Create tab.
- Translate
- Rotate
- Scale
- Uni-Scale
- Skew
All of these operations support object snap, both when setting the start point for a translation or revolution (done by clicking the mouse) and when dragging.
Revolved and Extruded Solids
Object snap can be used with the following operations when revolving or extruding a solid:
- Dragging to specify the direction or distance to extrude.
- Dragging to specify the axis of revolution for a revolved solid.
In Modify Mode
Object snap can be used with the following operations in Modify Mode:
Moving control points or tangent handles of a line object.
Moving control points.
Modifying vertices, edges, and faces.