Using Photo Modeling
- In the Toolbox, select Create > Photo Modeling... (under Plugins).
The Photo Modeling window opens, and a part called Part [Photo Modeling] is created in the Browser for saving the attributes used by Photo Modeling.
Photo Modeling - Part 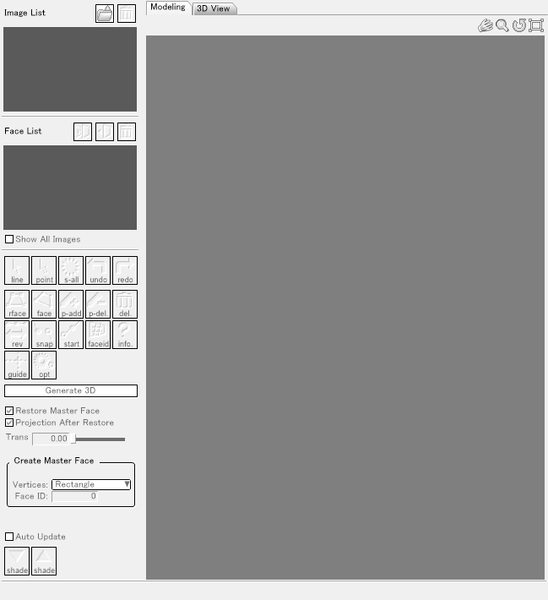

- Load the images you wish to use for modeling the 3D object. At least three images, taken from different angles, are required.
Images used in Photo Modeling are loaded as master images. Here we have loaded four images.
Photo Modeling - Part 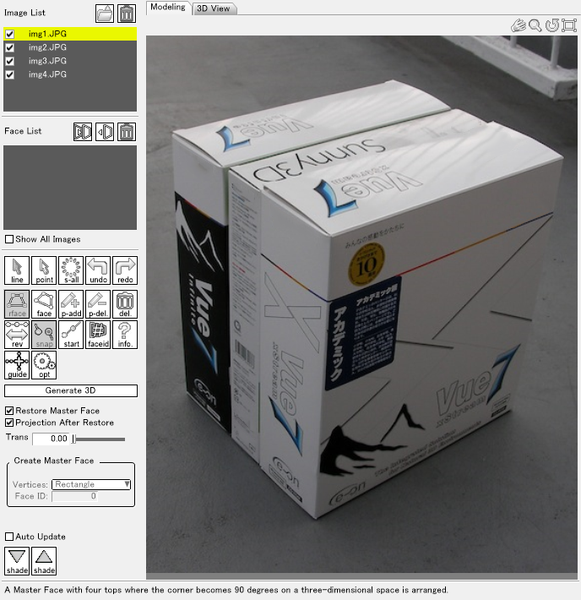
Photo Modeling - Part 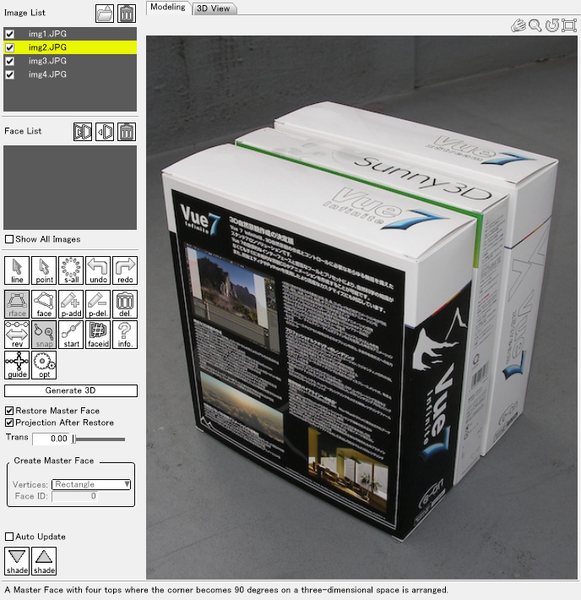
Photo Modeling - Part 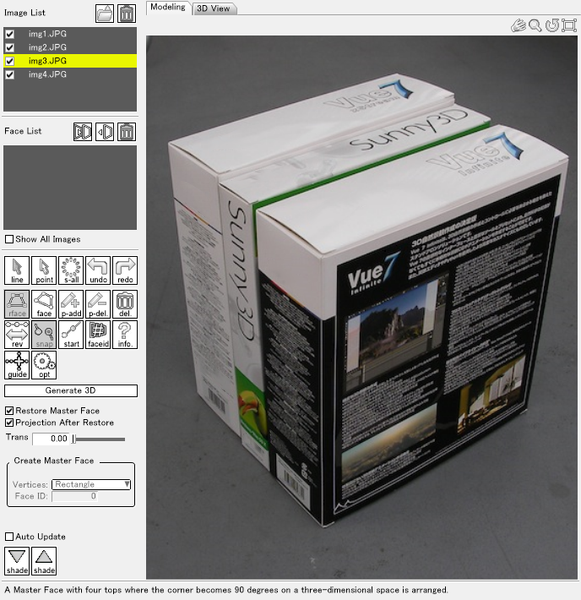
Photo Modeling - Part 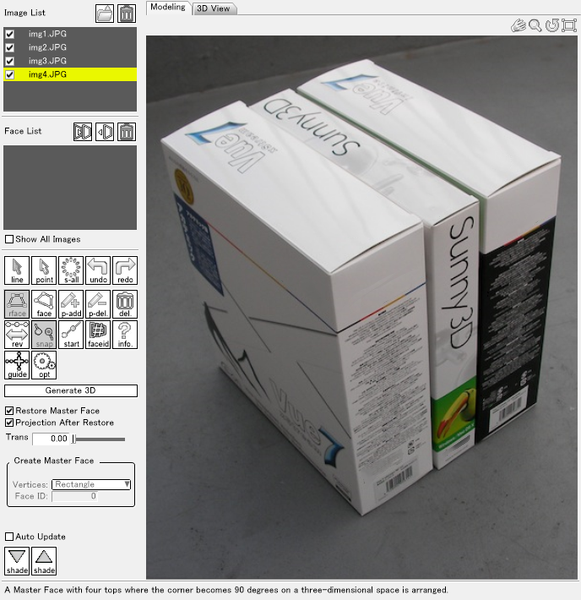
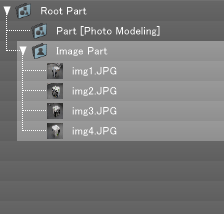
Caution When taking photos for use in Photo Modeling, follow these guidelines for best results:
Use the same camera for all photos
Put the subject in the center and photograph it from at least three different angles
Do not change the camera focal length, field of view, or zoom
Use the same image size
Do not crop the photos
Try to avoid lens distortion as much as possible - Use the controls in the top right of the Photo Modeling window to adjust the position, size and angle so that the subject is in the center of the preview area.
Click and drag on each icon to adjust the preview.

(From left, Pan, Zoom, Rotate, and Reset) - Next create a Master Face for each image.
A Master Face is a shared surface that appears in each of the images, and must be a square or rectangle in real life. When you start Photo Modeling, the r-face and snap tools are automatically selected. With these tools selected, in the preview area click four points in a counter-clockwise direction. The first point must be at the same location (of the subject) in each of the images. Here the top of the boxes is used as the Master Face, and the first point is near the number "7" in "Vue 7."
Photo Modeling - Part 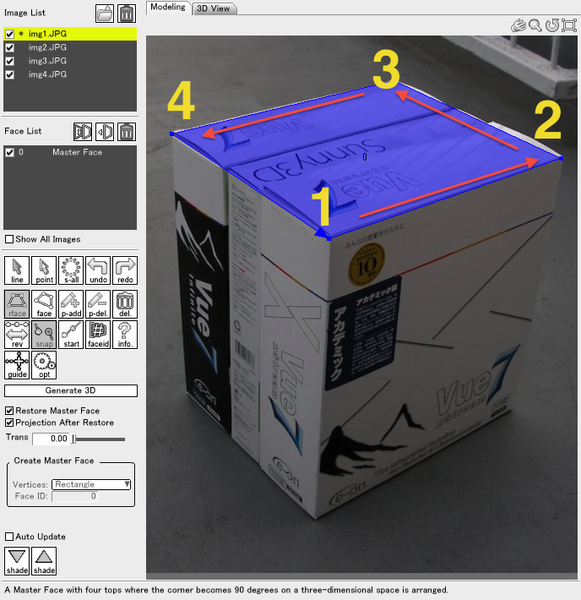
Photo Modeling - Part 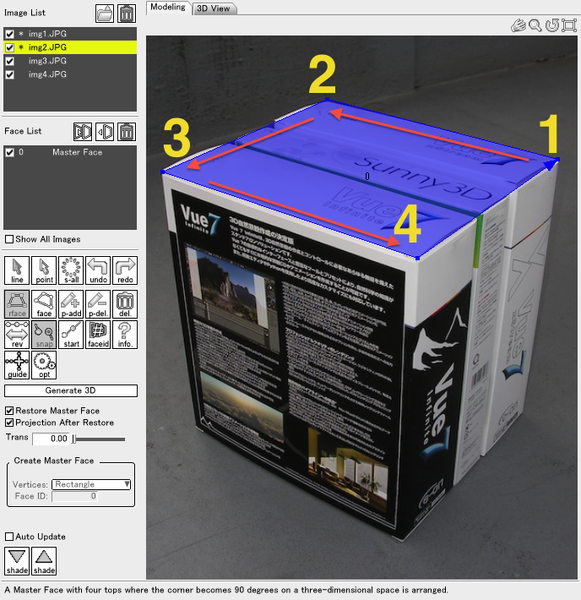
Photo Modeling - Part 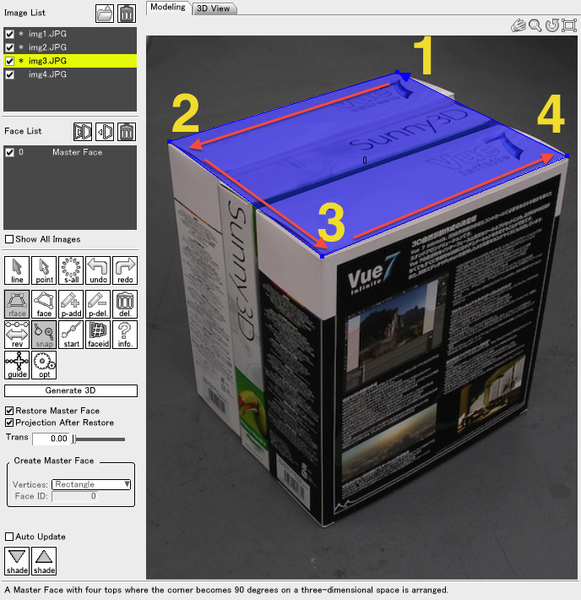
Photo Modeling - Part 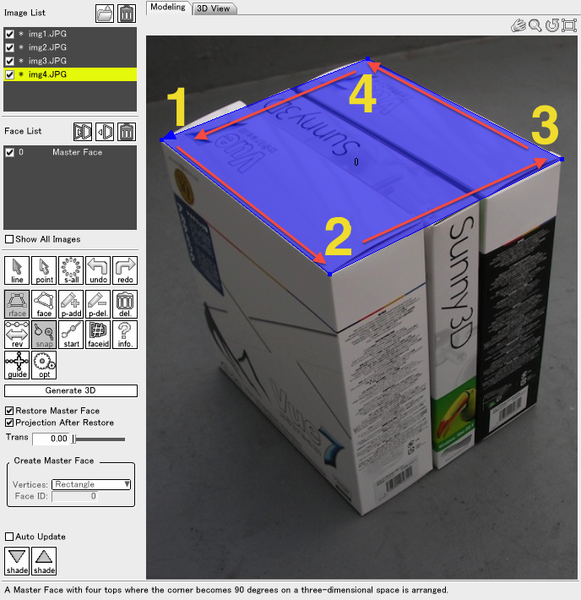
An asterisk (star) indicates that a Master Face is associated with an image.
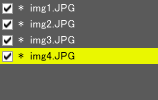
- Next draw the other faces for each image in the same way.
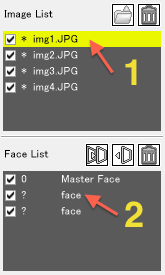
With the Face tool selected, again click four points in a counter-clockwise direction in the preview area. By default the number of vertices is set to 4, so after clicking four times the face is created. A question mark (?) appears on each face, meaning that the face does not have an ID yet. As with the Master Face, the first point must be at the same location for each face.
Photo Modeling - Part 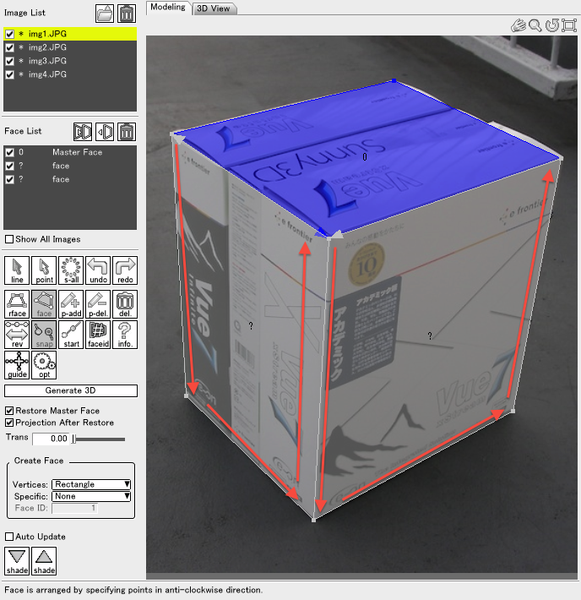
Photo Modeling - Part 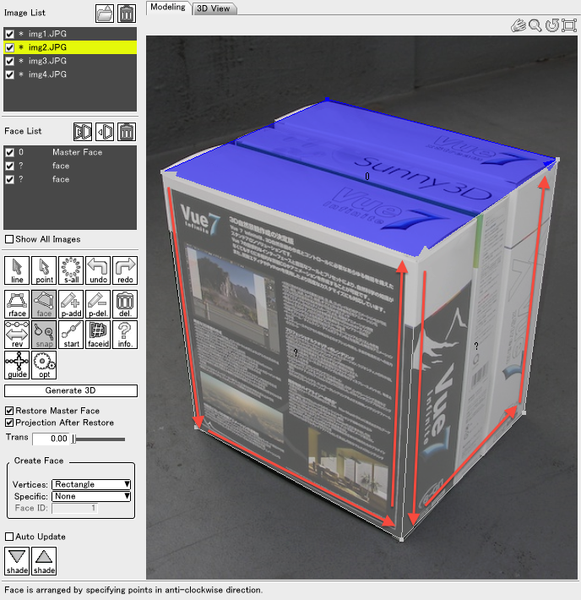
Photo Modeling - Part 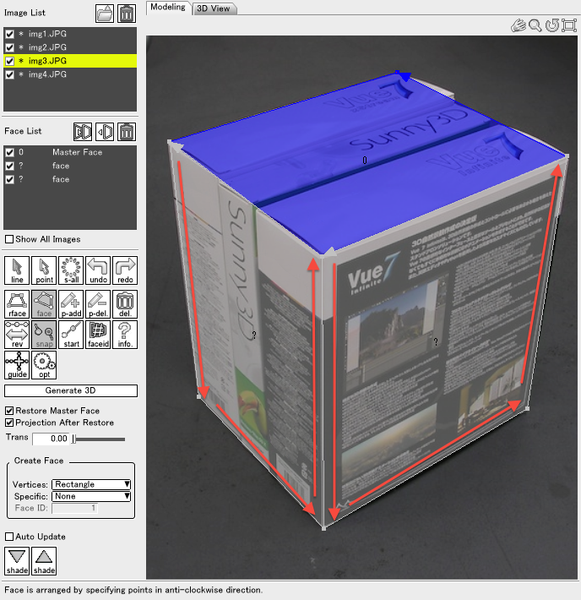
Photo Modeling - Part 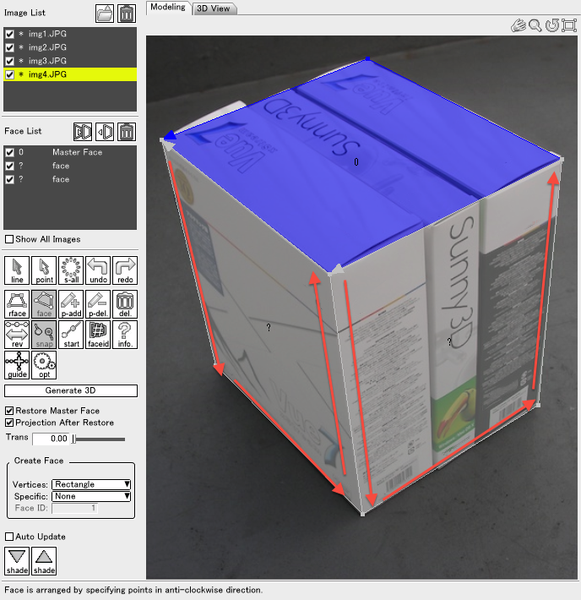
- Now we will assign an ID to each face.
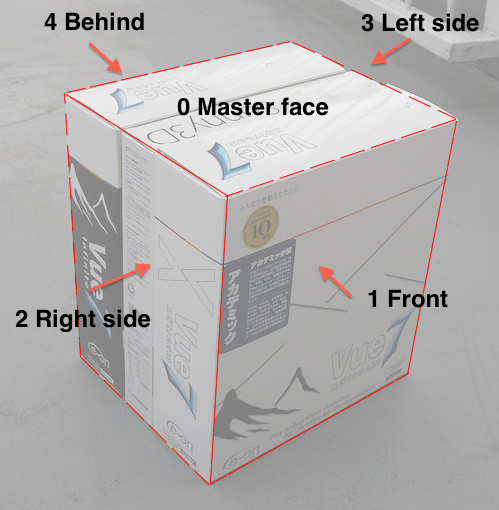
The IDs must be the same for all images. For example, if we assign the ID 1 to the "front" of the subject, 1 must be assigned to the face drawn on that side for all the images in which it appears. In the example shown below, the front of the boxes is identified as Face ID 1, the right side as Face ID 2, the left side as Face ID 3, and the back as Face ID 4. The IDs must be the same across all the images, so it can be helpful to make a note regarding which is which.
- Select an image in the Image List.
- In the Face List, double click an item with a question mark (?) to open a Face Information dialog box.
- Enter a number for the Face ID, add a name, and click OK.
Face Information 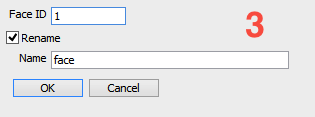
Faces that are identified are automatically color coded according to the ID number. The Master Face is dark blue, and faces without IDs are gray. From 1 to 8, the color assigned is orange, yellow, light green, green, sky blue, blue, purple and light purple, in that order. From 9, the color order starts with orange again. Selected faces are red.

Photo Modeling - Part 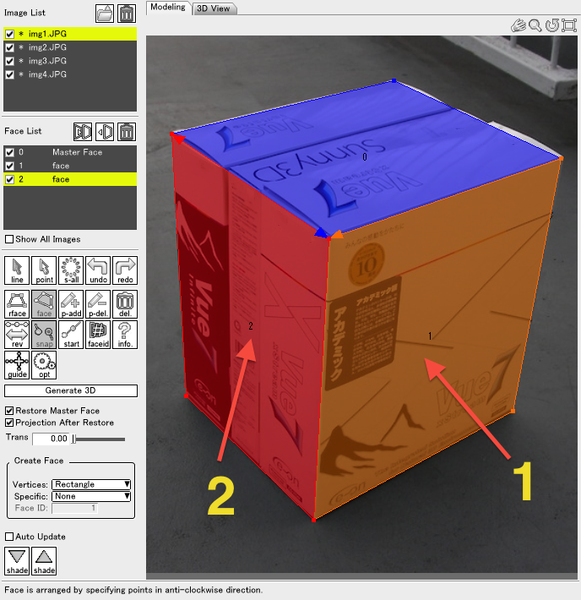
Photo Modeling - Part 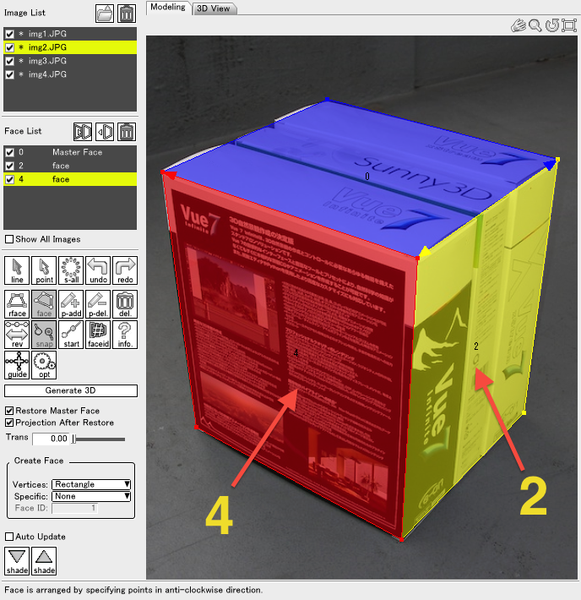
Photo Modeling - Part 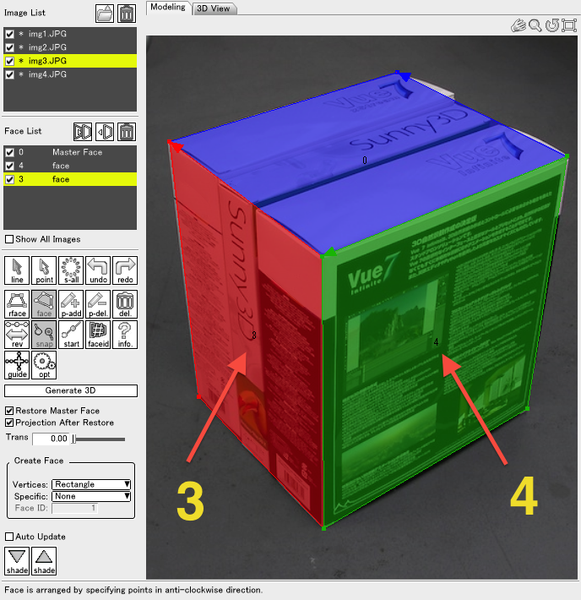
Photo Modeling - Part 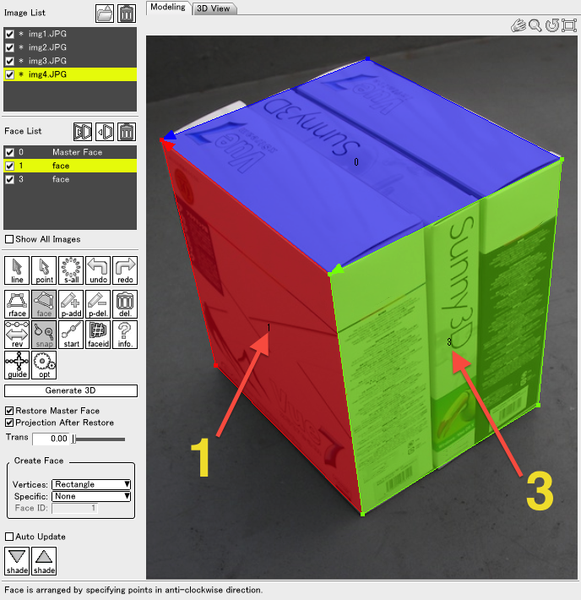
- Once you have set up a Master Face and IDs for each of the other faces for all images, click Generate 3D to generate the object. If successful, you will see the message, "3D generation is completed."
Shade3D ver.15 
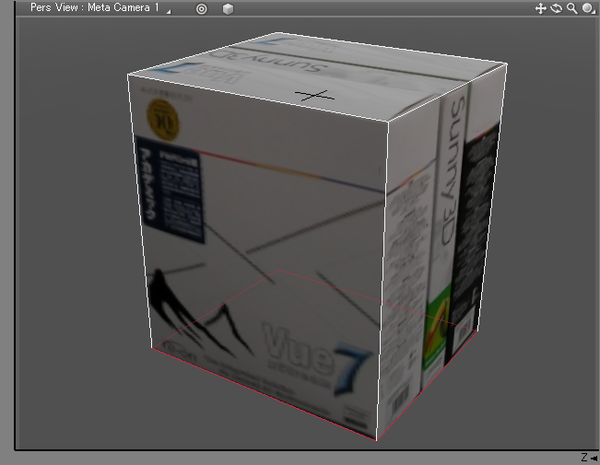
Switch to the 3D View tab to view a preview of the object. Textures are automatically extracted and viewable.
Photo Modeling - Part 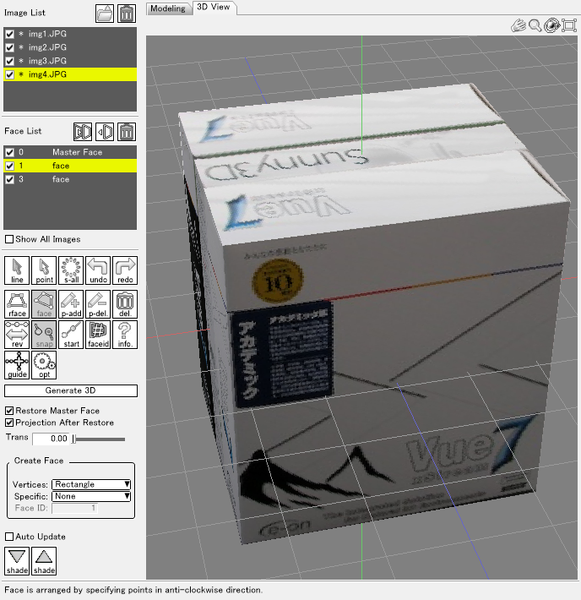
To rotate the object, drag the Rotate icon in the top right corner of the window.

Photo Modeling - Part 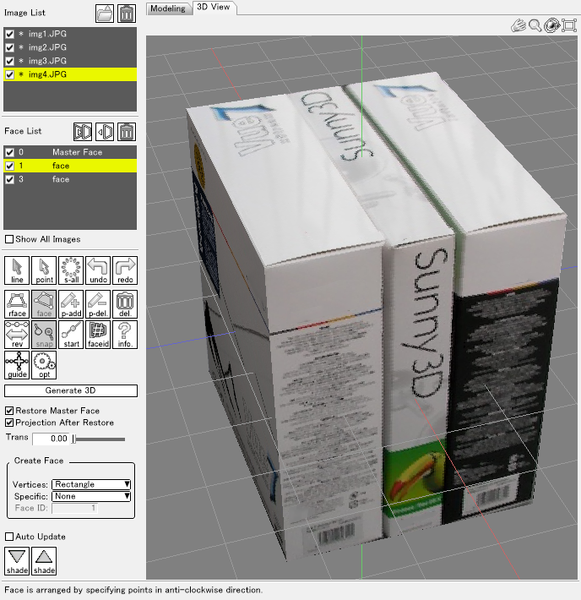
Photo Modeling - Part 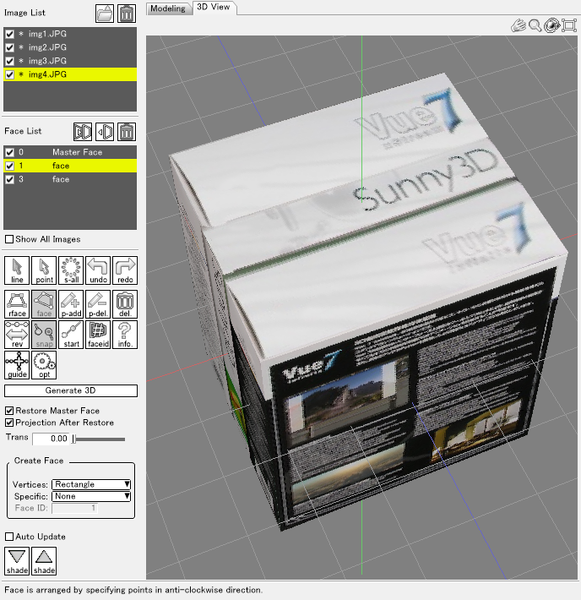
Photo Modeling - Part 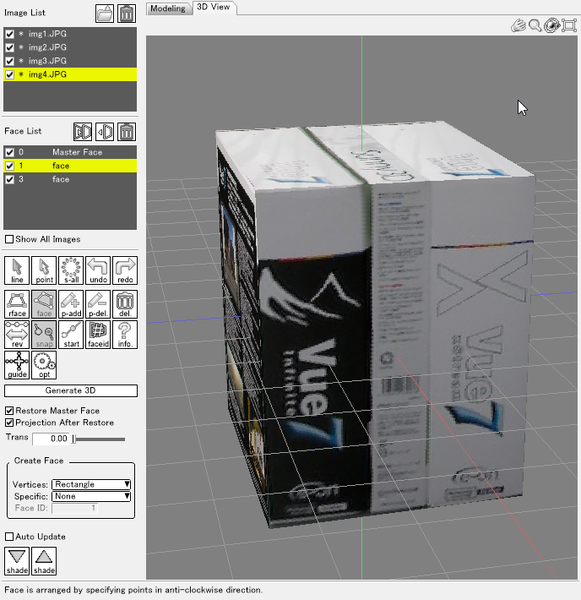
- Click the Save to Shade3D button to export the model.
The Photo Modeling information is exported as attributes of the currently selected part. If the 3D generation was successful the polygon mesh is also exported inside the part.
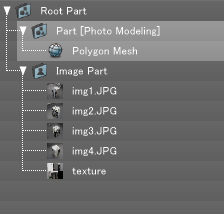
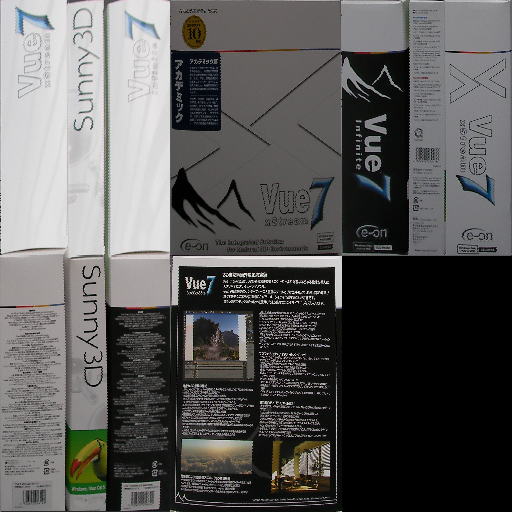
The texture maps on the object are saved as "texture" master images.
