Other Settings
Using Masks
- Click the Mask button in the Selection group.
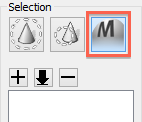
- Select a pen size and drag across the area you wish to apply the object mask to.
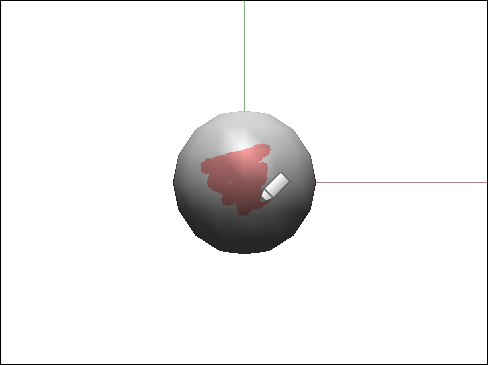
The area is painted red. A mask is applied to the red area and guide hairs are not created there. - Click the blow dryer tool, and then click the grow button several times.
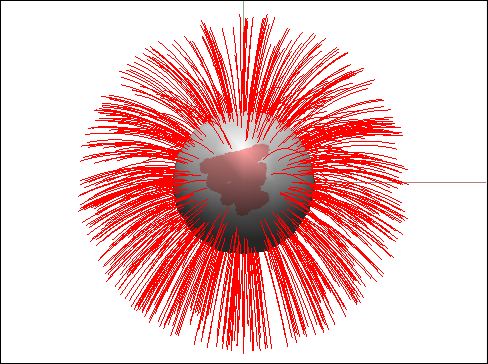
You can see that guide hairs were generated everywhere except the masked part.
Using Collision Detection (Shade3D Professional)
- Generate guide hairs and then click Select All to select all the hairs. Next click the Collision Detection button on the Settings tab.

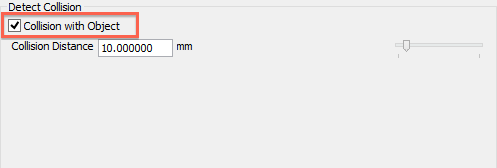
- The settings in the bottom right corner of the Hair Settings window change. Select the Collision with Object checkbox.
- Using the blow dryer tool, drag downwards several times across the guide hairs.
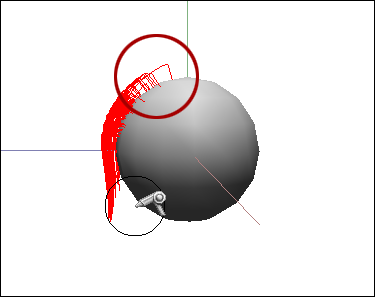
The guide hairs no longer dent the object.
Mirroring Guide Hairs
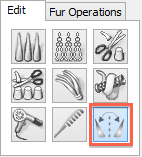
- With the guide hairs you wish to mirror selected, click the Mirroring button. Click the Symmetrical Axis Specification button in the bottom right of the window.

- Drag to set the axis used for mirroring. Here we have dragged vertically along the center of the object.
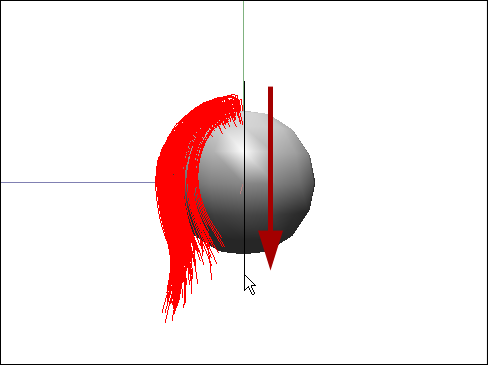
- The guide hairs are mirrored along the axis.
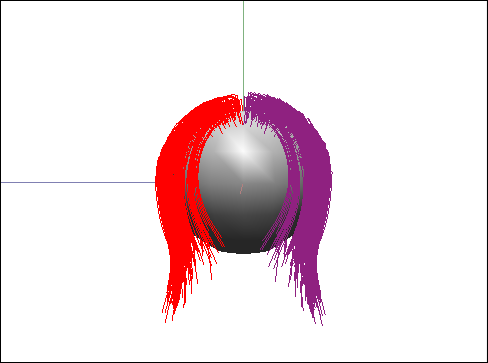
Now, editing the original guide hairs using any of the tools on the Edit tab, except for Grow Hair and Cut Hair, will mirror the changes to the opposite side, creating a symmetrical hairstyle.
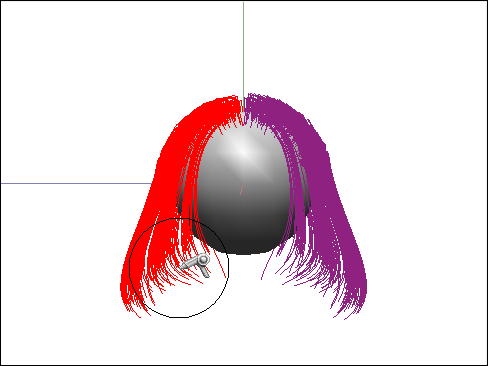
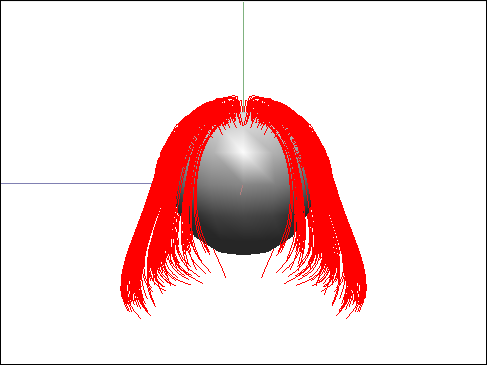
When you are finished editing the hair, click the Symmetrical Guide Substantiation button to substantiate the mirrored guide hairs.

Using Gravity (Shade3D Professional)
- With the guide hairs you wish to edit selected, click the Gravity button.

- Click the Use Gravity button in the bottom right of the window.

- Click the Apply button to apply the Gravity settings.
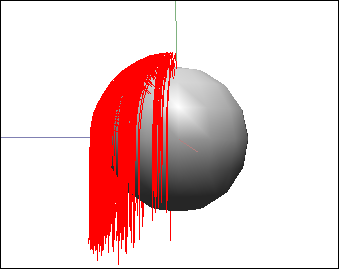
The effect of gravity based on a time axis can be animated through the use of these settings.
Animating with Collision Detection and Gravity
- In ShadeExplorer, under Presets and in the Documentation - Plugin Manual folder, find "PM_HairSalon01.shd" and open it.
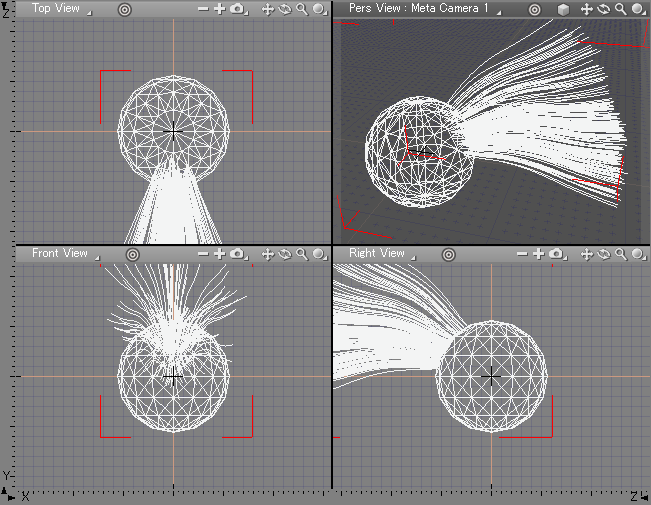
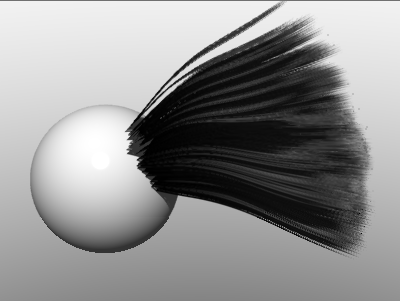
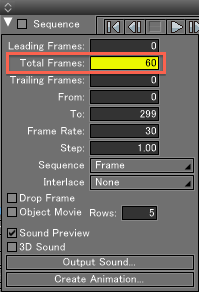
This scene file has collision detection and gravity hair settings already set up. - With the Hair [Hair Salon] part selected in the Browser, select View > Motion to open the Motion Window. Enter 60 in the Total Frames text box.
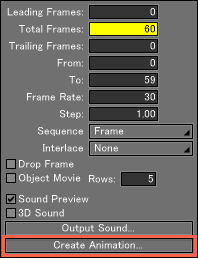
- Now select all the objects in the scene, and click the Create Animation... button to export a movie file.
- In the animation, the hair "falls" because of the gravity settings.
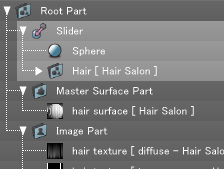
Animations using Collision Detection and Gravity also support slider joints and rotator joints. To animate using joints, put the topmost object together with the Hair [Hair Salon] part inside the joint part.
