Fur Settings
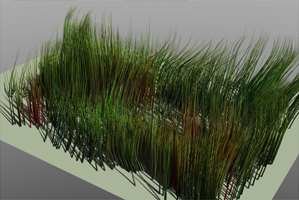
In addition to Hair Mode, a set of more solid-looking, individual hairs can be created by using Fur Mode.
Switching to Fur Mode
Switch to Fur Mode to enable the settings on the Fur Operations tab.
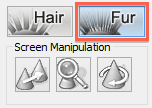
- Click the Fur Mode button at the top of the Hair Settings window to switch to Fur Mode.
- In Fur Mode guide hairs are used in the same way. Use the tools on the Fur Operations tab to style the hair.
Coloring the Hair Roots
- Click the Fur Mode button at the top of the Hair Settings window.
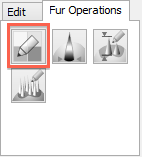
- Click the Root Color button on the Fur Operations tab.
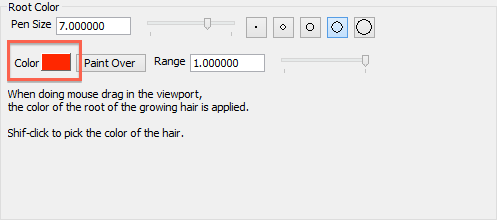
- The settings in the bottom right corner of the Hair Settings window change. Select a pen size and change the color of the hair from the color box.
- With the pen, color the area you wish to change.
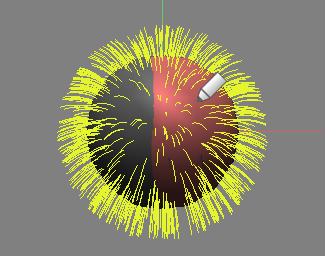
- Click OK to apply the settings, and render the hair.
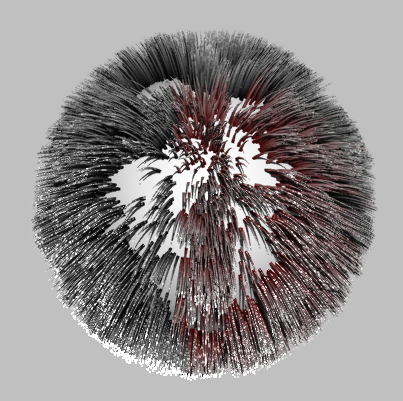
The roots of the hair in the area painted has the new color.
In Shade 10.5 and later, the area affected by the root color can also be specified using the Range text box and slider.
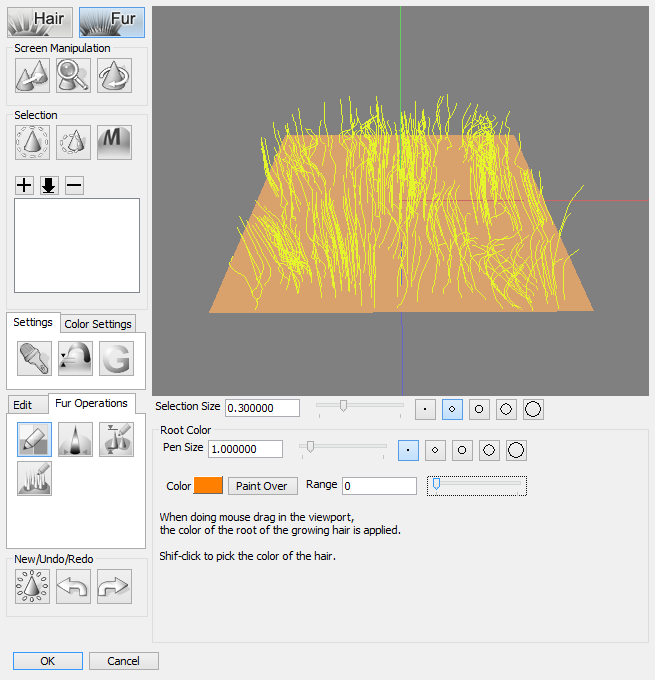
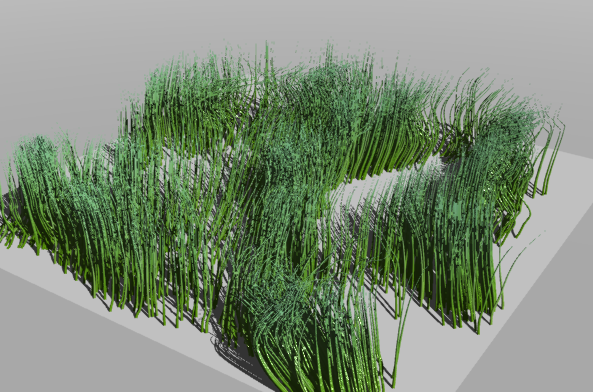
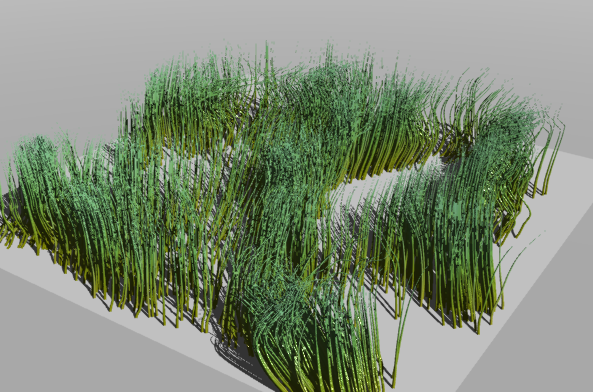
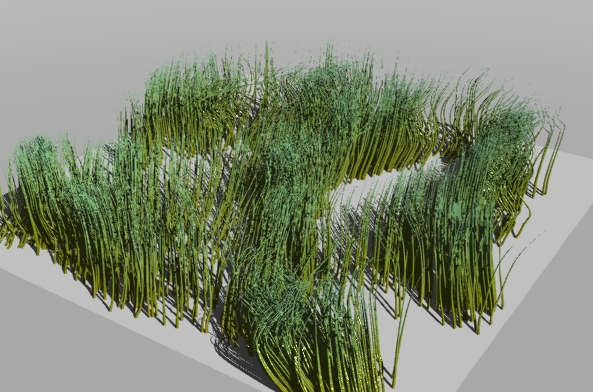
When the Range is set to 1.0, the Root Color is applied all the way to the tips of the fur. A value of 0.5 means it will be applied halfway along the fur.
The below renders use the values (from top) of 0.0, 0.5, and 1.0.
Changing Hair Color and Thickness
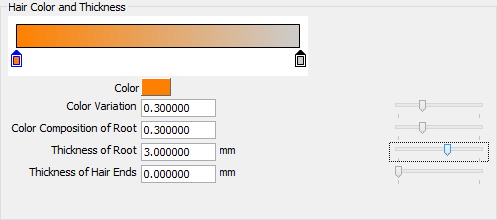
- With the guide hairs you wish to change selected, click the Hair Color and Thickness button on the Fur Operations tab.
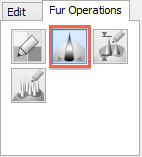
- The settings in the bottom right corner of the Hair Settings window change. After clicking the marker on the left, click the color box and select a color.
You can change the thickness of the hair at the roots with the Thickness of Root text box.
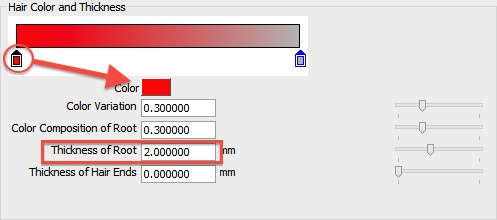
- Click OK to apply the settings, and render the hair.
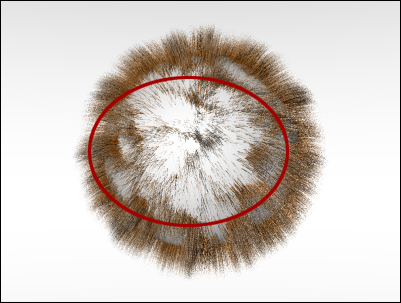
The roots of the hair in the area painted has the new color and thickness.
Changing Hair Length
- With the guide hairs you wish to change selected, click the Hair Length button on the Fur Operations tab.
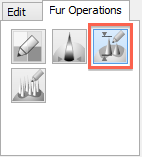
- The settings in the bottom right corner of the Hair Settings window change. Select a pen size, and in the Length text box, enter 0.5.
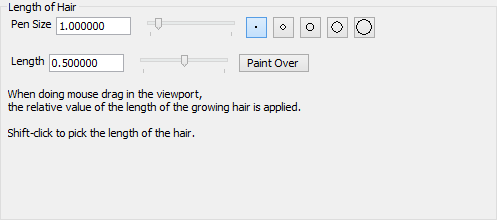
- With the pen, color the area you wish to change.
- Click OK to apply the settings, and render the hair.
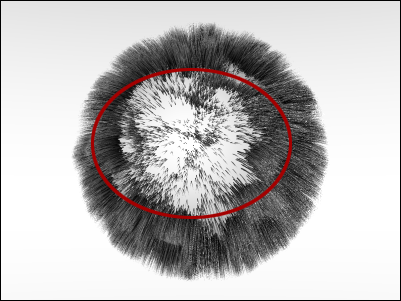
The hair in the area painted has the new length. Because we changed the length to 0.5, the hair in the painted area is now shorter.
Changing Hair Density
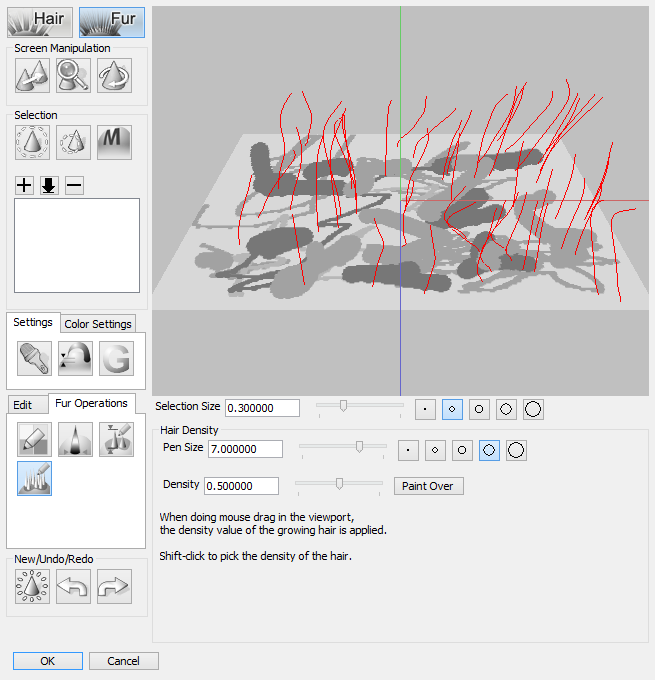
- With the guide hairs you wish to change selected, click the Hair Density button on the Fur Operations tab.
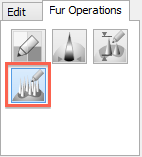
- Adjust the settings as desired.
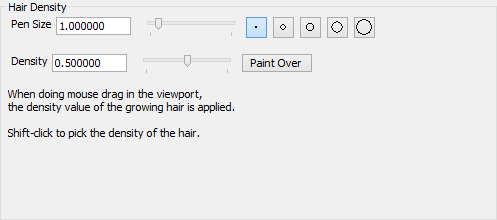
See also For details on each parameter, refer to the reference section.
- With the pen, color the area you wish to change.
- Click OK to apply the settings, and render the hair.
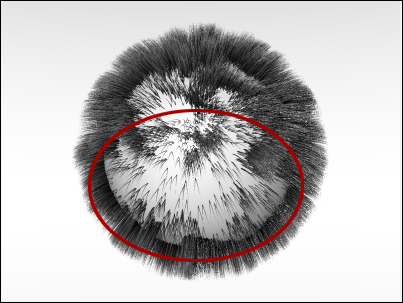
The hair in the area painted has the new density. Because we changed the length to 0.2, the hair in the painted area is now less dense.
Coloring Individual Guide Hairs
- Select the guide hairs you wish to modify using the Select button.
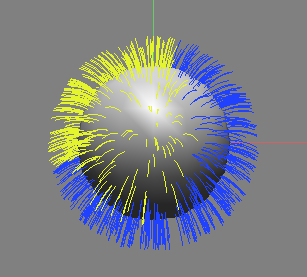
- Click the Hair Color and Thickness button on the Fur Operations tab, and set the color.
- Click OK to apply the settings, and render the hair.
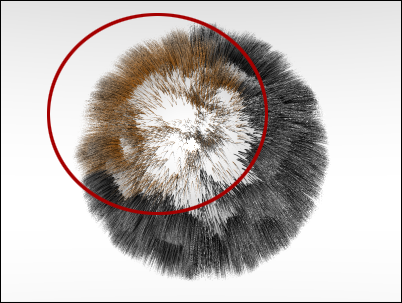
The hair in the area selected has the new color.
Painting with the Eyedropper
When using the Root Color, Hair Length, or Hair Density tools, holding down the Shift key will switch the pointer icon from a pen to an eyedropper.


Left: pen icon; right: eyedropper
By clicking with the eyedropper, the hair settings for the clicked area are loaded into the current settings.
When using the Root Color tool, the color of the clicked area is loaded to the color box.
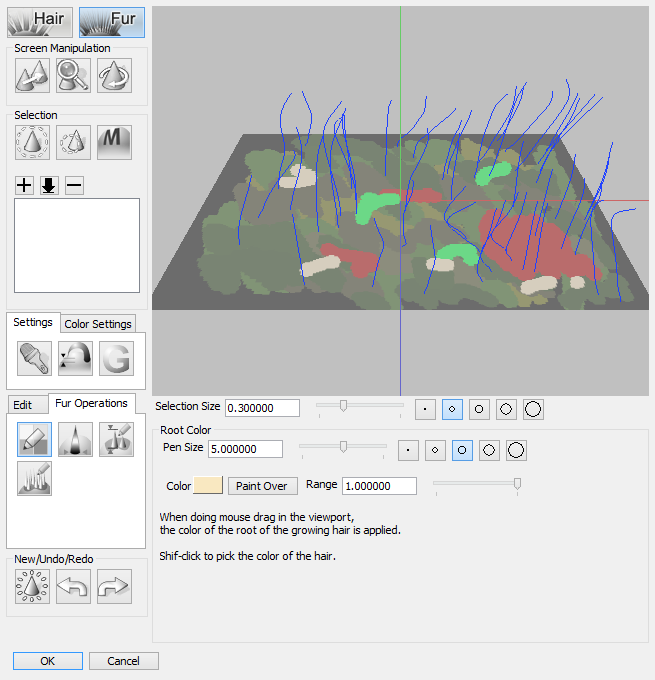
When using the Hair Length tool, the hair length of the clicked area is loaded to the Length text box and slider.
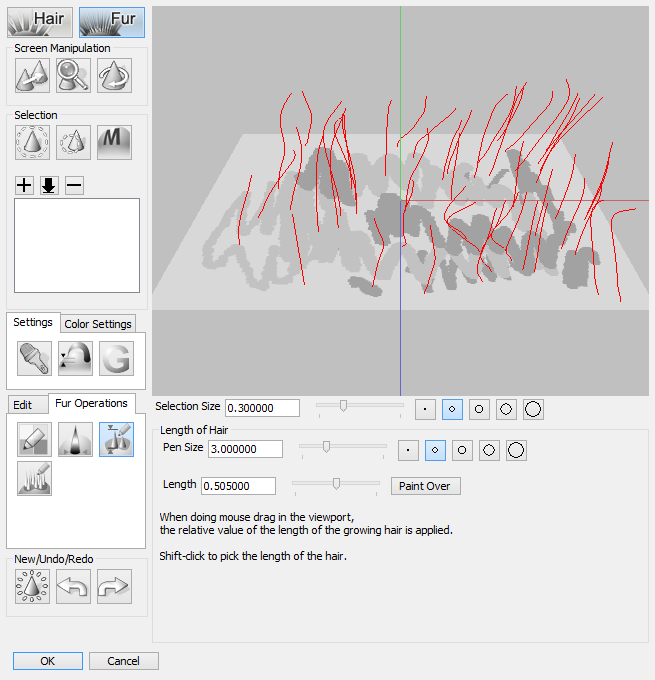
When using the Hair Density tool, the hair density of the clicked area is loaded to the Density text box and slider.
The below rendered image shows the results after using the eyedropper with the Root Color, Hair Length, and Hair Density tools.
