Hair Texture
Applying Texture to Hair
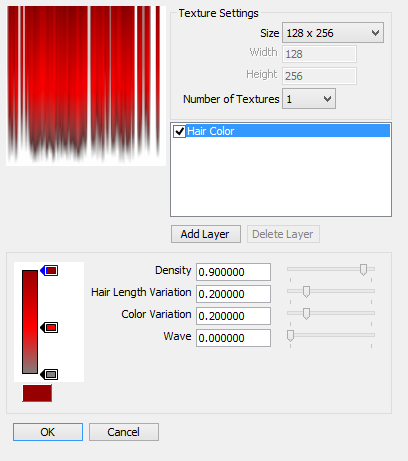
- With the Hair part selected, choose Hair Texture Settings from the Custom tool. The Hair Texture Settings dialog appears.
Hair Texture Settings 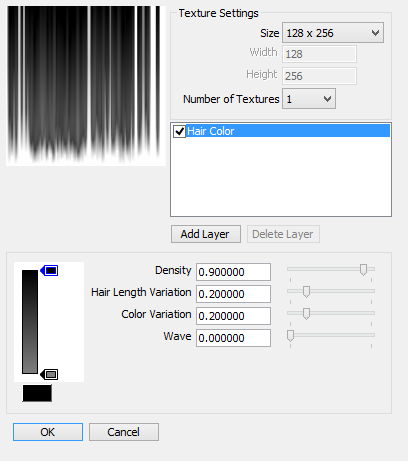
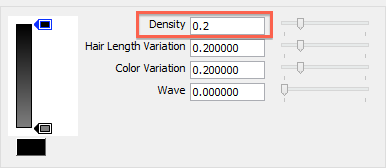
- Here we will change the Density to 0.2.
- Next, click somewhere in the middle of the gradation bar on the left side of the dialog to create a new arrow marker.
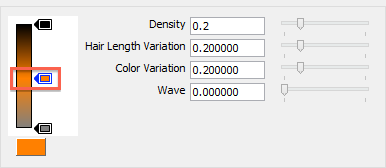
With this new arrow marker selected, click on the color box below to change the color. Here we will choose a brown. - Click OK to close the dialog and apply the settings.
- Now open the Surface window. The texture you just specified should be applied to the hair.
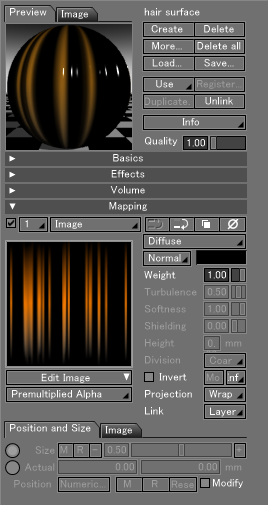
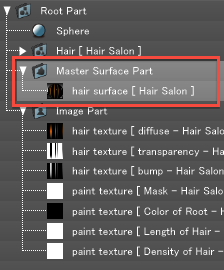
- The surface attributes are also saved as images and a Master Surface.
- Render the scene to view your results.
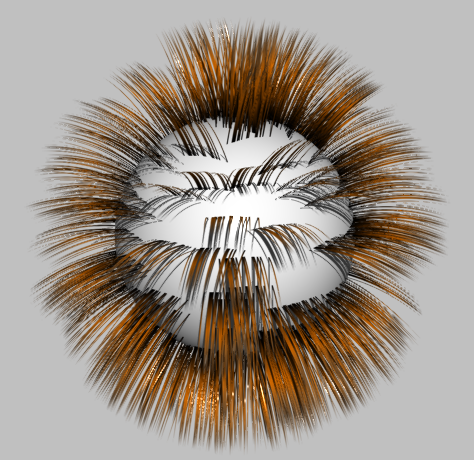
NoteIf the hair does not render correctly using Ray Tracing or Path Tracing rendering methods, try setting the Ray cast level to 5 or greater in the Misc. tab of the Rendering Settings.
To modify a hair texture choose Hair Texture Settings from the Custom tool or from the mapping Info menu in the Surface window.
Applying Texture to Individual Guide Hairs
Multiple textures can be applied to different guide hairs.
- With the Hair part selected, choose Hair Salon > Generate Hair Texture from the Create tool. Adjust the settings to your liking and click OK to create the texture .
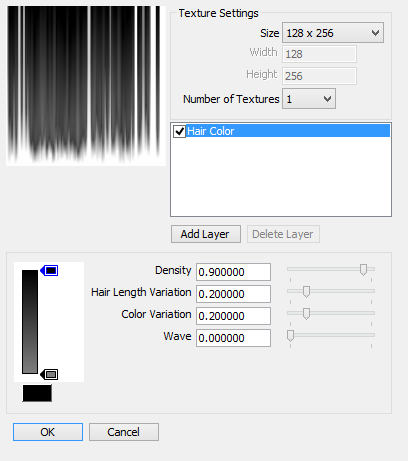
- Repeat the above steps to create a second texture.
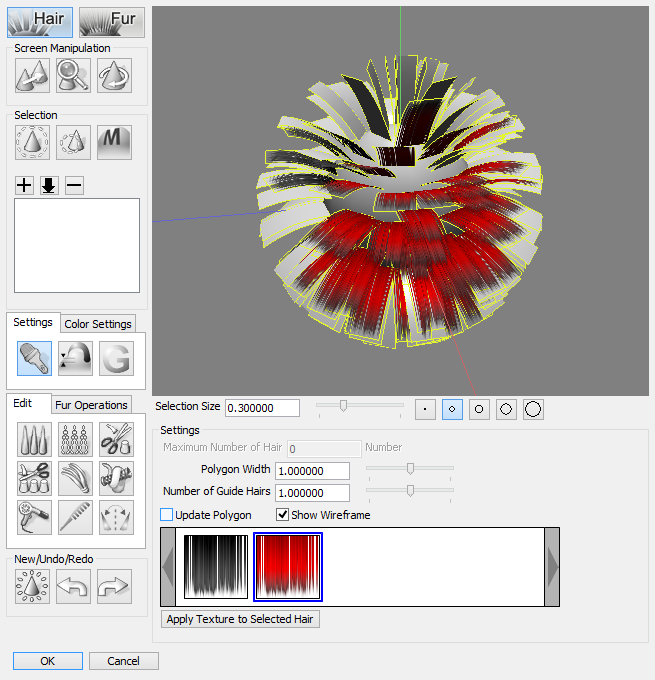
- Open the Hair Settings window by choosing Hair Settings from the Custom tool. Select the Paintbrush tool at the top left of the window.

- At the bottom of the Color Settings group is a list of the textures you have created for this hair part. First select the one you wish to use, then click the polygons in the preview window to apply the selected texture to those guide hairs.
