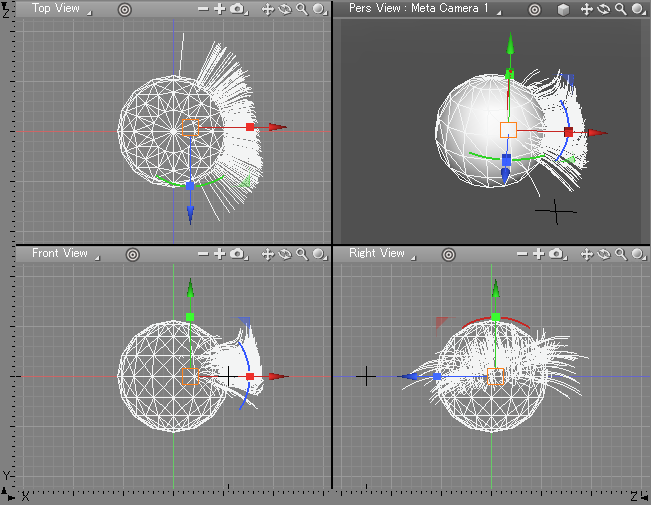
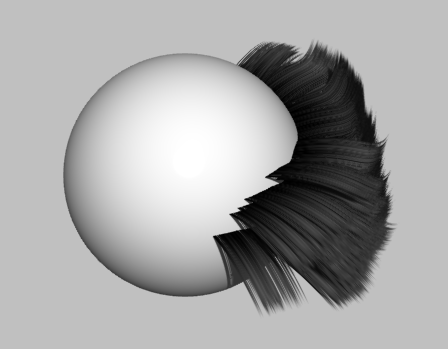
Guide Hairs
Creating Guide Hairs is the first step in the process of designing and styling hair.
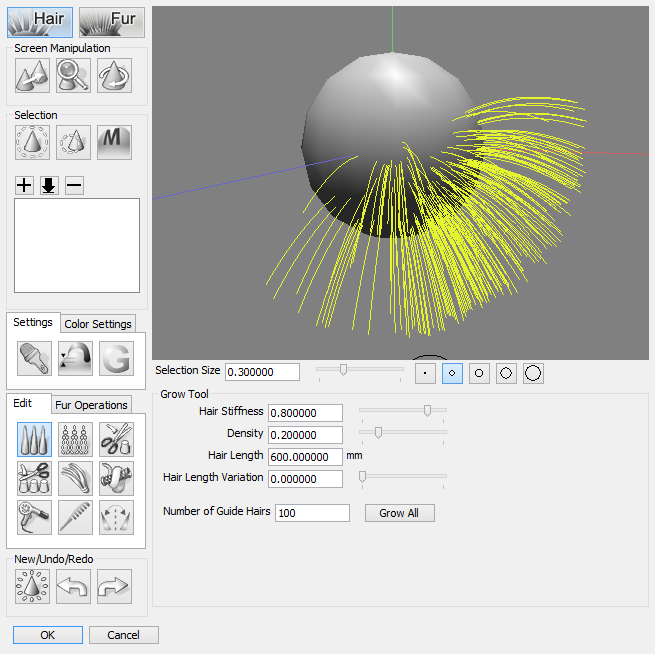
Guide hairs can be added and edited in the Hair Settings window.
| Hair Settings |
|---|
|
Generating Guide Hairs
- Using the Create tool create a sphere or other simple object.
- In the Hair Settings window, click the Grow button.

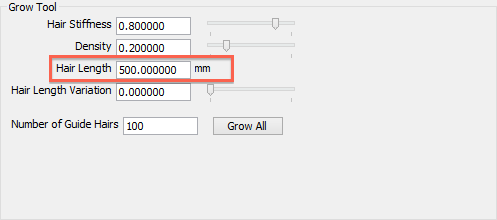
- In the Hair Length textbox enter a value (in millimeters) for the length of hair you wish to grow.
- In the Hair Settings preview window, click and drag in the area on the object you wish to populate with hair.
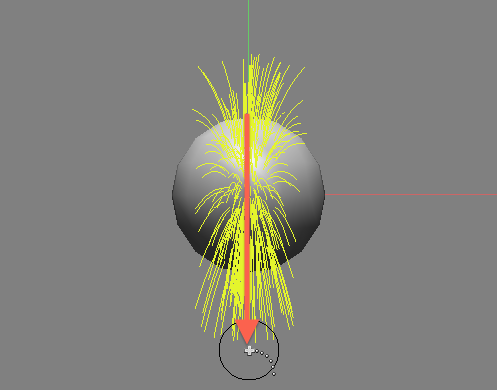
- Guide hairs are created where you clicked and dragged the cursor.
NoteIf the object has polygon faces flipped inside out, the polygon will appear black in the preview pane and the guide hairs will be generated on the inside of the object.
Clipping Guide Hairs
Here we will remove some guide hairs.
- First choose the Rotate tool.

- Click and drag in the preview window so that you are viewing the hair from the side.
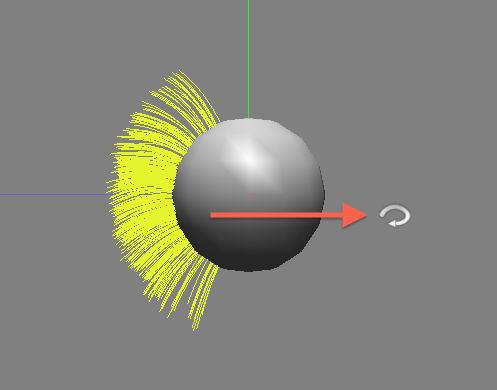
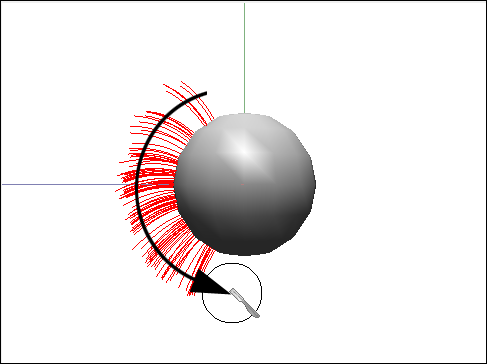
- Click the Clippers tool.

- In the preview pane, click and drag across the guide hairs to thin them out.
Cutting Guide Hairs
- Click the Cut button.

- Click and drag across the guide hairs to chop them off.
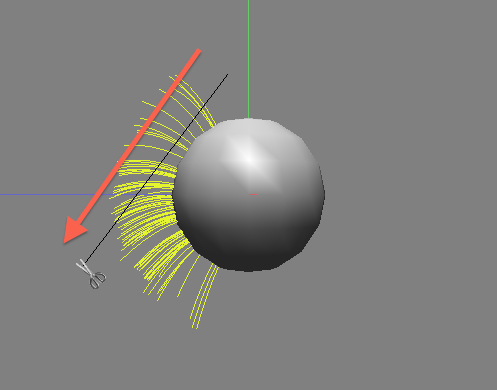
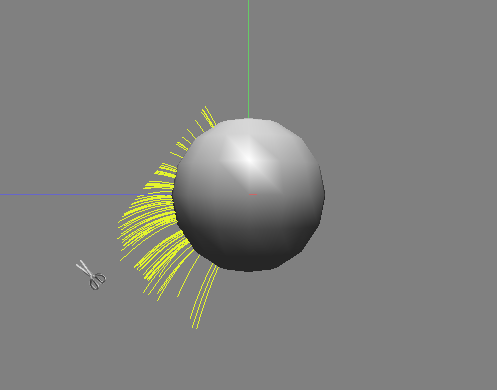
Settings for the Cut tool can be modified in the Cut group in the lower right corner of the Hair Settings window.
If not all the guide hairs are cut cleanly, you can use the Rotate tool to rotate the view and then cut again.
See alse For more information on the tool settings, see "Cut Tool Settings.
Matching the Length of Guide Hairs
- Click the Match Length button.

- Click and drag across the guide hairs as shown below to
make all the guide hairs the same length.
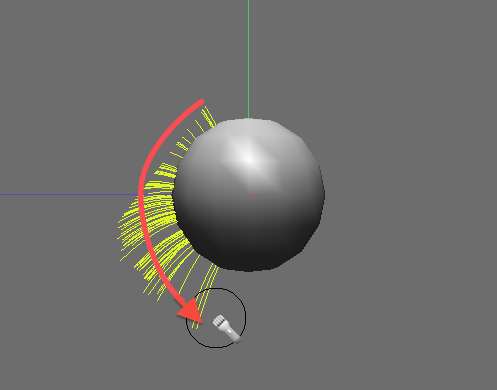
Settings for the Match Length tool can be modified in the Match Length group in the lower right corner of the Hair Settings window. For more information on the tool settings, see "Match Length Tool Setttings." If not all the guide hairs are made an even length, you can use the Rotate tool to rotate the view and then use the Match Length tool again.
Lengthening Guide Hairs
- Click the Lengthen button.

- Click and drag from the object outward in the direction you wish to lengthen the hair.
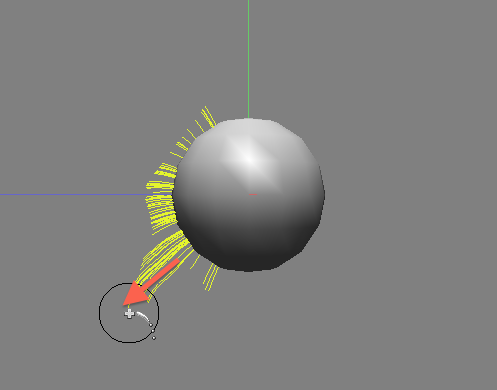
You will probably need to repeat this click and drag operation several times for longer lengths. Settings for the Lengthen tool can be modified in the Lengthen group in the lower right corner of the Hair Settings window. For more information on the tool settings, see "Lengthen Tool Settings."
If not all the guide hairs are lengthened to your liking, try rotating the preview using the Rotate tool and using the Lengthen tool again.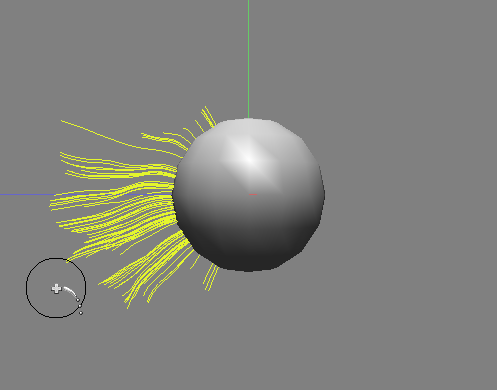
Curling Guide Hairs
- Click the Curl tool.

- Click and drag in a back and forth motion perpendicular to the guide hairs.
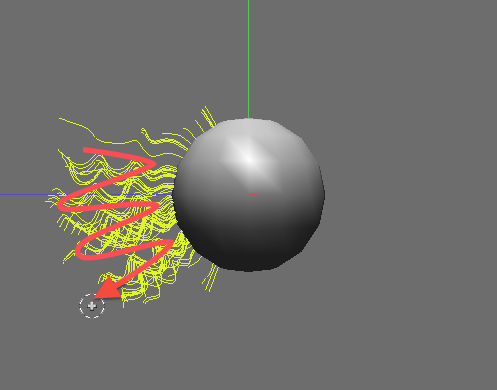
Settings for the Curl tool can be modified in the Curl group in the lower right corner of the Hair Settings window. For more information on the tool settings, see "Curl Tool Settings."
If not all the guide hairs have enough curl, try rotating the preview using the Rotate tool and using the Curl tool again.
Arranging Guide Hairs
- Click the Arrange tool.

- Click and drag over the guide hairs in the direction you wish to arrange them.
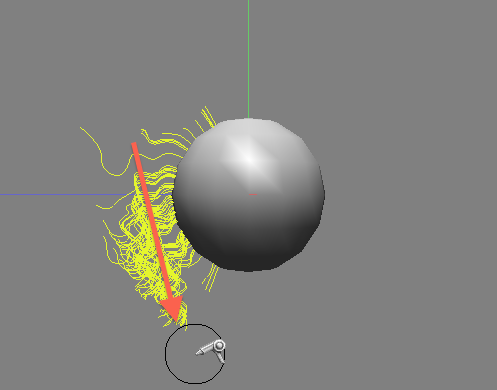
You will probably need to repeat this click and drag operation several times in order to arrange the hair to your liking.
Settings for the Arrange tool can be modified in the Arrange group in the lower right corner of the Hair Settings window. For more information on the tool settings, see "Arrange Tool Settings."
If not all guide hairs are arranged to your liking, try rotating the preview using the Rotate view and using the Arrange tool again.
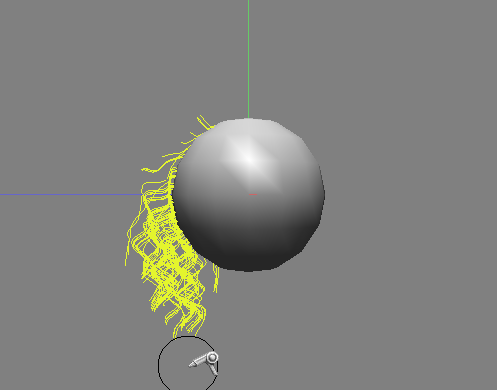
Generating Guide Hairs
- After you have finished arranging the guide hairs, click OK in the Hair Settings window to create the guide hairs in the Figure window.
- A Hair part is created in the Browser which contains all the guide hair objects, and the guide hairs appears in the Figure window. Render the scene to see what the hair actually looks like.
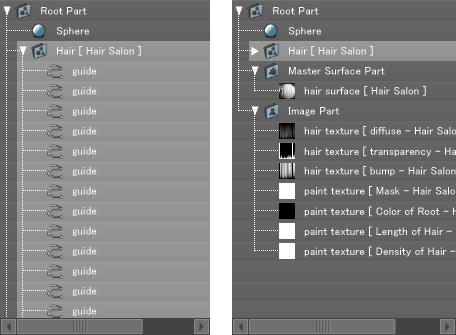
- To modify the guide hairs, select the guide hairs you wish to modify and select Hair Attribute Setting from the Custom tool.
