Editing Weight Values with Vertex Blending
Binding and editing skin weight values using the Vertex Blending Skin Type is explained below.Selecting the Vertices to Bind
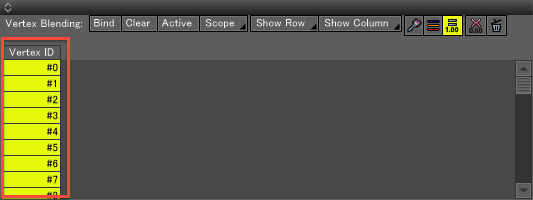
- Select a column in the Skin Window, or select control points in Modify Mode.
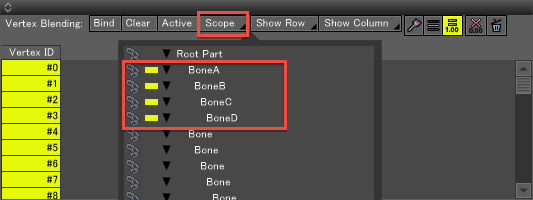
- Click the Scope button at the top of the Skin Window, and in the menu that opens select the joints or bones (here we will refer to them as joints) you wish to bind. The selected joints and their child joints are targeting for binding, and a check appears in the checkbox to the left of each.
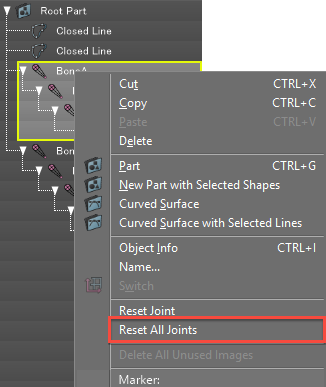
- Select the root of the joint in the Browser, right-click and choose "Reset All Joints" from the contextual menu.
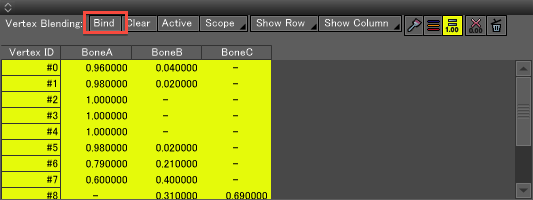
- Click the Bind button in the Skin Window toolbar to apply binding.
- Double-click the joint name to display the joint value slider, and move the joint.
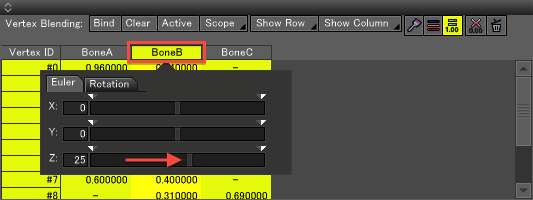
- In the Figure Window, confirm that the joints are bound.
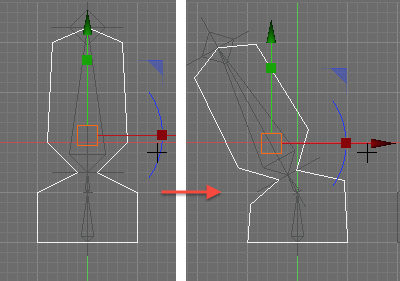
Note If necessary, edit the values in the Skin Table or use the Weight Paint tool to correct the binding.
Editing Weight in the Skin Window
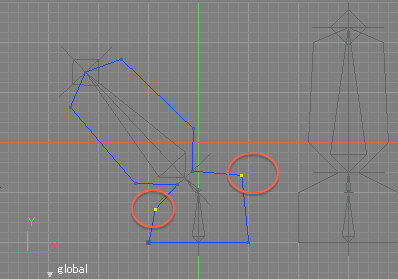
- The foundation part is deformed, so select these vertices in the Figure Window or from the Vertex ID list in the Skin Window.
- With Vertex Blending, the sum Weight of each vertex must be 1, so check that the Normalize All Skin Weight to 1.0 button is enabled.
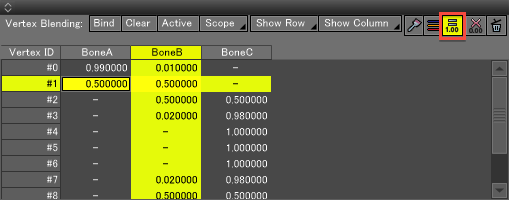
- Click on a cell in the Skin Table, or click and drag left/right/up/down to change the Weight values.
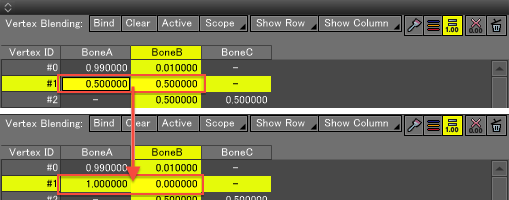
Note If multiple vertices are selected, the same values will be entered for all vertices in the selected column.
Check the position of the modified vertices.
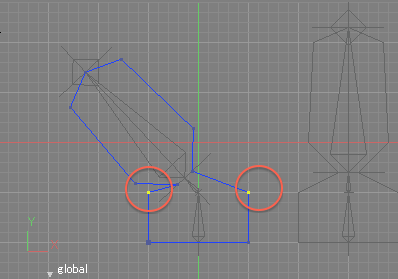
Repeat steps 1 to 3 to adjust the Weight of other vertices as necessary. - Finally, reset the joints and confirm that the initial pose is correct.