Line Object Information
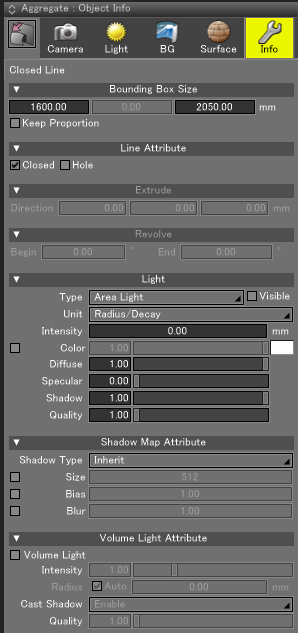
These settings are displayed when a closed line, open line, extruded line, revolved line, area light or linear light are selected.

Bounding Box Size
- Size
- These text boxes specify the size of the bounding box along the X, Y, and Z axes.
- Keep Proportion
- When a new value is entered in one of the text boxes, the other values are updated automatically to preserve the aspect ratio.
Line Attribute Settings
- Closed
- Switches the line object between an open line and a closed line.
When selected, the start and end points of an open line are connected, creating a closed line.
When deselected, the start and end points of a closed line are disconnected, creating an open line. - Hole
- When selected for a closed line, the shape of the closed line forms a hole in another closed line object. This is only visible when rendered.
Closed line objects with the Hole setting applied must be placed immediately below (sibling to) the target closed line object in the Browser hierarchy. There is no limit to the number of Hole objects that can form holes in a target object, but they must all be placed consecutively as sibling parts below the target object.
Both Hole objects and the target object must lie in the same plane. If their respective planes intersect, the hole will not render correctly.
Extrude Settings
Available when an extruded line is selected. These settings allow you to specify the extrude distance of the line.
- Direction
- Specifies the distance to extrude along each coordinate axis. From left, the text boxes correspond to the X, Y, and Z axes.
Revolve Settings
Available when a revolved line is selected. These settings allow you to specify the revolve angle.
- Begin
- Specifies the starting revolve angle of the revolved line.
- End
- Specifies the end revolve angle of the revolved line.
Light Settings
Line objects can be set up as area lights or linear lights.
- Type
- Select either Area Light or Linear Light for the light type.
- Visible
- When selected, the area light is visible when rendered and in Shading display mode in the Figure Window.
- Units Pop-up Menu
- Select Radius/Decay or Lumens.
Note A luminous flux of Φ lumens uniformly illuminating a 1 m2 diffuser has an illuminance of Φ lux. When using radiosity, the illuminance can be used as a measure of the brightness of a lighting fixture.
- Intensity
- The intensity (brightness) of the light.
- Color Checkbox
- When selected, the color of the light can be set using the color box, and the degree to which the color is applied can be set using the text box and slider control.
When unselected, the light inherits its color from the surface attributes.
Click the color box to open a color picker for selecting the color of the light. - Diffuse
- Specifies the degree to which the light color affects the object's diffuse color. When set to 0, the light does not affect diffuse color.
- Specular
- Specifies the degree to which the light intensity affects the object's specular highlights. When set to 0, the distant light does not affect objects' Specular highlights.
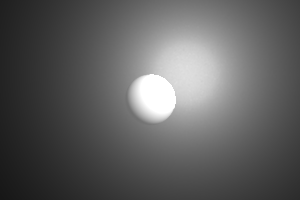
- Shadow
- Specifies the depth of shadows. When set to 0, shadows are not calculated, speeding up rendering time.
- Quality
- Specifies the quality as a ratio of the ray tracing quality in the Rendering Settings.
See also Light Quality
Shadow Map Attribute Settings
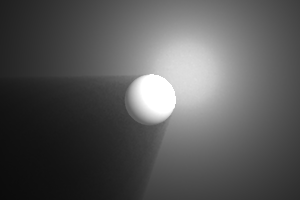
- Shadow Type
- Specifies how shadows are drawn. Select Inherit, Ray Tracing, or Shadow Map.
- Size
- Select the checkbox to enter a different Size value in the text box. A larger shadow map will render shadow outlines more clearly but requires more memory. If the shadow map is too small, shadows may appear jagged.
When this checkbox is unselected, the value will be inherited from the Rendering Settings.
A value of 0 will result in a shadow map not being created. - Bias
- Select the checkbox to enter a different Bias value in the text box. If the object receiving the shadow map is not parallel, part of the shadow may not be displayed. Changing the shadow map bias value can help fix this.
When this checkbox is unselected, the value will be inherited from the Rendering Settings. - Blur
- Select the checkbox to enter a different shadow map Blur value in the text box.
When this checkbox is unselected, the value will be inherited from the Rendering Settings.
Volume Light Attribute Settings
Note Volume Light settings are available in Shade3D Standard and Professional.
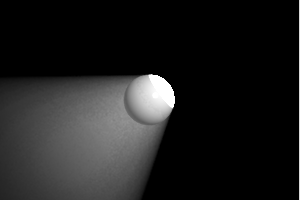
- Volume Light
- When selected, the light is drawn as a volume light.
- Intensity
- The intensity (brightness) of the volume light. The actual intensity rendered will be this value multiplied by the light's Intensity value.
- Radius
- Available when the Auto checkbox is unselected. The distance reached by the intensity of the volume light. At this distance the intensity of the volume light reaches 0. The radius is shown in the Figure Window as a wireframe sphere.
- Auto
- When selected, the radius of the volume light is set equal to twice the intensity value in the light attributes.
- Cast Shadow
- Quality
- The rendering quality of the volume light.
The rendering quality of the light is also affected by the Ray Tracing Quality value on the Rendering Settings Miscellaneous tab. Raising the Ray Tracing Quality affects all lights in the scene, and therefore has a greater impact on rendering time when the scene contains several lights. If the rendering quality of some lights is more important than others, raising the Quality setting in the Volume Light settings for only the more important lights will help keep rendering time down.See also Light Quality


