Spirals and Helices
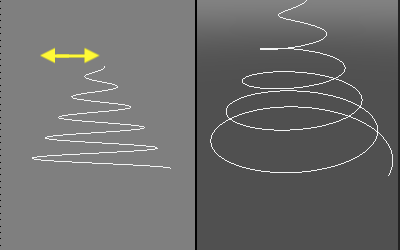
Use the Spiral/Helix tool to create a three-dimensional spiral or helix as a NURBS curve.
| Basic | Standard | Professional |
|---|---|---|
| - | - | O |
Usage
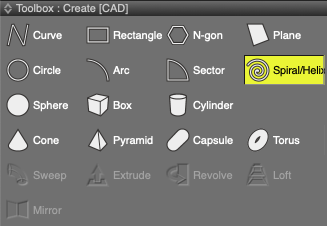
- In CAD Mode, select Spiral/Helix from the Toolbox's CAD creation tools.
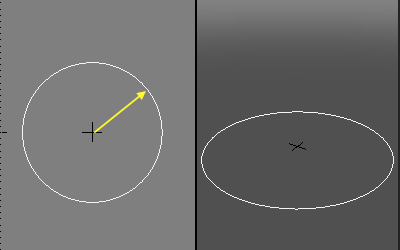
- Drag in the Figure Window to create the bottom face.
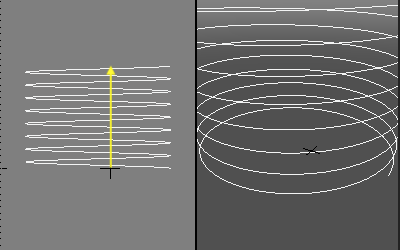
- Drag in a perpendicular viewport to specify the height.
(Clicking will set the height to 0.)
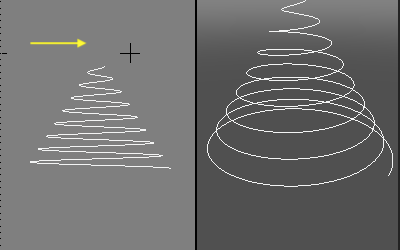
- Drag again to specify the radius of the top face.
- Drag a final time to specify the number of loops (turns) in the spiral or helix.
Tool Parameters
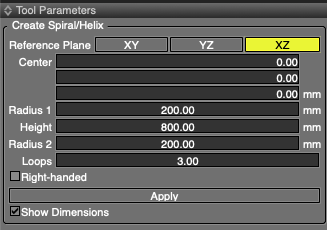
- Reference Plane
- Select the XZ, YZ, or XY plane to use as the reference plane for creating the spiral/helix.
- When using the mouse, the plane used for the initial drag becomes the reference plane.
- Center
- The center XYZ coordinates of the spiral/helix.
- Radius 1
- The radius of the bottom of the spiral/helix.
- Height
- The height of the spiral/helix.
- Radius 2
- The radius of the top of the spiral/helix.
- Loops
- The number of loops, or turns, that the spiral or helix makes.
- Right-handed
- Creates a right-handed spiral/helix. Deselect this option to create a left-handed one.
- Apply
- Confirms the spiral/helix creation.
- Show Dimensions
- When creating the object, its dimensions are displayed in the Figure Window.
Note Available in Shade3D Professional.