New Antialiasing Options
Three new antialiasing options have been added.
- Adaptive Sampling
This new antialiasing method provides several options for fine-tuning rendered images, including minimum number of samples and sampling quality. - Threshold (Shade3D Professional)
The refinement threshold used to determine whether or not to apply antialiasing to a pixel. The default value is 0.5. - Sampling Filter (Shade3D Professional)
The type of sampling filter used has a subtle effect on the sharpness of the image when using antialiasing or path tracing.
| Basic | Standard | Professional |
|---|---|---|
| Adaptive Sampling Only | Adaptive Sampling Only | O |
Usage
On the Basics tab of the Image Window, select the Antialiasing option and select the desired antialiasing method.
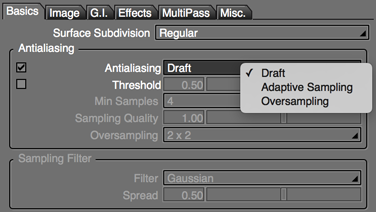
Antialiasing Settings
- Draft
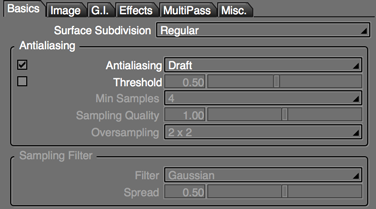
- Uses the same antialiasing method as the Auto option in previous versions of Shade3D.
- This method provides fast but lower-quality antialiasing.
- Adaptive Sampling
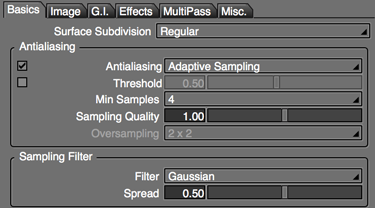
- The minimum number of samples and sampling quality can be adjusted depending on the needs of the scene, allowing you to fine-tune the antialiasing to achieve the desired balance of quality and rendering speed.
- The type of sampling filter used can also be selected.
- Oversampling
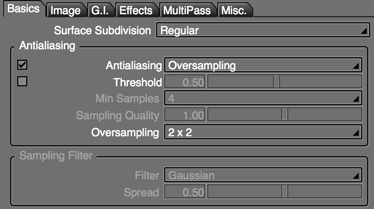
- Select an oversampling rate between 2 x 2 and 8 x 8.
- This single option can reliably improve antialiasing quality, but because the number of samples increases for all pixels in the image, rendering time greatly increases.
- Threshold (Shade3D Professional)
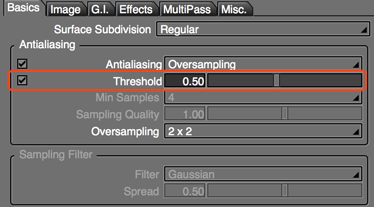
- Select this option to specify the refinement threshold used to determine whether to apply antialiasing to a pixel. This value was determined by the Ray Tracing Quality option in previous versions of Shade3D.
- Min Samples
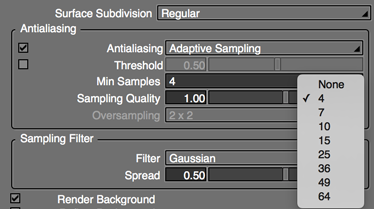
- Available when Adaptive Sampling is selected as the antialiasing method.
- Specifies the number of samples to use for each pixel.
- Sampling Quality
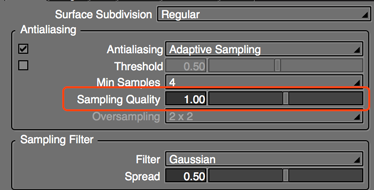
- Available when Adaptive Sampling is selected as the antialiasing method..
- Larger values result in higher quality antialiasing.
- Oversampling
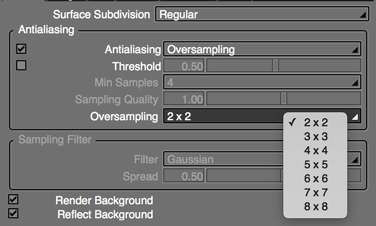
- Available when Oversampling is selected as the antialiasing method.
- This option is compatible with oversampling settings in previous versions of Shade3D.
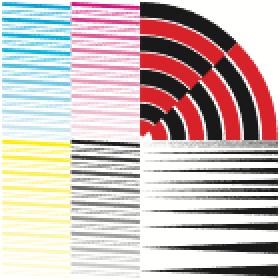
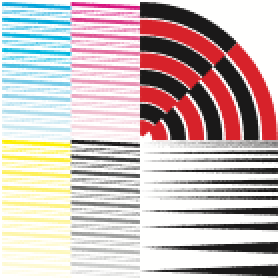
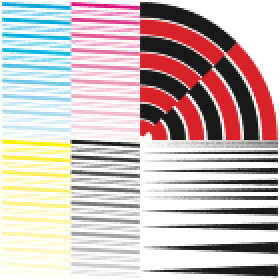
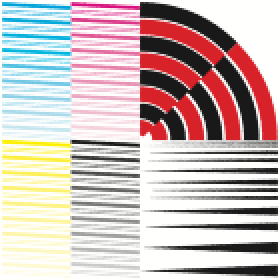
Sample Images (Images are magnified 200% to illustrate the difference between settings)
- Min Samples
- A value of 4 is equivalent to a Path Tracing Quality of 50 in previous versions of Shade3D.
- Larger values result in increased rendering time.
-
4
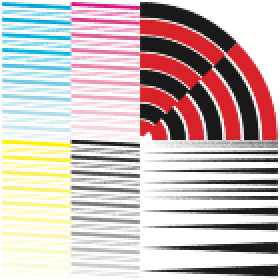
10
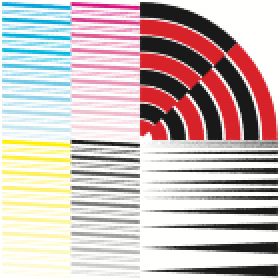
25
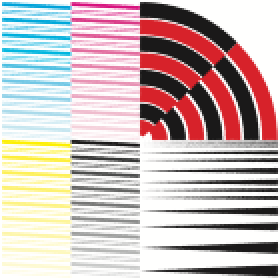
64
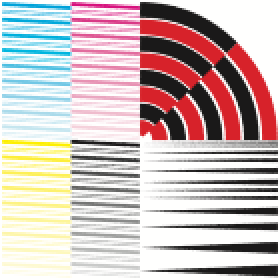
- Threshold
- The refinement threshold used to determine whether to apply antialiasing to a pixel.
- Antialiasing uses additional sampling to smooth areas that tend to result in jagged lines ("jaggies"), such as the border between objects or textures, but areas with only small differences in color to the surrounding pixels may not show noticable jagged edges even if they are present.
- By choosing not to use additional sampling where the ratio of change in intensity is small, noticable jaggies can be minimized while keeping rendering time down.
- RGBA values affect the intensity used for this threshold differently. As such, the effect on different colors will not be uniform.
-
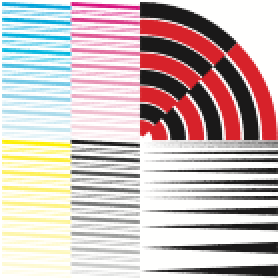
0.5
1.0

2.0
|
0.5 |
1.0 |
2.0 |
Sampling Filters (Shade3D Professional)
Sampling filters affect the final look of images rendered with path tracing and ray tracing adaptive sampling.
The difference types of sampling filters affect the balance between sharp and soft antialiasing.
| Filter | Graph | Sample | Characteristics | Explanation |
|---|---|---|---|---|
| Box |  | 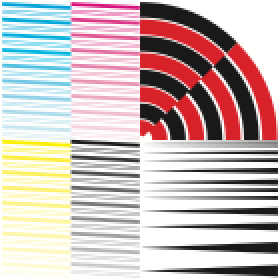 | •Soft •Low Quality •Backwards Compatible | •This is the conventional filter used for ray tracing. •Low quality, but produces reliable results with few artifacts. |
| Cylinder |  | 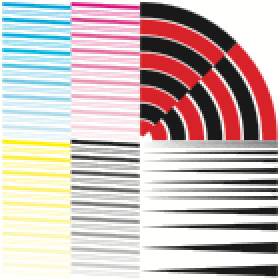 | •Soft •Low Quality •Backwards Compatible | •This is the conventional filter used for path tracing. •Low quality, but produces reliable results with few artifacts. •Slightly softer than Box. •This is the default filter when loading scene files created in versions prior to Shade3D ver. 16. |
| Triangle |  | 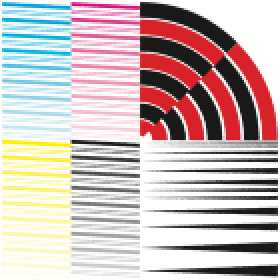 | •Somewhat Soft •Low Quality | •This simple filter is sharper than Box. |
| Gaussian |  | 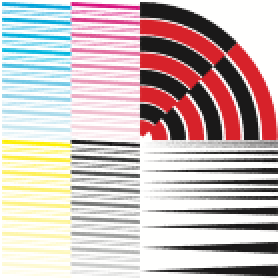 | •Soft | •This filter has a strong smoothing effect and will eliminate jaggies but result in a much softer image. •This is the default filter in Shade3D Professional. |
| Blackman-Harris |  | 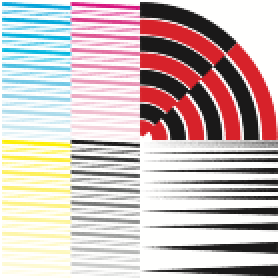 | •Somewhat Soft | •This filter tends to be sharper than Gaussian. |
| Mitchell-Netravali |  | 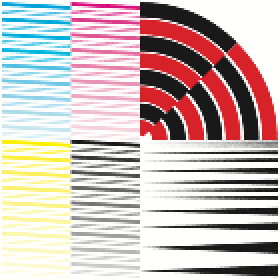 | •Somewhat Sharp | •This filter is balanced between smoothing and sharpness. •Produces results between Blackman-Harris and Catmull-Rom. •Fringes can appear where the difference in intensity of surrounding pixels is large. |
| Catmull-Rom |  | 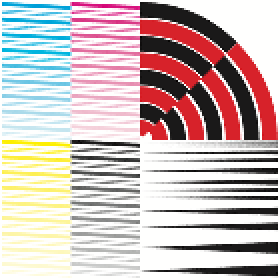 | •Sharp | •This filter emphasizes sharp edges. •Fringes can appear where the difference in intensity of surrounding pixels is large. |
The vertical axis of each graph is the color weight, and the horizontal axis is the pixel width (with the origin being equal to the pixel center).
Spread
The sampling spread (in pixels) from the center of the pixel.
Sampling Filter Tips
It is generally recommended to select a sampling filter appropriate for the desired level of sharpness or softness, and then adjust the spread to fine-tune the image.
Larger values result in more smoothing, but can also create noise. To eliminate added noise you may need to increase the sampling quality or the ray tracing quality.
Smaller values result in sharper images but can create unwanted jaggies or artifacts that are not eliminated by increasing the quality.
A value of 0 is the same as disabling antialiasing.
